Identity Sculpture Project
Inspired by Geoffrey Farmer
|
|
Exploring who we are and how we see our world is what most artists set out to discover. Geoffrey Farmer’s art stems from his search for his place in the world; his whimsical, exciting paper sculptures will serve us as inspiration for this first project. Your goal will be to design and create a three-dimensional paper sculpture that represents your view of the world, your goals, aspirations, how you see yourself and your passions.
Keep in mind that expressing yourself is necessary, but not everything has to be made clear to the viewer; symbolism can be a wonderful tool in this project. Your final write-up should explain your choices, but the write-up will be confidential by default. What defines you as a person and as an artist? What is your place in the world? What are your passions? How do you view creativity? And most importantly, what is your purpose, and what gifts do you bring to the world? |
Download the assignment sheet below:
|
|
| ||||||
Materials
|
Wooden sticks and base
|
Fabric, needle and thread
|
Magazine cut-outs
|
Drawings on paper
|
Hot glue and paper glue
|
Procedure
|
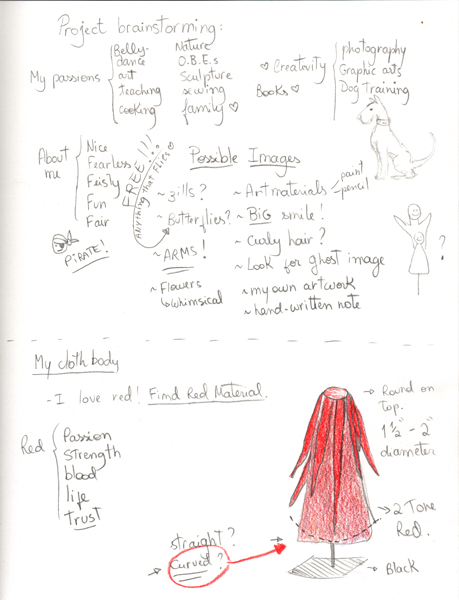
Your ideas and concept are an important part in this project, and so the first step you will take is some good brainstorming. Put everything that comes to mind on your sketchbook. Everything you do will be a part of your final mark, but your process, trials, errors and discoveries are the most important things you can produce.
This brainstorming on your sketchbook may include images that you would like to find or create for your sculpture. To the left, you can see a sample page of my sketchbook with some of my thoughts and process for my sculpture. |
Making the Cloth Body
First things first - read if you are a teacher:
- The wooden base is a 3.5 by 3.5 square, about 1/2 inch high, with a 3/8" hole drilled through the center. These pieces will be all cut and drilled in advance. Then, you can ask the student how tall they want their sculpture to be; this will determine the lenght of the 3/8" dowel. I found 12" tall was a sweet spot, but some students wanted to cut it shorter or longer based on their design.
When the student has a good idea of the design they want to follow, you can cut the dowel to size and let them hot glue gun it to the base. Painting it all black should be the first step for all students.
- The website shows a base design, where students can attach magazine cut-outs, etc. as per the instructions (download everything on that page and see what I mean -- you can adapt, reuse, etc and there is a rubric as well; I also have two posters you can print and put on the room, I did that and it helped the students follow along)
You will probably find that some students really want to deviate from the idea, and I encouraged that a ton, which is why the sculptures turned out very different. I did have to rethink the pattern every time to help them achieve their goals but that was kind of fun too.
After the brainstorming, I decided to sew the fabric body. I found some fabric that was similar in colour to my original idea -- it wasn't red, but striped guava. For the top layer, I found some chiffon-like orange material.
Changing and adapting is a good thing -- your brainstorming gives you direction, but keep your mind flexible and your eyes open.
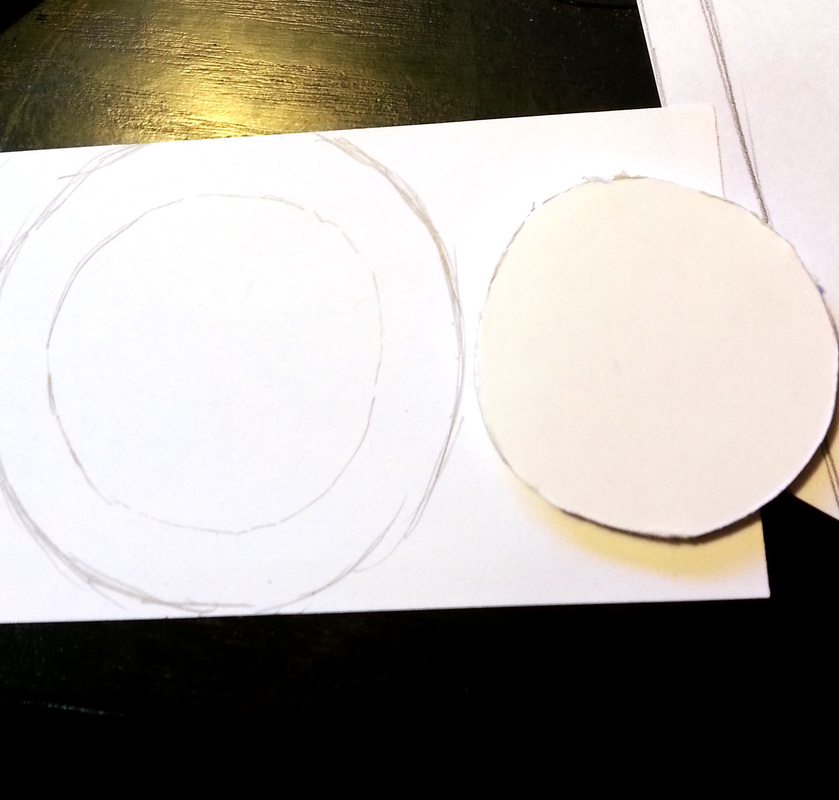
After finding the fabric, I cut out a circular shape out of foam board. This will be my neck area. I didn't measure, just eyeballed it. I did two little marks opposite from each other -- this will be important for the next step.
- The wooden base is a 3.5 by 3.5 square, about 1/2 inch high, with a 3/8" hole drilled through the center. These pieces will be all cut and drilled in advance. Then, you can ask the student how tall they want their sculpture to be; this will determine the lenght of the 3/8" dowel. I found 12" tall was a sweet spot, but some students wanted to cut it shorter or longer based on their design.
When the student has a good idea of the design they want to follow, you can cut the dowel to size and let them hot glue gun it to the base. Painting it all black should be the first step for all students.
- The website shows a base design, where students can attach magazine cut-outs, etc. as per the instructions (download everything on that page and see what I mean -- you can adapt, reuse, etc and there is a rubric as well; I also have two posters you can print and put on the room, I did that and it helped the students follow along)
You will probably find that some students really want to deviate from the idea, and I encouraged that a ton, which is why the sculptures turned out very different. I did have to rethink the pattern every time to help them achieve their goals but that was kind of fun too.
After the brainstorming, I decided to sew the fabric body. I found some fabric that was similar in colour to my original idea -- it wasn't red, but striped guava. For the top layer, I found some chiffon-like orange material.
Changing and adapting is a good thing -- your brainstorming gives you direction, but keep your mind flexible and your eyes open.
After finding the fabric, I cut out a circular shape out of foam board. This will be my neck area. I didn't measure, just eyeballed it. I did two little marks opposite from each other -- this will be important for the next step.

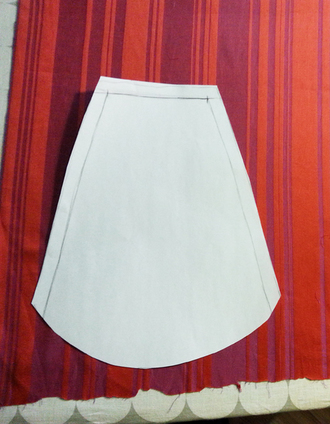
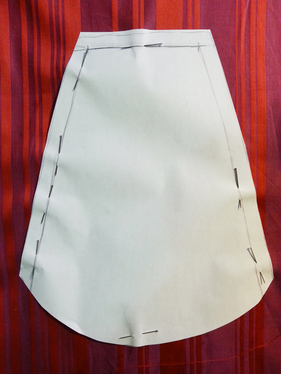
After you are happy with your circle, grab a piece of tissue paper and make a pattern for half of your body. I decided to make my puppet body about 10 inches high, so I started drawing the neck line on the top edge of the paper.
Below, a simple, hands-on method to figure out the measurement for half of your neck area. You may have to fiddle a bit to make sure the top measurement is in the center of the paper. Another easy way is using the measuring tape.
Below, a simple, hands-on method to figure out the measurement for half of your neck area. You may have to fiddle a bit to make sure the top measurement is in the center of the paper. Another easy way is using the measuring tape.
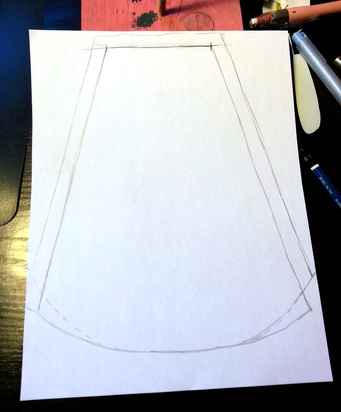
Above - After I drew the smaller measurement for the neck and made sure it was in the centre of the page, I simply drew lines diagonally down until I almost touched the page. Then, I added half an inch all around the sewing area as a seam allowance. This is important otherwise your fabric body will be much too small. Notice that I redid the curve on the bottom -- you can redo the pattern until you are happy.
|
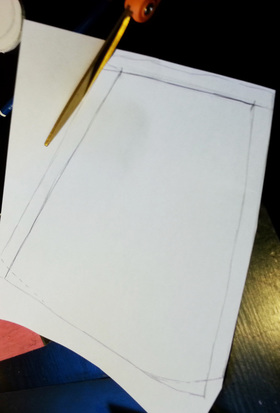
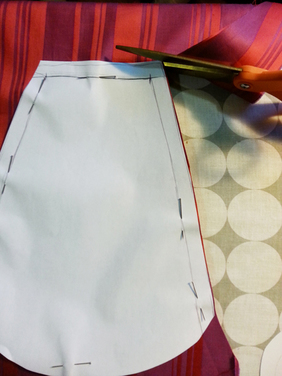
Above - Cut the pattern out, making sure to cut on the biggest line -- including seam allowances.
|
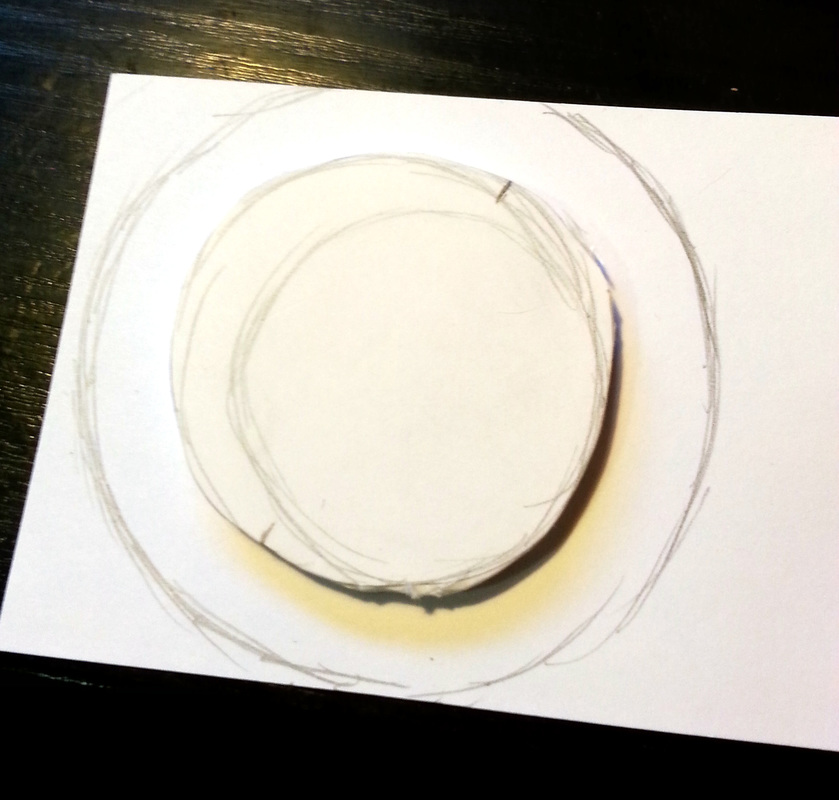
Below - I used the neck piece to make a paper pattern for the fabric on the neck area. Notice that I didn't use any measuring tools so far -- I use the Force!!! That doesn't work for everybody, but works for me! If you want to ensure the process goes smoothly, use a circular form to make the neck and rulers for the body. Make sure to add the seam allowance on this circular paper piece as well.
|
|
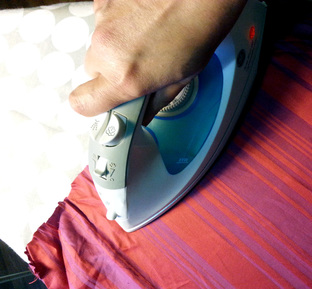
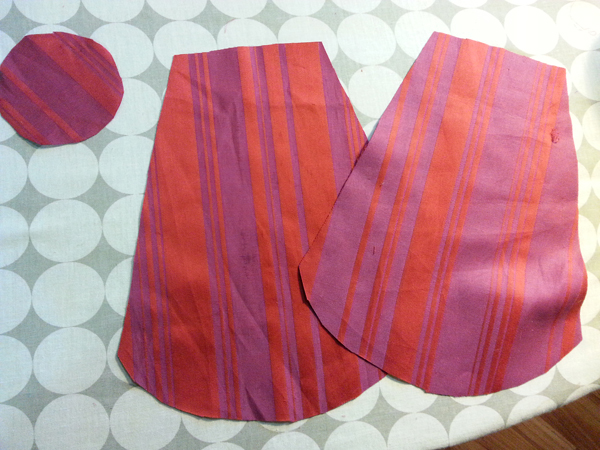
Iron your material...
...and fold it so that the good side is against the good side, placing your body pattern on top. Your fabric should be now in two layers.
|
|
Pin both layers of fabric to the paper and cut all around.
|
|
Do this with the neck paper pattern as well, but using one layer only. In the end you should have this:
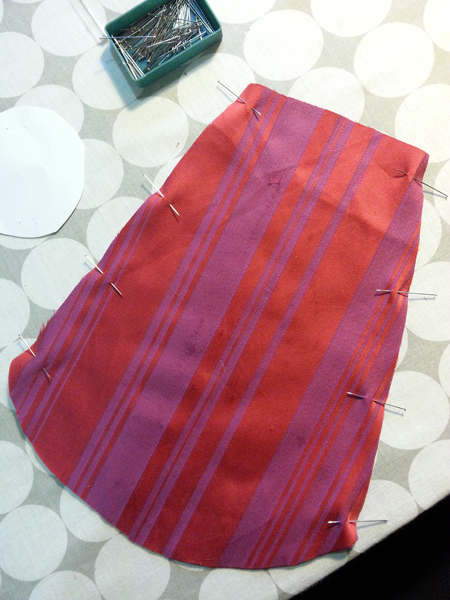
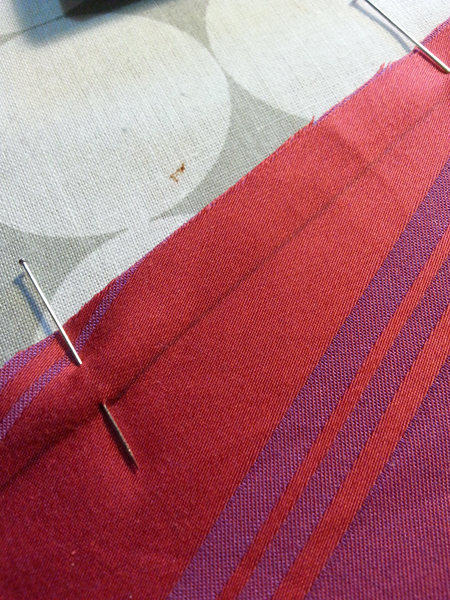
Above: Overlap your fabric so that the nice side is on the inside. You will be sewing on the rougher side. Pin all around so that the pins are perpendicular to the edge of the fabric, like the picture below, and at a distance of about 1 - 2 inches from each other.
|
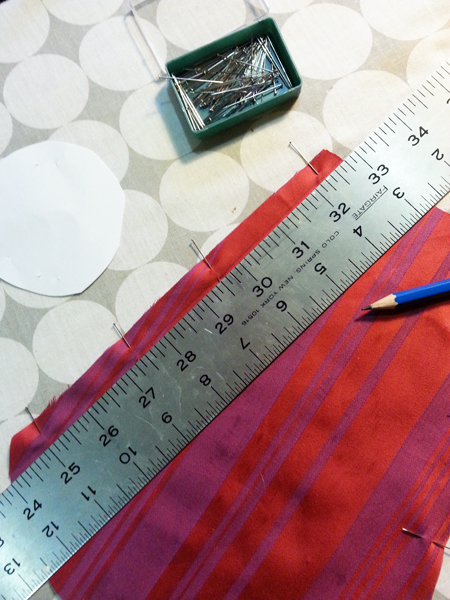
Use a ruler to draw your seam allowance line on the fabric with a pencil...
|
...and this is what you are left with.
|
|
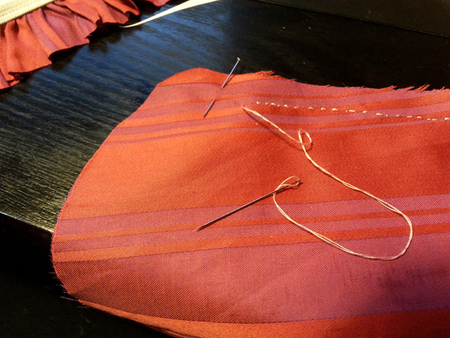
Sew the body materials together on the two long seams, with a strong hand stitch, like below. As you sew, remove the pins. Make sure to leave the neck and bottom open.
|
Now, you will do a little trick to add the neck to the body.
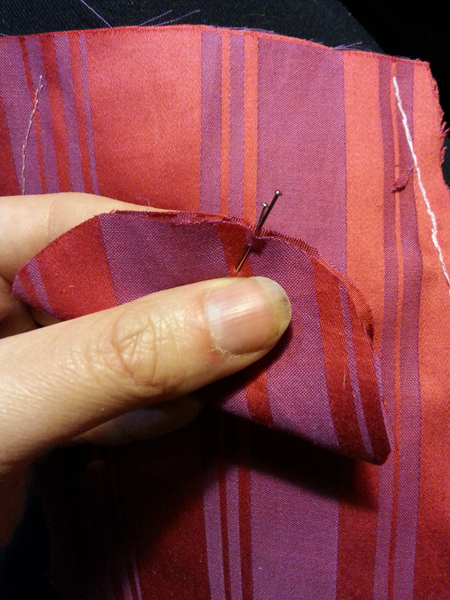
Fold your fabric circle and place two pins on the edge, pointing towards the middle...
|
...refold the circle so that the pins are overlapping...
|
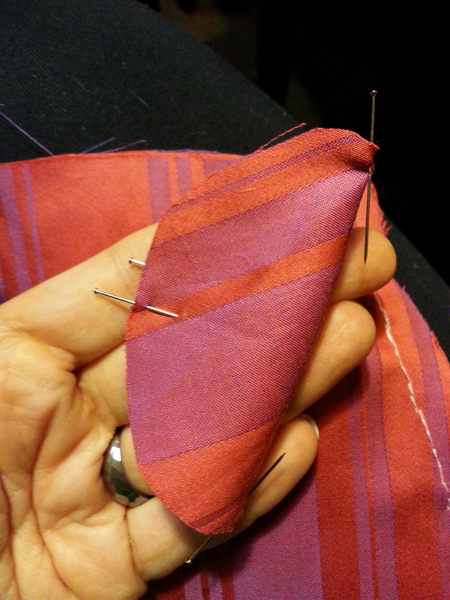
...and add two more pins.
|
You should have four pins pretty evenly spaced!
|
In a similar fashion, grab the body and fold it so that the sewn seams are touching, and put two pins, one on each edge...
|
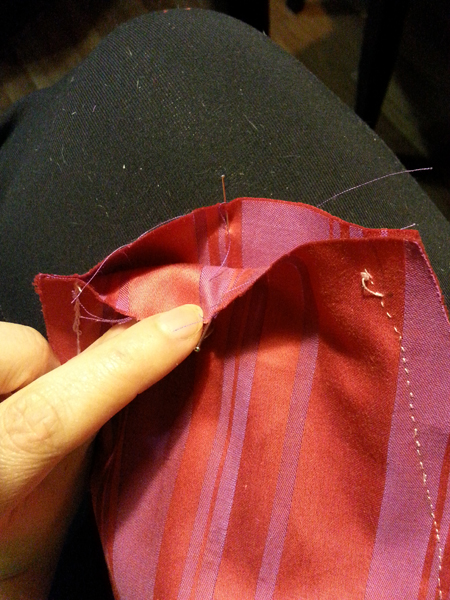
...once you put the body back in its usual position, the pins should touch, and mark the middle of the neck.
|
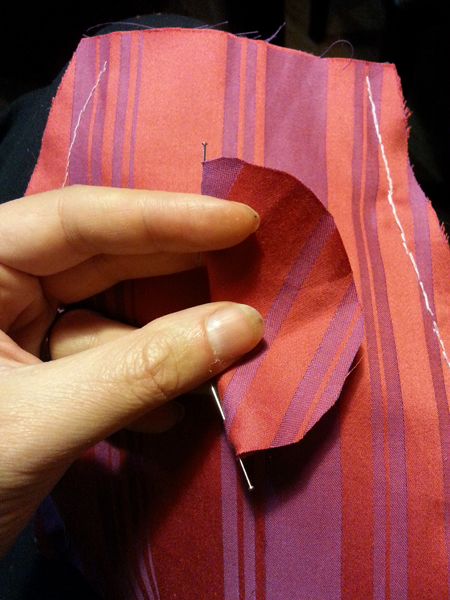
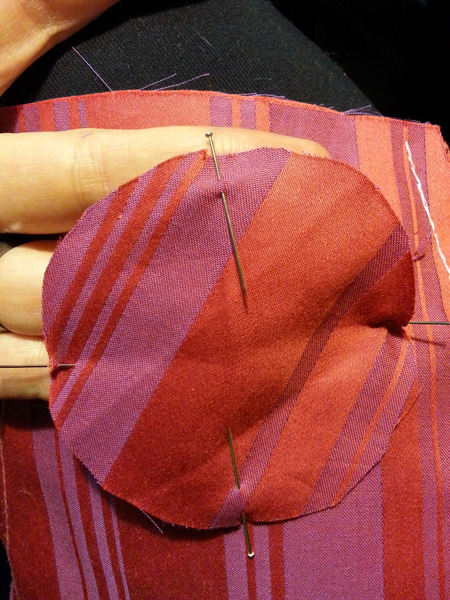
You will match the neck portion to the body. Make sure the nice portion is down. Two pins will match the seam line, and two pins will match the pins you added to the body. Sorry for the photo, but it's a tight spot!
|
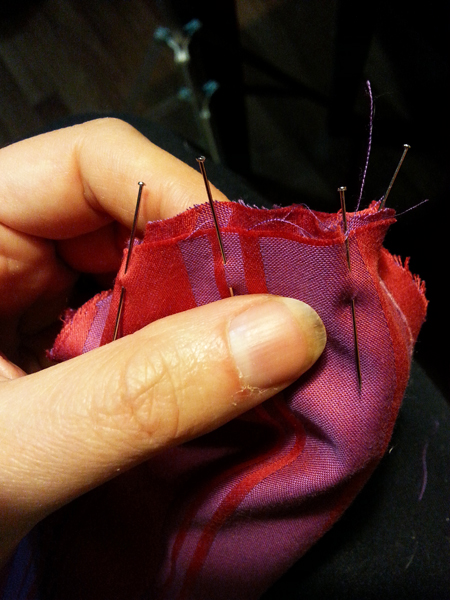
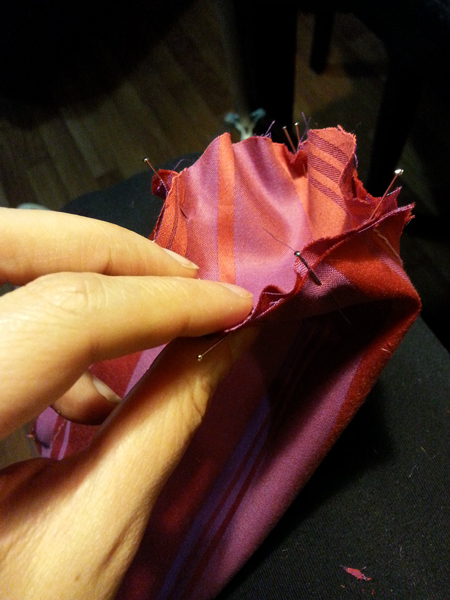
Add one extra pin between each pin, for a total of eight. This is what it looks like on the side. Notice how there is a little overlap... that is because my measurements weren't 100% and I had to adapt.
|
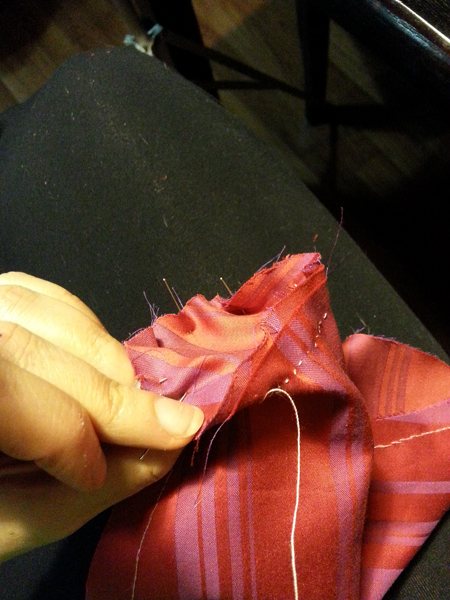
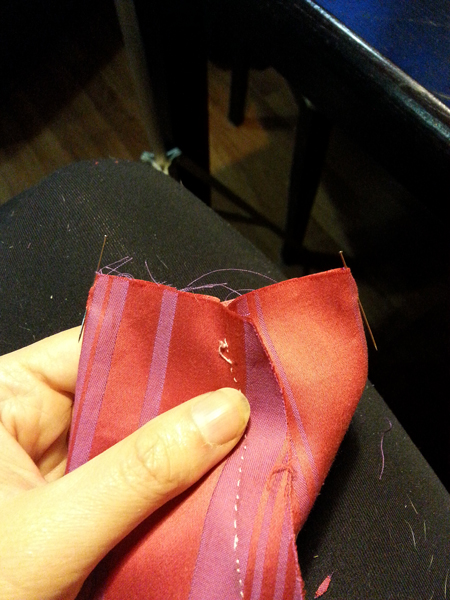
Sew all around, easing the material so that no bubbles form.
|
This is what it should look like!
|
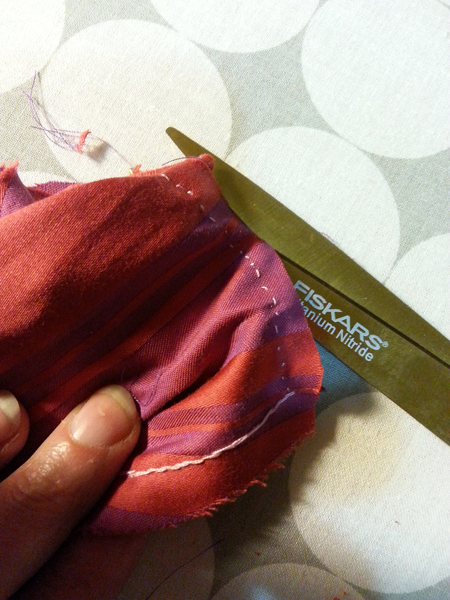
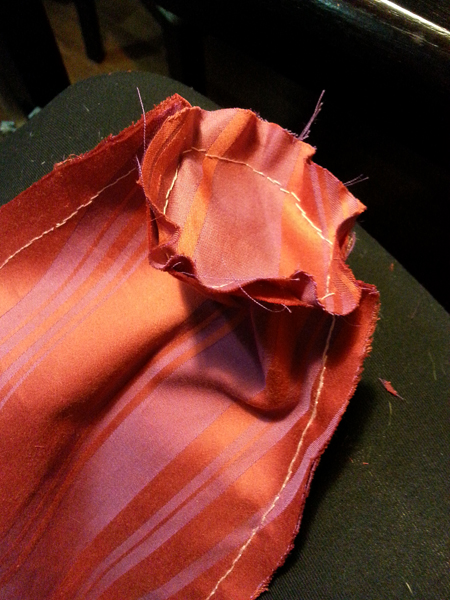
With a pair of scissors, cut the seam allowance so that it's not so bulky. Careful not to cut the material or stitching!
|
Flip your body inside out and... Ta Daaaaa!
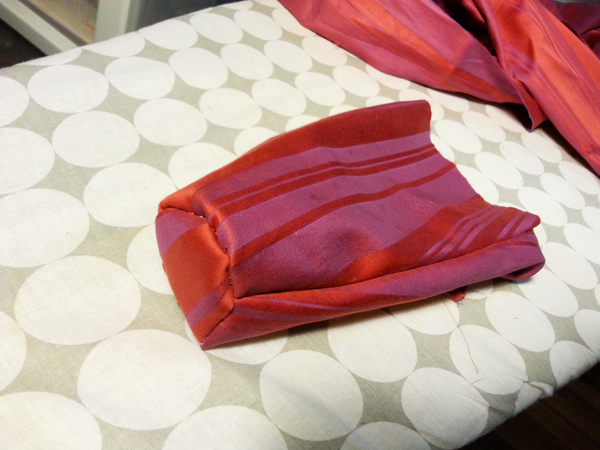
|
All you have to do is iron the seams and you are done!
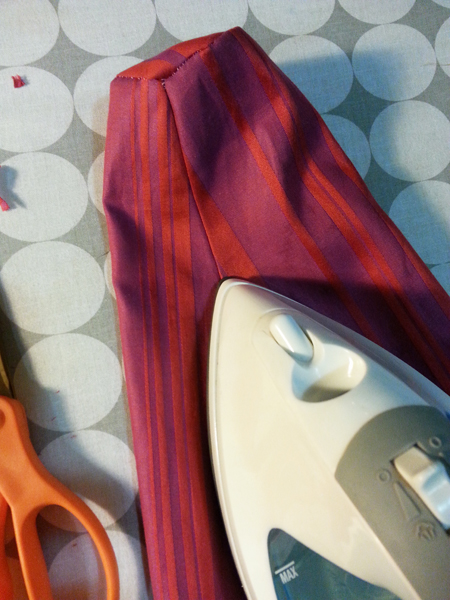
|
I glued my neck foam piece to the base with a glue gun...
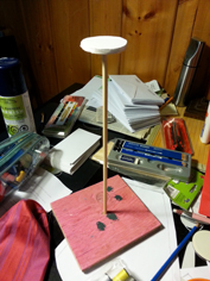
|
...and dressed with the material. Still need to paint the base!
|
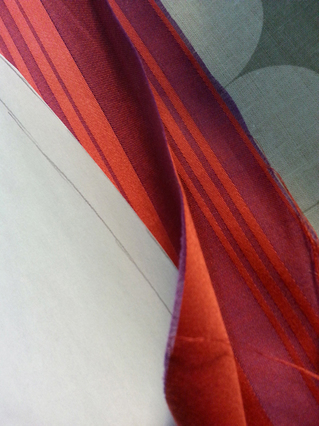
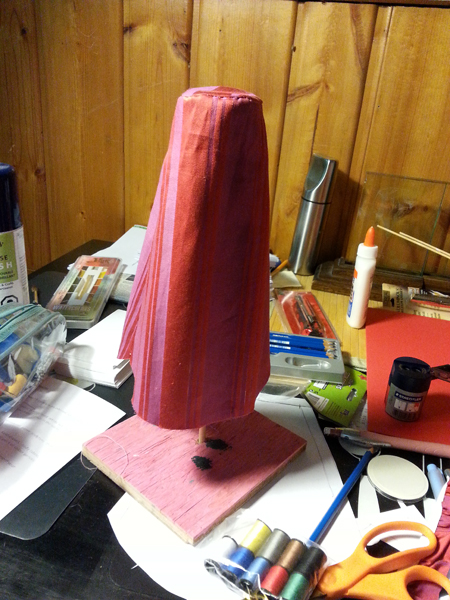
With white glue, I glued down some strips of orange material.
|
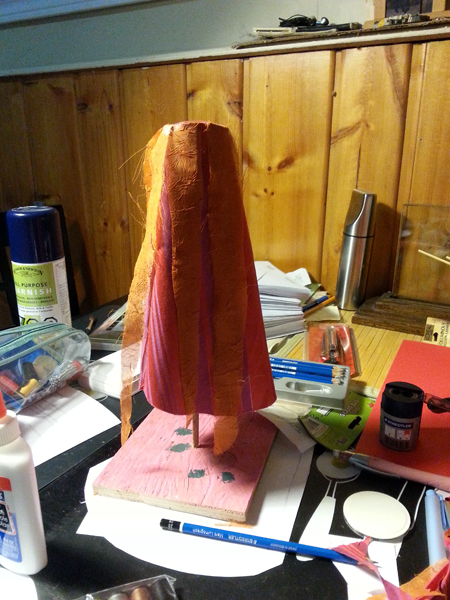
After you get to this point, you can paint the wood black so that the rest stands out, and then it's up to the student how to decorate their statue. To make bits stand up for heads and faces, you can use pieces of foam board -- and everything you glue can be done with Elmer's glue! I found that even the biggest pieces of paper stay on with Elmer's glue. I had a pile of pieces to use, and started cutting them off magazines soon after the body was done.
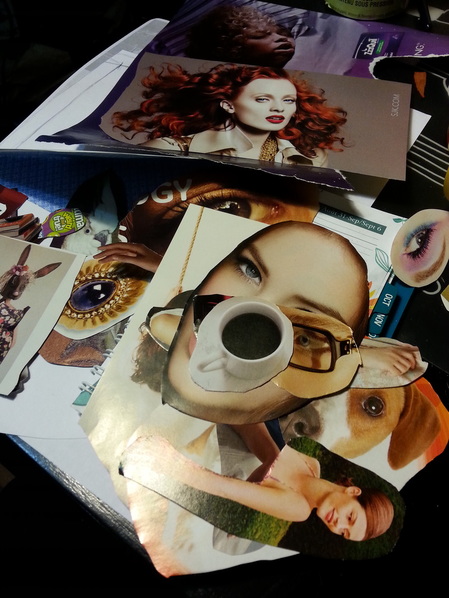
All my bits of paper...
|
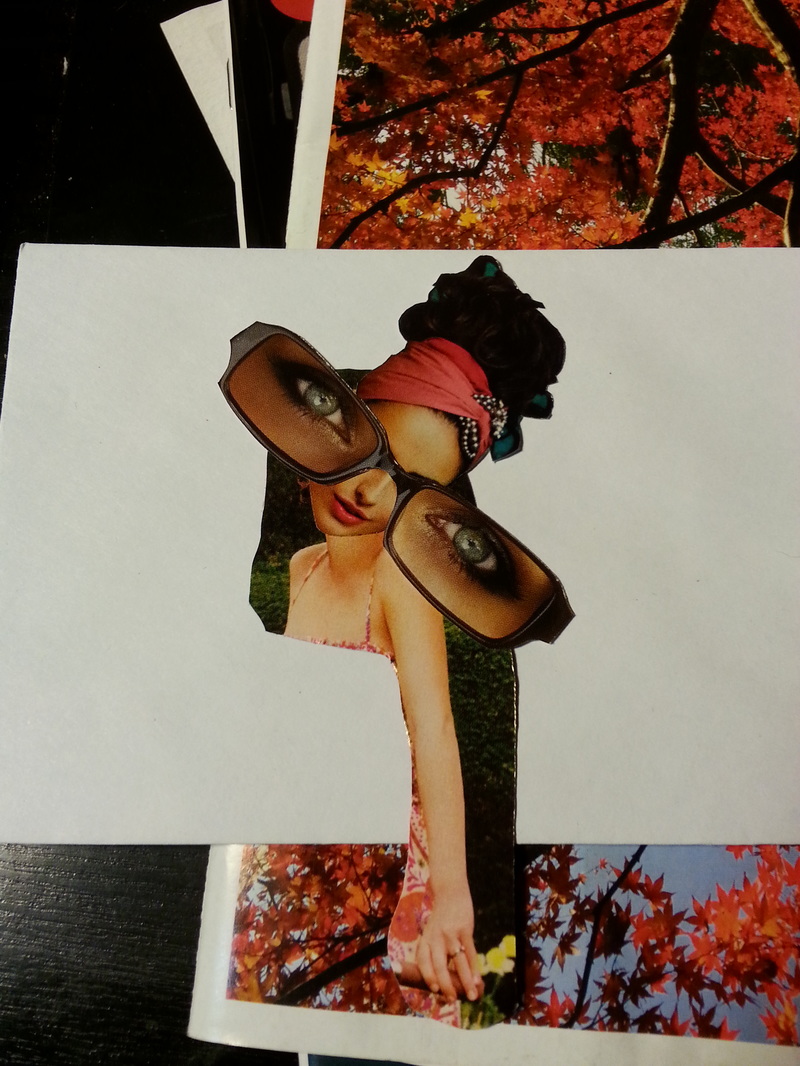
...and the face for one of the sides.
|