Tutorial 11 - 3-D tools and symmetry
I almost forgot to show you how to get three-dimensional objects easily built on Illustrator.
This is a good introduction to Maya, which we will be looking at next week.
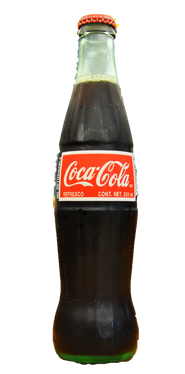
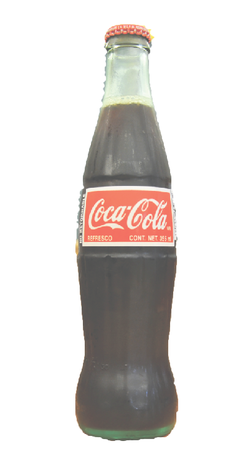
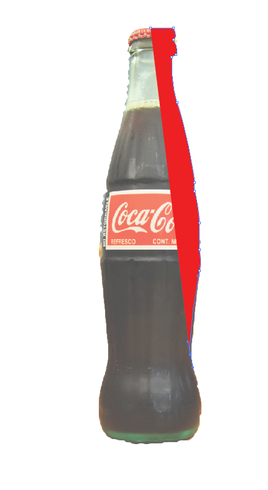
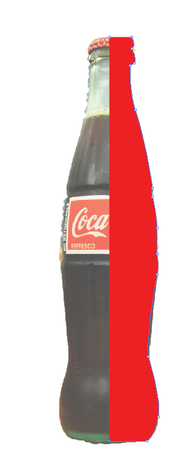
I started my project, like many animators, by creating a flattened skin for my 3-D model.
I did this by taking this bottle of Coke to Photoshop and playing with liquify and cloning until I was happy:
This is a good introduction to Maya, which we will be looking at next week.
I started my project, like many animators, by creating a flattened skin for my 3-D model.
I did this by taking this bottle of Coke to Photoshop and playing with liquify and cloning until I was happy:
|
The bottle source:
|
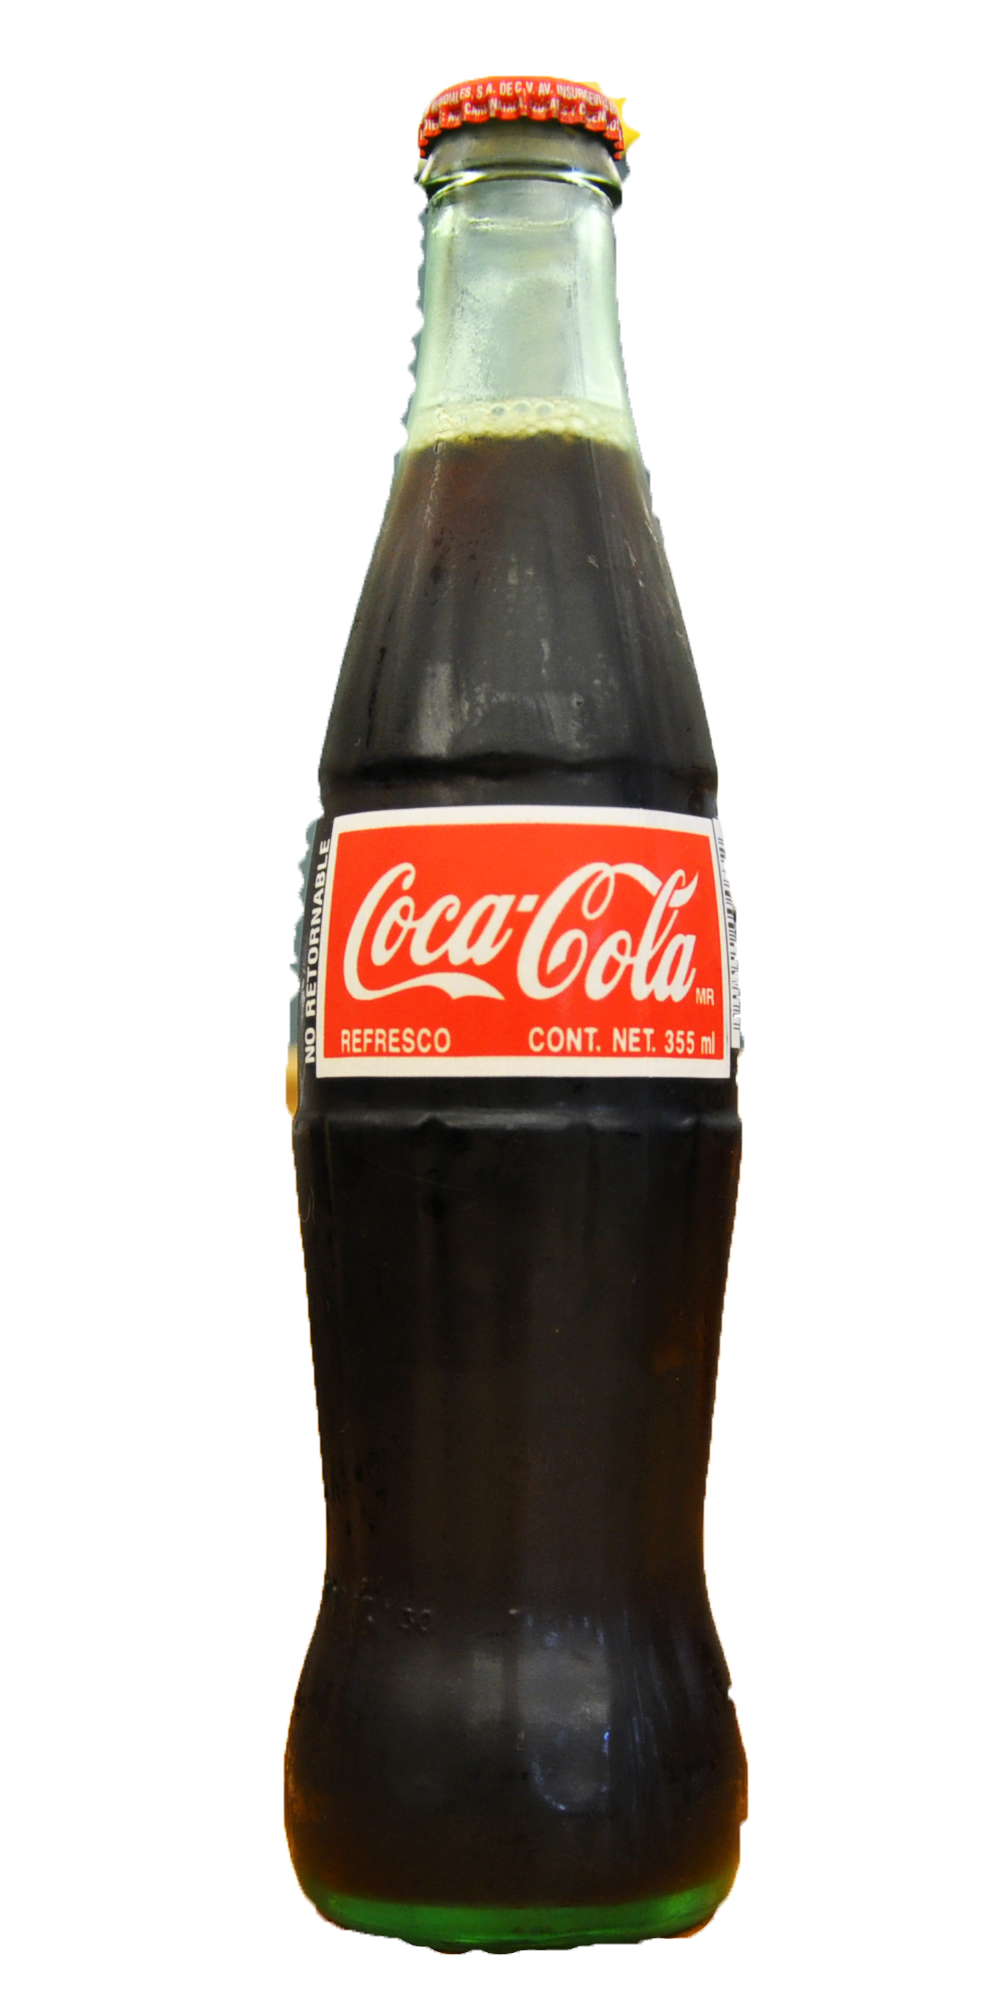
What it looked like in the end:

|
The files for you:
| ||||||
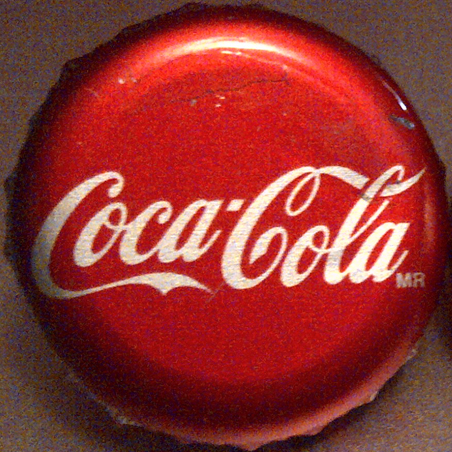
As you can see, there is also a file called "top".
This is because, when you model something, every single surface needs to be mapped separately. This is usually done the easiest, most efficient way possible. In our case, we need two textures: one for the bottle itself and one for the top.
This is the top for our bottle, found on the file for download above:
The first thing you will do is make sure you are working from the THAWED drive.
That's right -- move every file for this tutorial into the Thawed drive.
Otherwise, you will be sharing resources with the server and the computer won't be able to calculate the image.
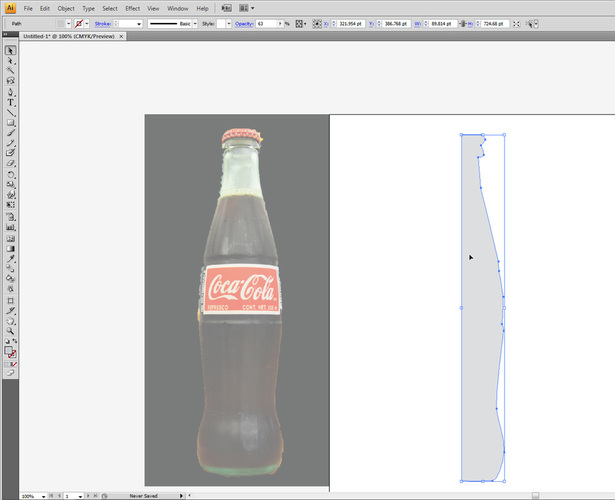
Now, place the file "empty-coke-bottle-png.png" from the Thawed drive onto Illustrator.
Make sure the opacity is set to around 50-60%, and that you lock the object.
Start drawing until you have a good half bottle. Don't worry about perfection; the anchor points can be altered later.
That's right -- move every file for this tutorial into the Thawed drive.
Otherwise, you will be sharing resources with the server and the computer won't be able to calculate the image.
Now, place the file "empty-coke-bottle-png.png" from the Thawed drive onto Illustrator.
Make sure the opacity is set to around 50-60%, and that you lock the object.
Start drawing until you have a good half bottle. Don't worry about perfection; the anchor points can be altered later.
|
|
|
Now, unlock the bottle, change the opacity back to 100% and move it aside.
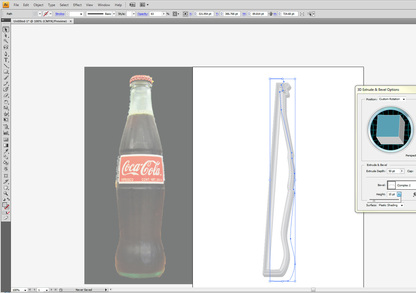
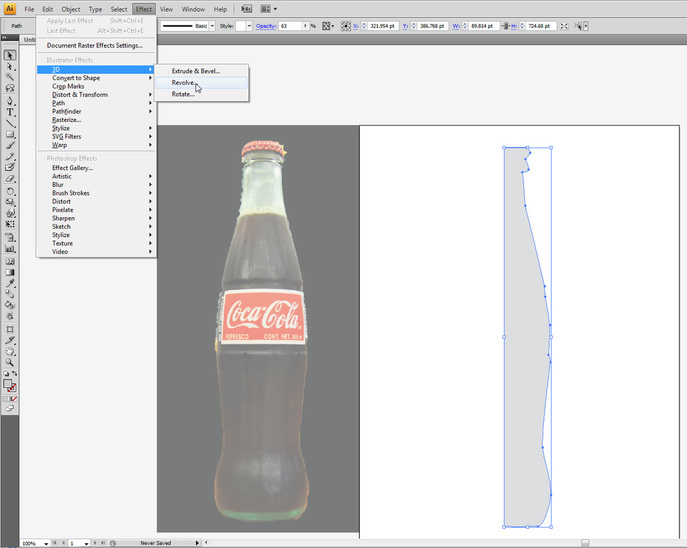
There are many options on 3-D tools. Let's take a look at extrude and bevel...
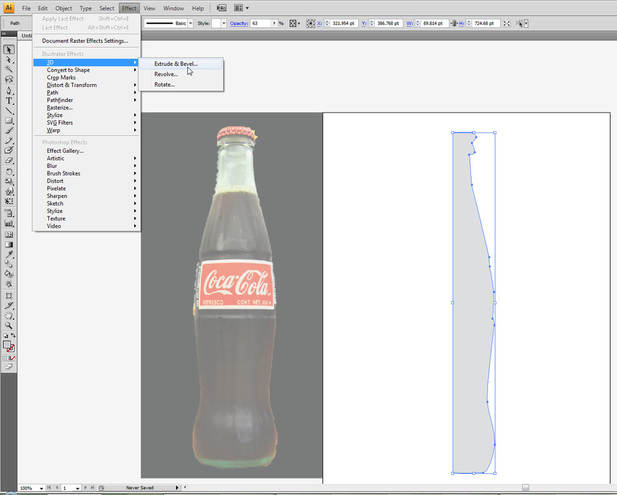
You can make your element extruded like this...
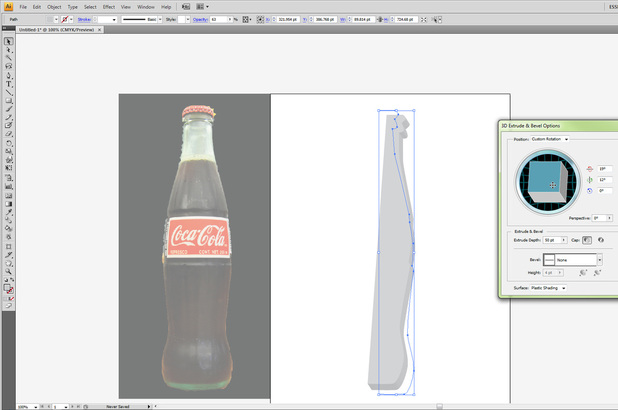
... but also make it hollow. Both of these styles would be good on fonts, don't you think? Coke bottles, not so much.
|
|
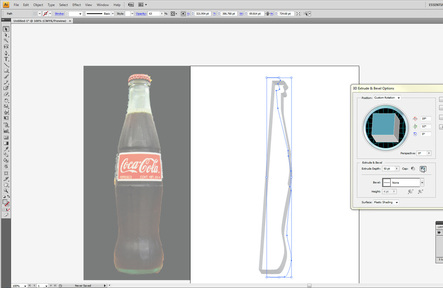
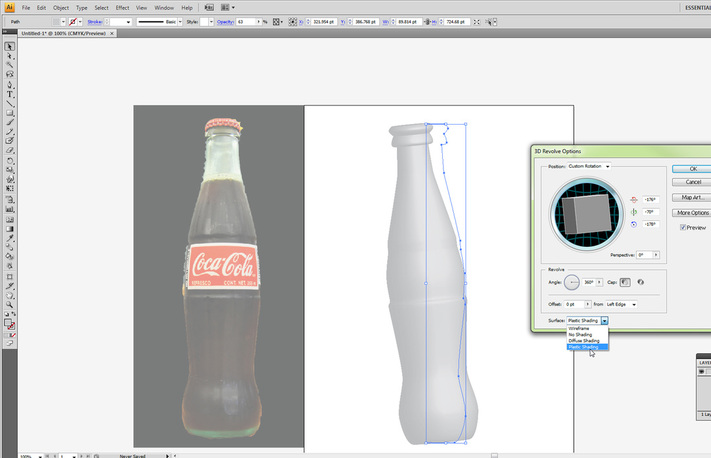
To make the coke bottle round, use the revolve tool.
See, it already looks much better.
This is the time when you can go in and modify the anchor points on your object. The modifications are immediately seen on your mesh.
You can use this tool to make an infinity of objects:
You can also start the revolve tool a bit off the centre to make tires and other hollow things!
This is the time when you can go in and modify the anchor points on your object. The modifications are immediately seen on your mesh.
You can use this tool to make an infinity of objects:
- pears
- apples
- bottles
- cans
You can also start the revolve tool a bit off the centre to make tires and other hollow things!
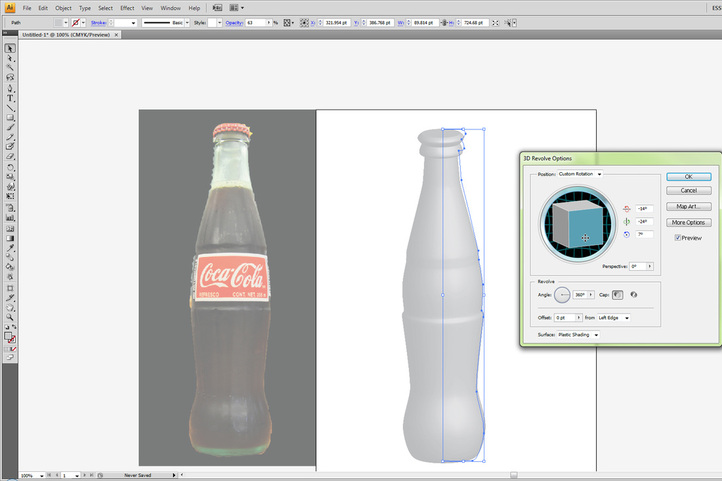
Under the 3D revolve options, you can move your object to different angles.
This is how you rotate your object. Don't try rotating by using rotate, as it would mess up your revolve tool.
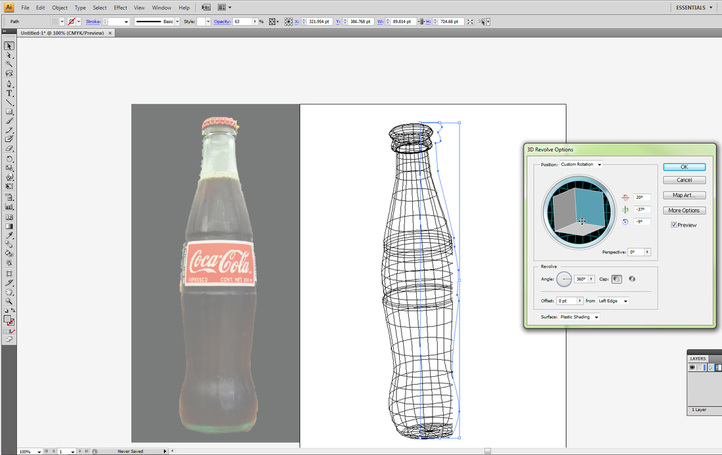
Notice the wire frame on your object? This is what the program will use to map your element.
This is how you rotate your object. Don't try rotating by using rotate, as it would mess up your revolve tool.
Notice the wire frame on your object? This is what the program will use to map your element.
Right below the 3D revolve options menu, you will see a drop down menu with options for the kind of shading you want to see. I chose the shiniest one because this is a bottle.
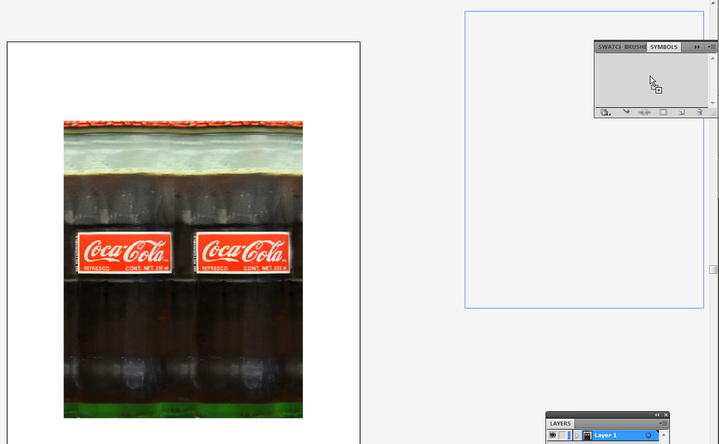
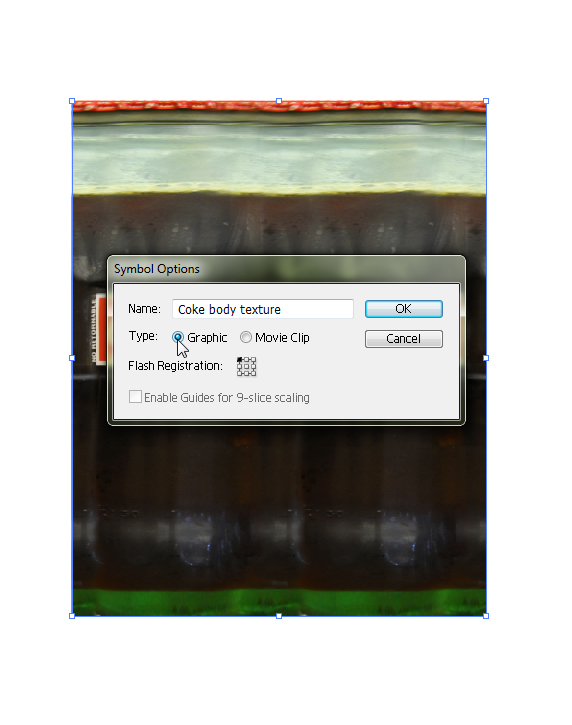
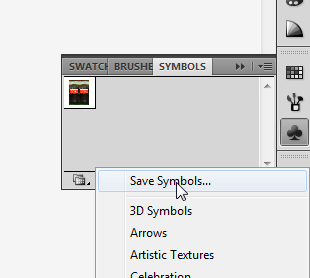
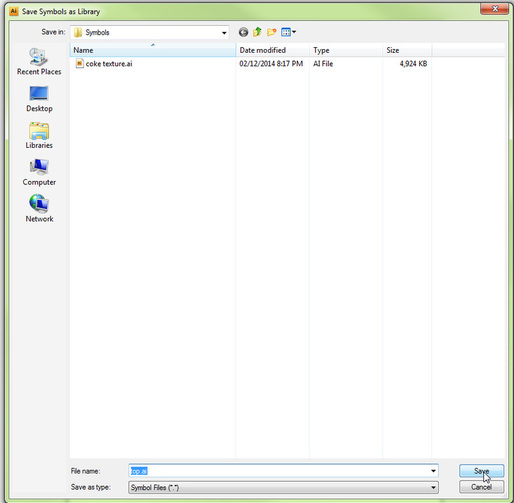
To be able to use our texture, we need to make it available through the symbols menu.
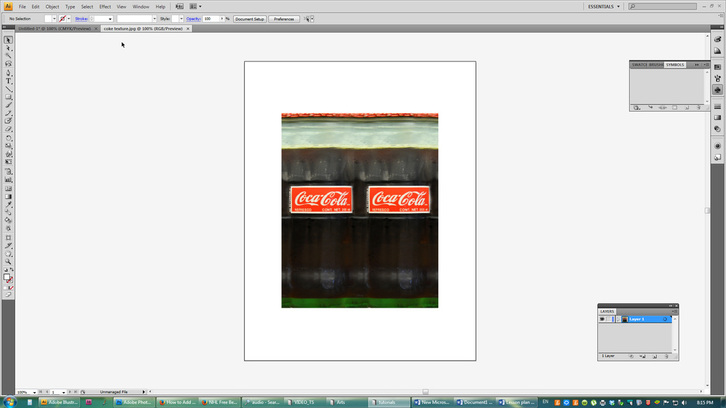
To do this, you need to open -- NOT place -- your texture on Illustrator. Once opened, make sure to click and drag it to the symbols window, then save it.
This should make it available through the symbols selection on your coke bottle 3-D image.
This should make it available through the symbols selection on your coke bottle 3-D image.
|
|
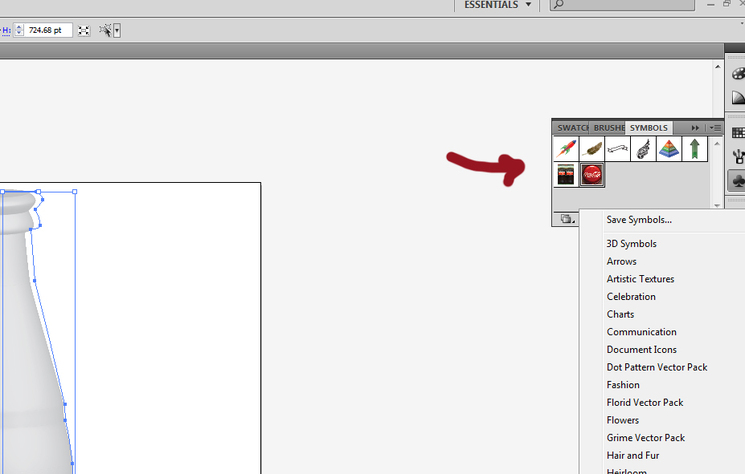
Back on my coke bottle file, I now can see my textures available. If they are not available, go under symbols, libraries, and find the option "user defined".
Your next step is mapping your work. Go under 3D revolve options and select Map Art.
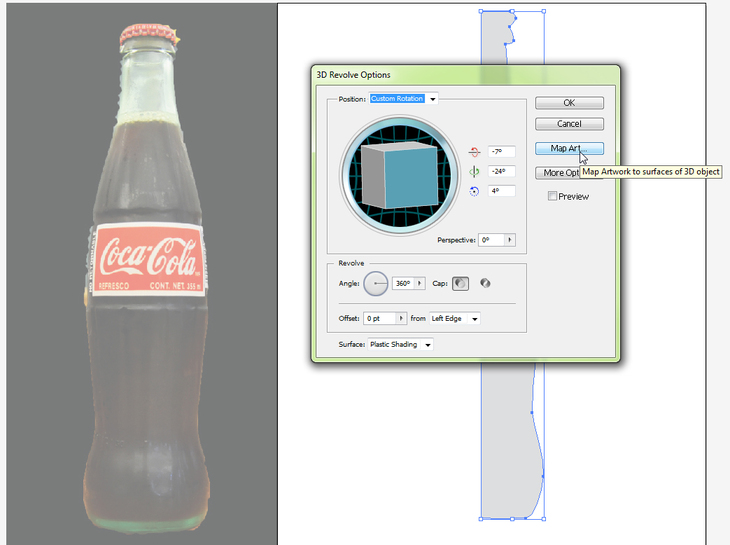
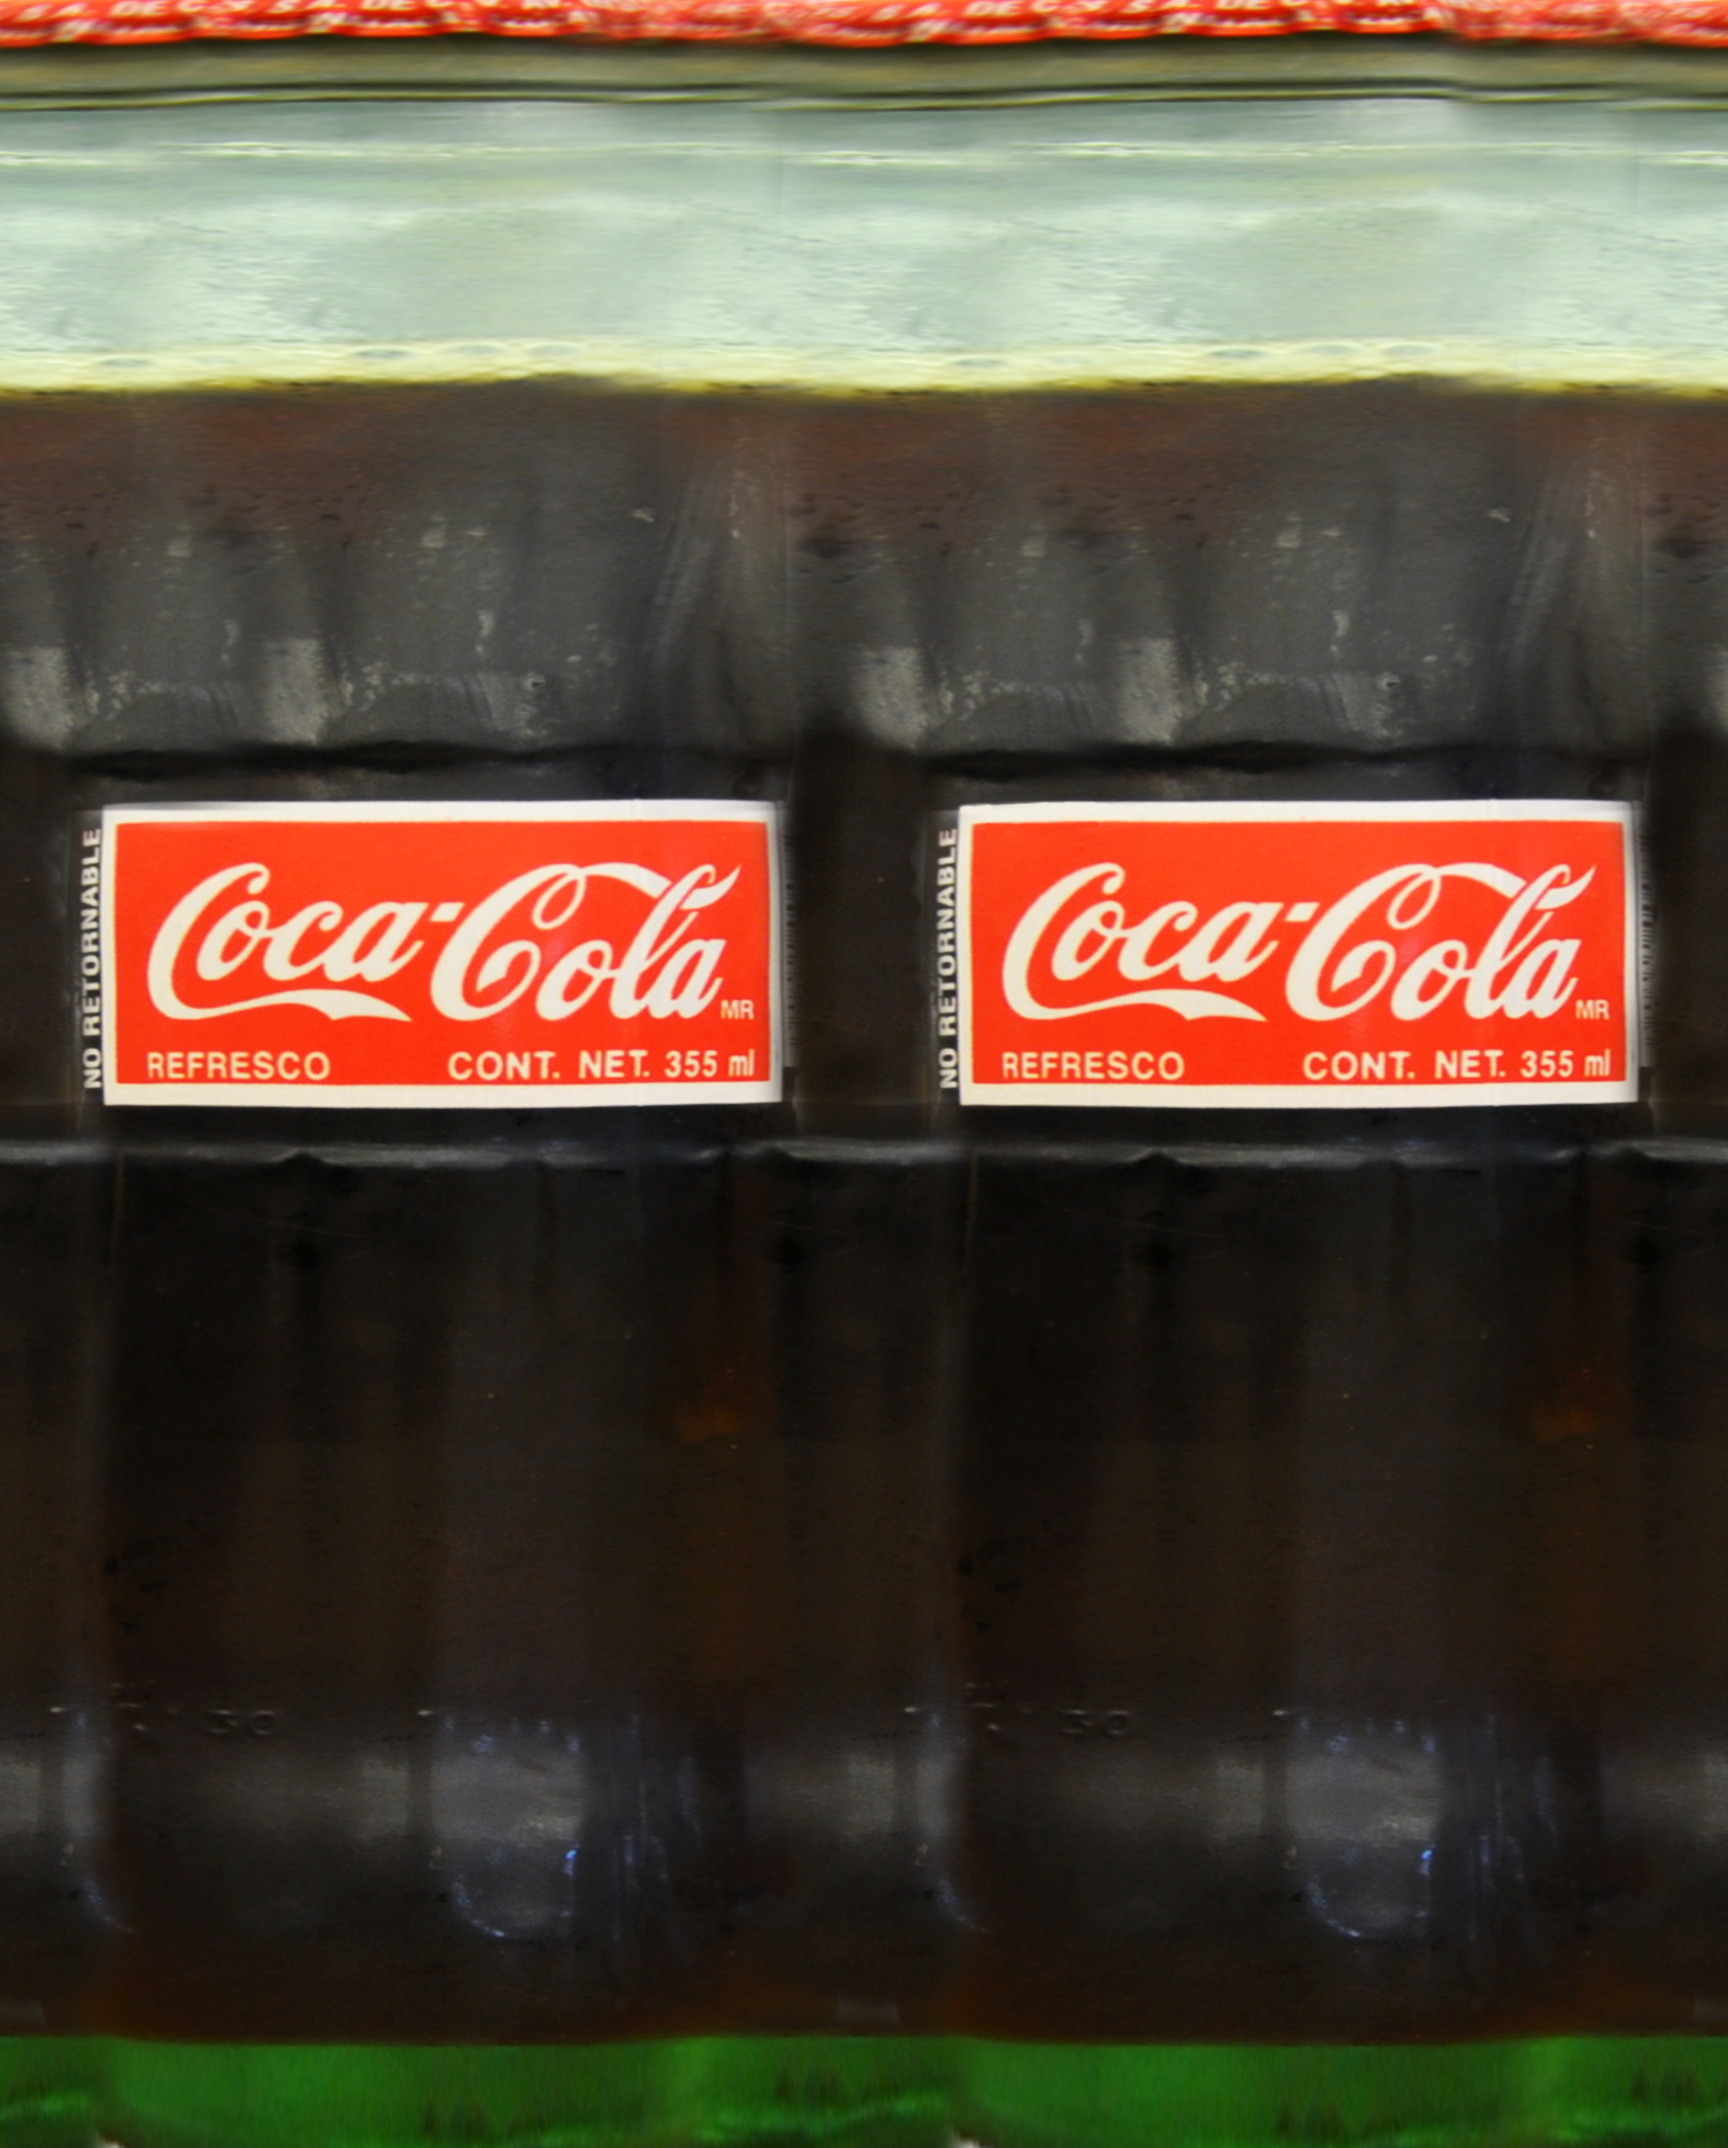
Depending on how many points you use, your element will be automatically divided into many different sections. I have done this bottle a few times, and always got between 4 and 6 different sections. This means you will need to map each section of the bottle. Tops and bottoms are easy enough:
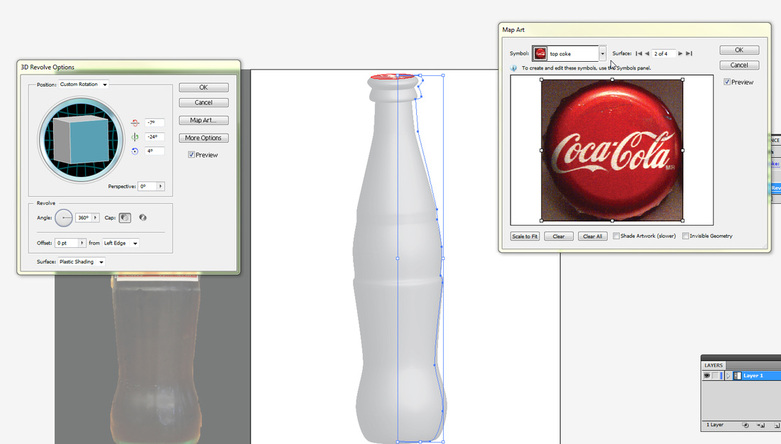
To map the body, I had to map it three times with the same texture, one for each section. This will make more sense once you try it.
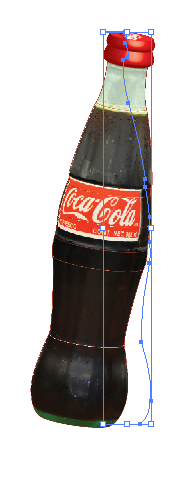
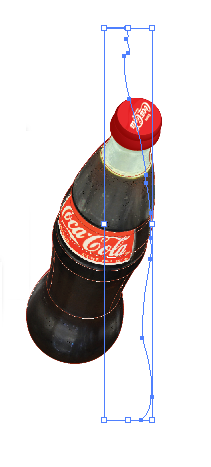
But look... now, instead of a flat bottle picture, we have a bottle we can turn in every direction.
Pretty cool, huh?
But look... now, instead of a flat bottle picture, we have a bottle we can turn in every direction.
Pretty cool, huh?
|
|