Exposure Tutorial
In this tutorial, you will learn to change the exposure of your photos, as well as change the exposure of only a section of your photo.
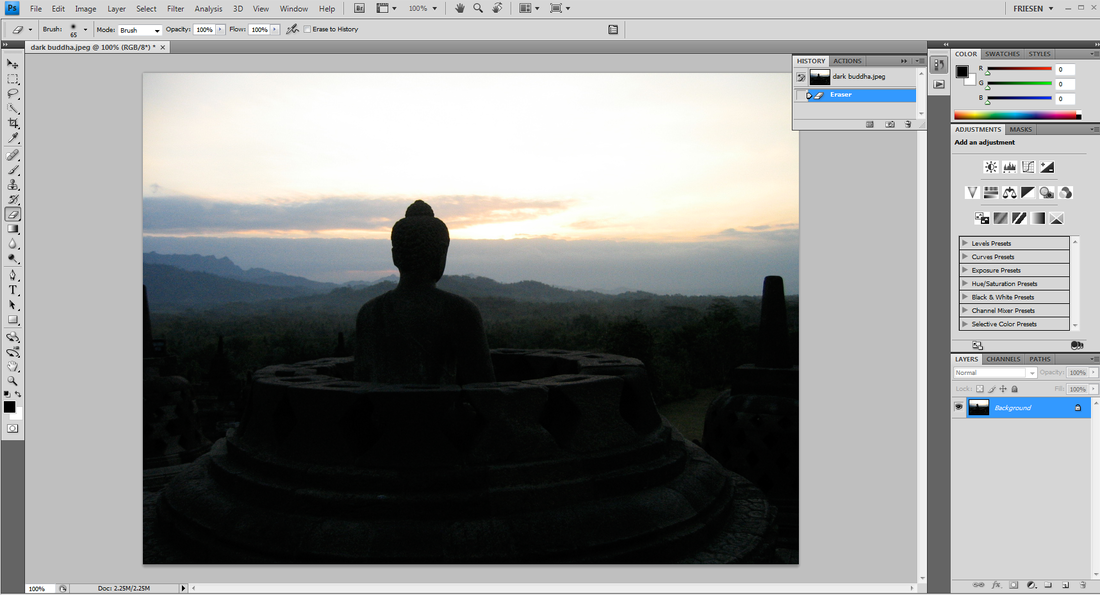
To start, open the photo below on Photoshop: Dark Buddha
To start, open the photo below on Photoshop: Dark Buddha
| dark_buddha.jpeg |
Notice how the foreground of the photo is very dark comparing to the background? Let’s fix that.
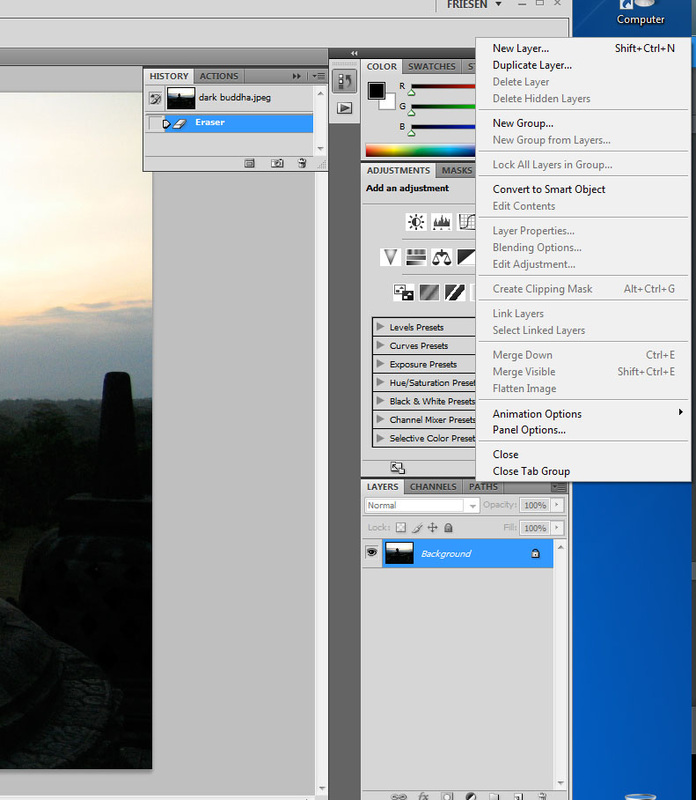
First, you will duplicate the background layer, so that there are two layers on the image.
Make sure the History is open. You can find History under Window -> History.
Make sure the History is open. You can find History under Window -> History.
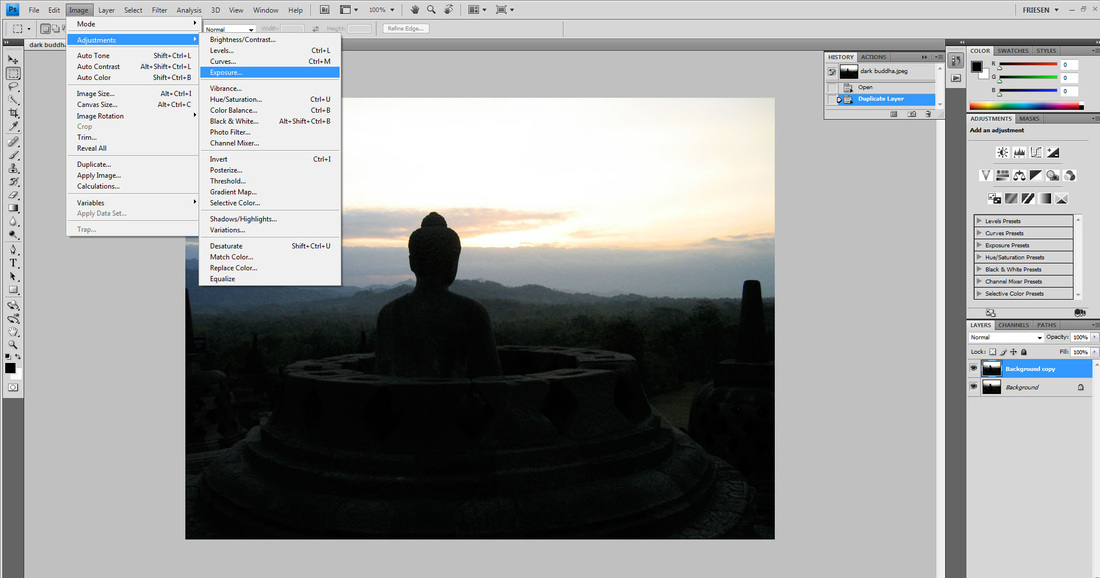
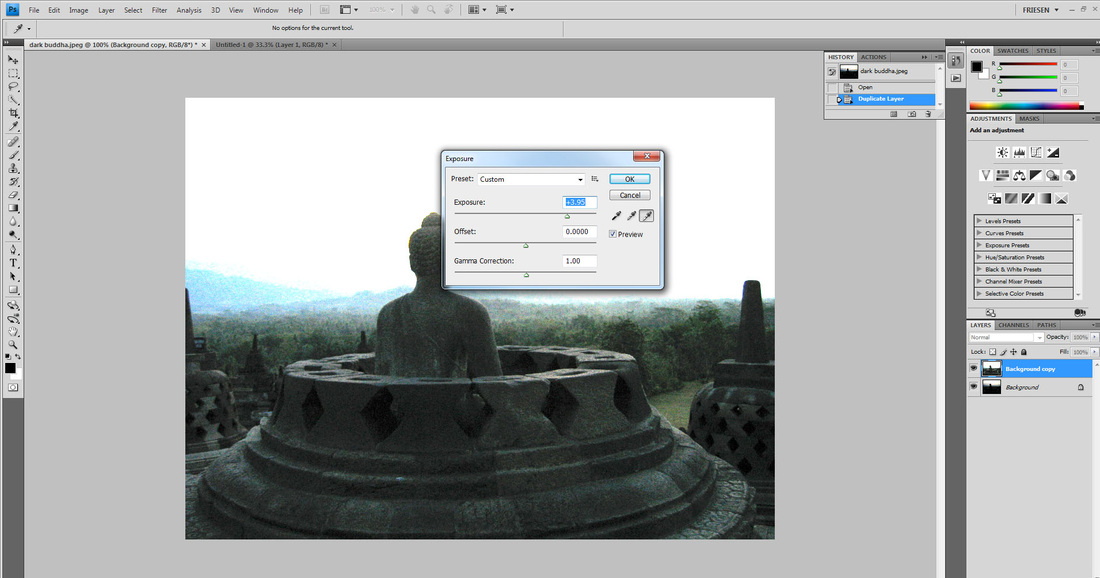
Now, go to Image -> Exposure, and increase the exposure until you find it pleasing. I thought that around 3.5 or 4 was a good number. Say OK.
|
|
Now you have two layers; one with a high exposure and one with a low exposure. We will be working on the top layer, high exposure, but to make sure we save a copy in case we make a mistake, we will copy the high exposure layer.
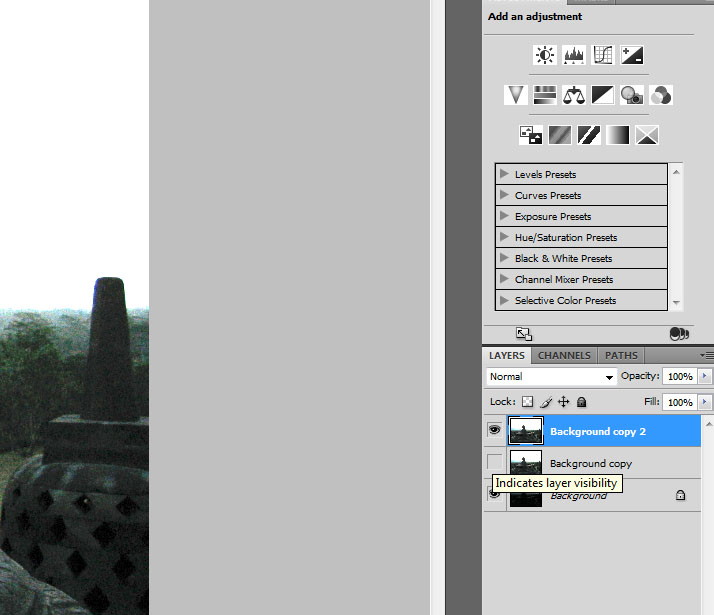
Now, click the eye symbol on one of the exposure layers. This will make it invisible. See picture.
Now, click the eye symbol on one of the exposure layers. This will make it invisible. See picture.
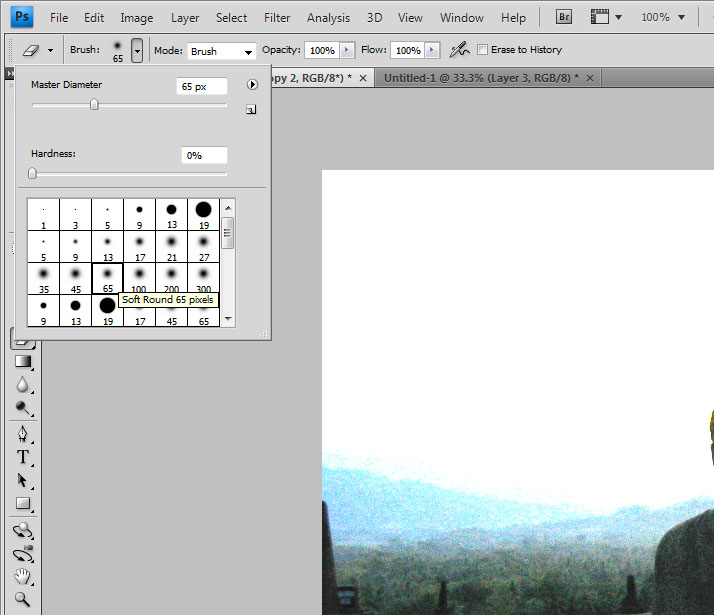
With the eraser set on a brush with hardness zero, select a size brush of about 65. This will be used to erase most of your background.
You probably will want to decrease your brush size to get close to the nooks and crannies.
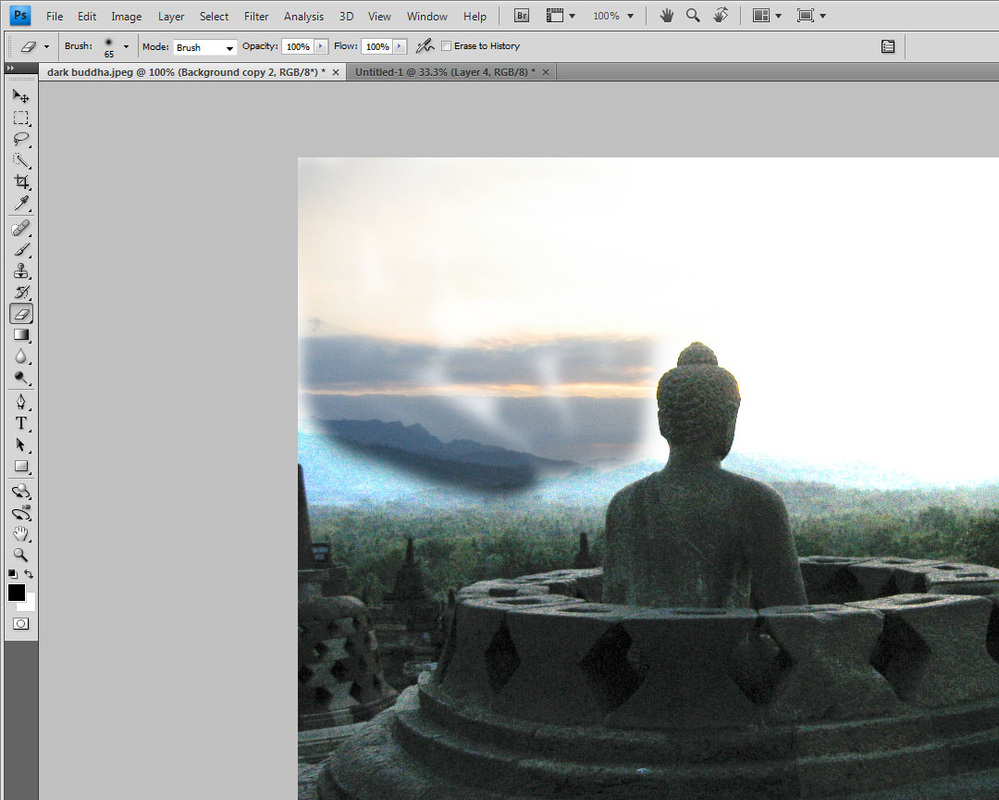
To blend the horizon line, you will want to decrease your eraser brush opacity to 50% and to a few passes over the background, to blend the trees in.
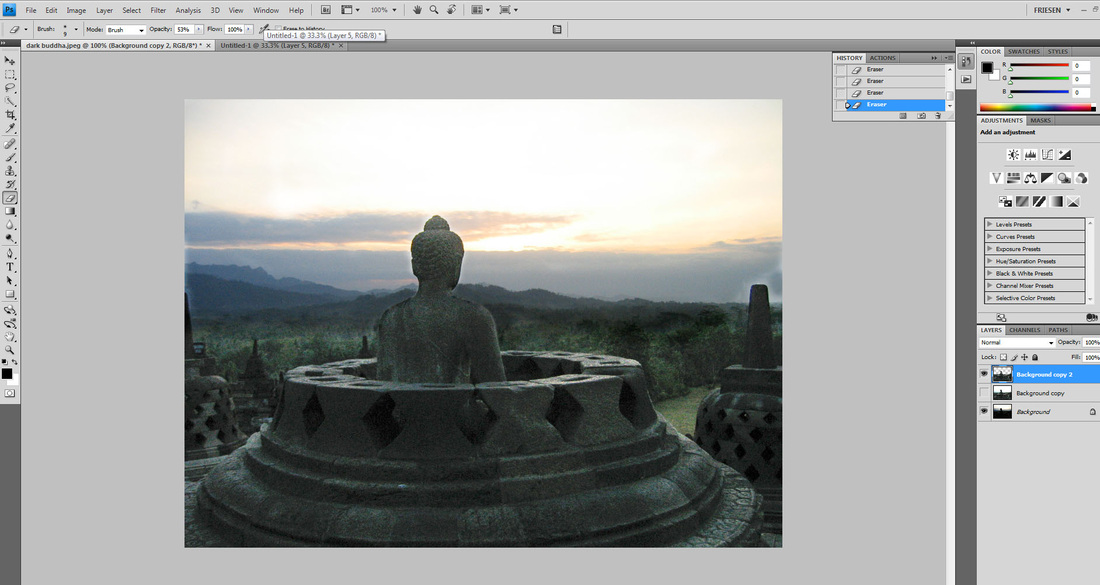
Your image should look like the one below.
Your image should look like the one below.
To flatten your image, you should go to the right of the Layers menu again, and select “Flatten Image”
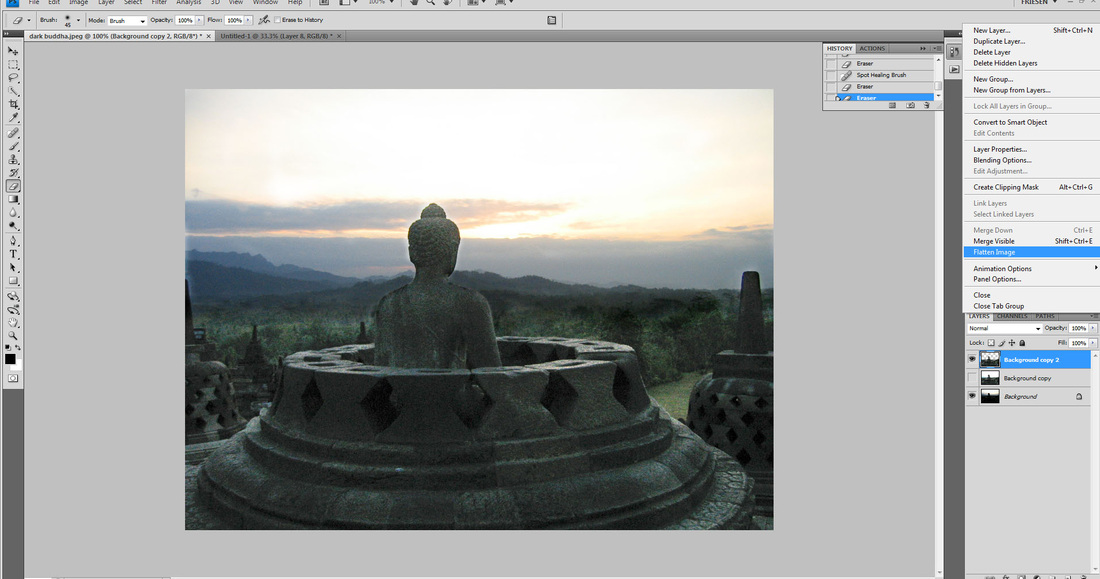
This is your new image.
Go to File -> Save as -> Buddha.
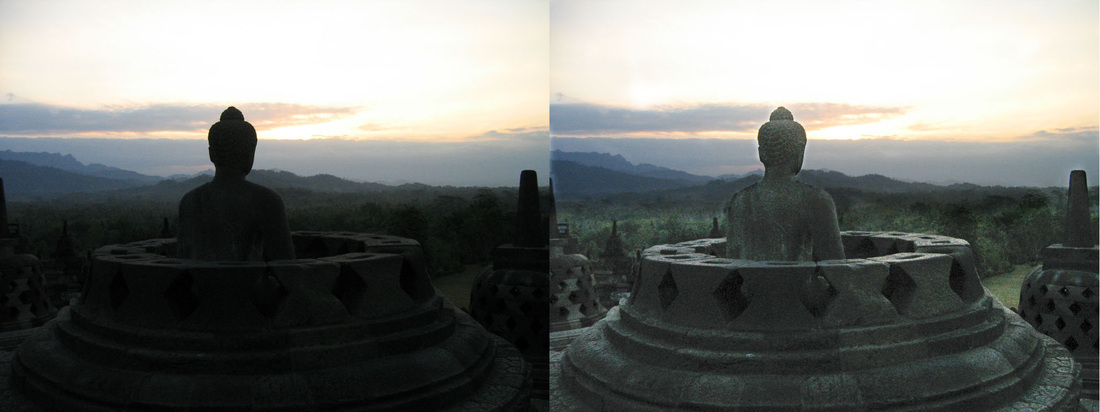
As you can see below, there is a big improvement between your original image and your final image.
Go to File -> Save as -> Buddha.
As you can see below, there is a big improvement between your original image and your final image.
Now, try this technique with one of your own photos!
