Tutorial Six - Text in Photoshop
While Photoshop is not a text program per se, it is the most useful text editor when you want to add pre-set styles to your text.
Often, I create a one-of-a-kind text in Illustrator, then move the file to Photoshop and apply a style to it, to make it truly original.
You can find STYLES for download online; some are free and some are paid. I also love collecting FILTERS.
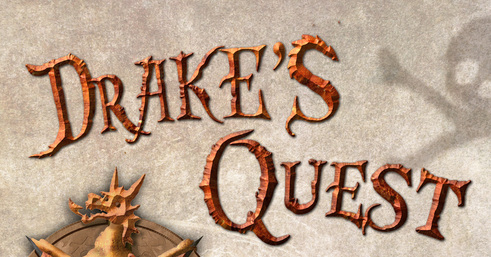
Below, a title created and modified on Photoshop, enhanced by the use of Styles:
Often, I create a one-of-a-kind text in Illustrator, then move the file to Photoshop and apply a style to it, to make it truly original.
You can find STYLES for download online; some are free and some are paid. I also love collecting FILTERS.
Below, a title created and modified on Photoshop, enhanced by the use of Styles:

The text below was also created on Photoshop, and then rasterized, and modified after applying a filter:
On this tutorial, we will learn basic methods of manipulating type, so that we have something like this:

Let's start by opening the two files below.
|
| ||||
Now, with the cat opened on your screen, you will select the pen tool, and make sure that it is set to paths.
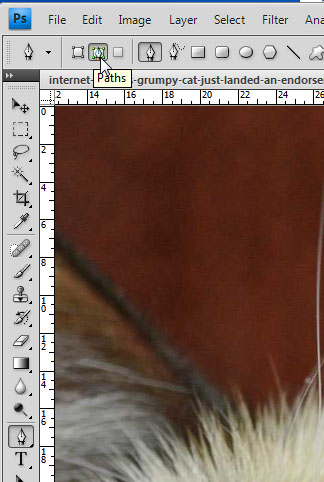
You will use the pen tool to draw a curved line.
You will start by clicking, to anchor your curve. Then, you will click and drag, click and drag, until you have something like this:
You will start by clicking, to anchor your curve. Then, you will click and drag, click and drag, until you have something like this:

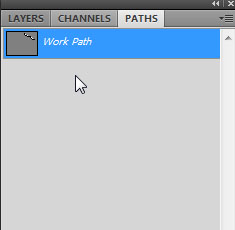
Note that this will create a path under your paths panel.
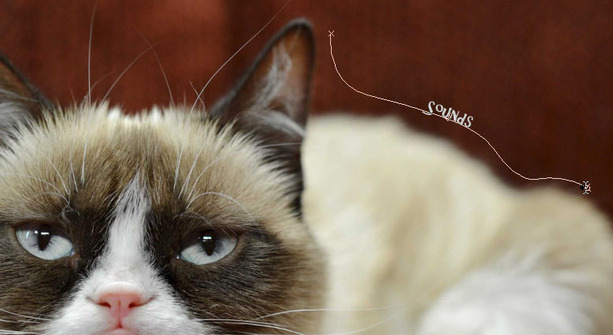
Your next step will be to select the text tool and approach this path. Note the cursor will change; click on the path and start typing.
Below, you will notice that suddenly, I could not type anymore. There is a little circle, which indicates the limit of my path.
That's not good!
Below, you will notice that suddenly, I could not type anymore. There is a little circle, which indicates the limit of my path.
That's not good!

You need to select the Path Selection Tool; which is right below the type tool on the vertical menu.
This allows you to not only move the limit circle, but also move the type on the path; you can even put the type upside down if you want.
This allows you to not only move the limit circle, but also move the type on the path; you can even put the type upside down if you want.
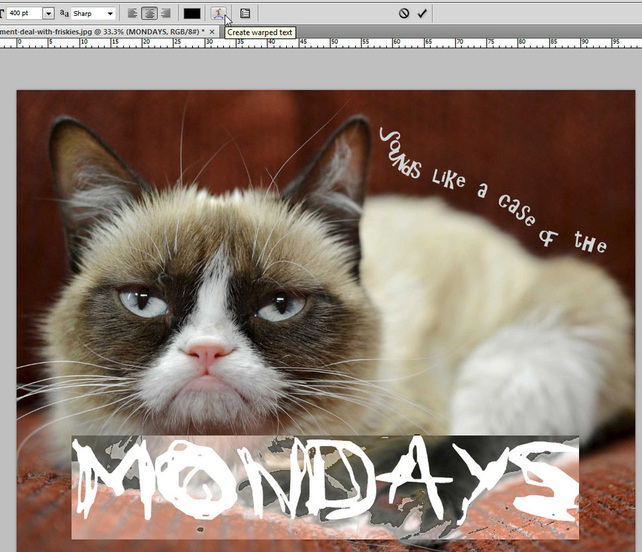
I finished typing my phrase, and then clicked away from type to deselect it.
I selected the type tool once again, and clicked on my picture.
This created a NEW LAYER with type. I wrote Mondays on this layer.
I selected the type tool once again, and clicked on my picture.
This created a NEW LAYER with type. I wrote Mondays on this layer.

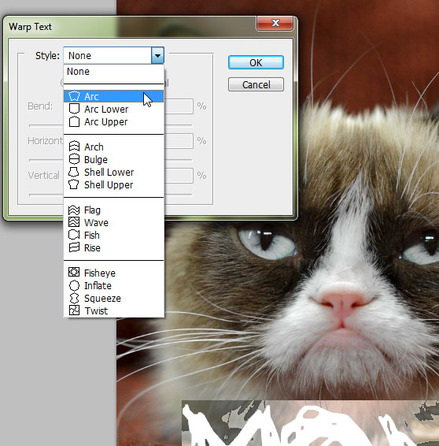
I selected my Mondays text, and then I clicked on Create Warped Text:
There is a variety of choices here, and each one has its own settings.
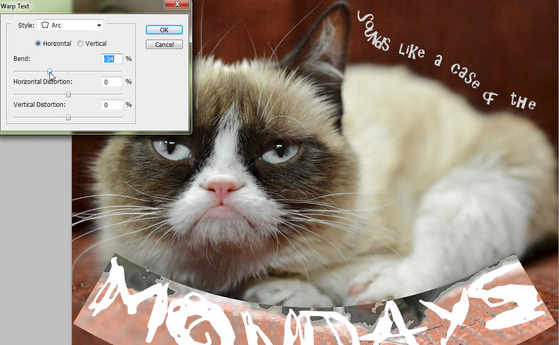
For my picture, I picked Arc.
For my picture, I picked Arc.
Once I did this, I adjusted the settings until I was happy. This is the result:
Finally, I applied my styles to the words on my picture. The result is as follows:

Text is infinitely flexible, and you can get really creative with it. Please explore some possibilities with text!
If you are done, I have prepared a fun extra tutorial which you can find here:
If you are done, I have prepared a fun extra tutorial which you can find here:
Click here for Tutorial Extra 2 - Mount Rushmore, moving heads and more!
In case you want to try something a bit more challenging, here is a cool tutorial to help you start drawing with Photoshop:
Click here for making an icon with Photoshop
I hope you have fun!!
