Tutorial 12 - Make a Poster
For
our third and final assignment, you will create a poster about yourself and the
things you like to do.
This project starts with a plan of action.
Make a list of ideas that you want to implement on your poster. This is a necessary step to help you plan.
You can also start a folder under your name and collect photos and fun things inside, and select only the best to create your poster.
Make sure to search for photos on Google selecting the large image option!
On your final InDesign file, you will need the following:
1. A Photoshopped picture of yourself.
2. A title using layer styles in Photoshop
3. A minimum of ten elements and photos that are meaningful to you, digitally altered when needed.
4. At least two images created on Illustrator, one of them created with 3-D tools.
5. Colours! Fun! Excitement!
This is the bare minimum for the project. Make this as interesting and exciting as you can.
After you are done with your image, save it as an InDesign file.
Submit your PSD, your AI and your ID files under the Projects folder.
We will pick some of the best work for display outside. You can also save your work and print it later, if you like it. After all, it’s a poster about you!
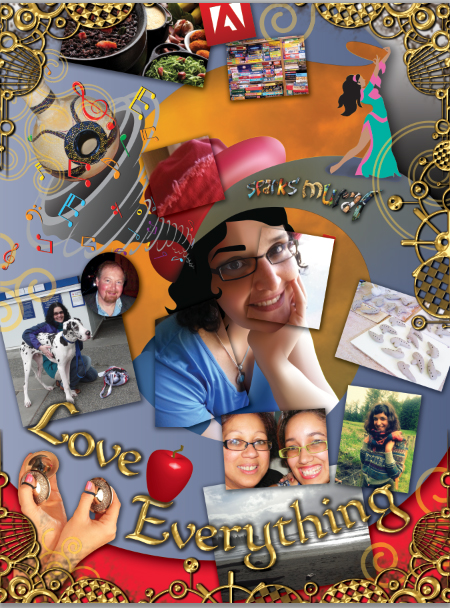
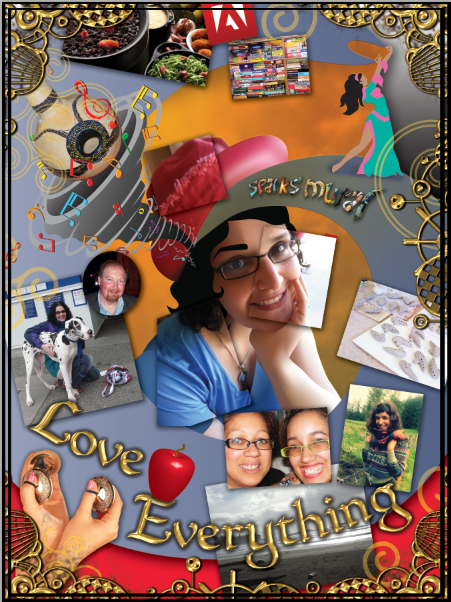
This is what my poster about me looks like:
This project starts with a plan of action.
Make a list of ideas that you want to implement on your poster. This is a necessary step to help you plan.
You can also start a folder under your name and collect photos and fun things inside, and select only the best to create your poster.
Make sure to search for photos on Google selecting the large image option!
On your final InDesign file, you will need the following:
1. A Photoshopped picture of yourself.
2. A title using layer styles in Photoshop
3. A minimum of ten elements and photos that are meaningful to you, digitally altered when needed.
4. At least two images created on Illustrator, one of them created with 3-D tools.
5. Colours! Fun! Excitement!
This is the bare minimum for the project. Make this as interesting and exciting as you can.
After you are done with your image, save it as an InDesign file.
Submit your PSD, your AI and your ID files under the Projects folder.
We will pick some of the best work for display outside. You can also save your work and print it later, if you like it. After all, it’s a poster about you!
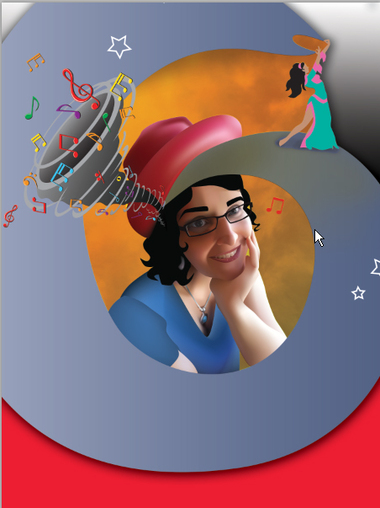
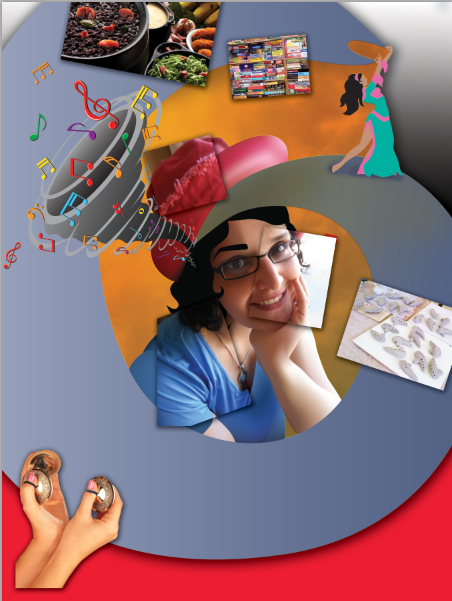
This is what my poster about me looks like:
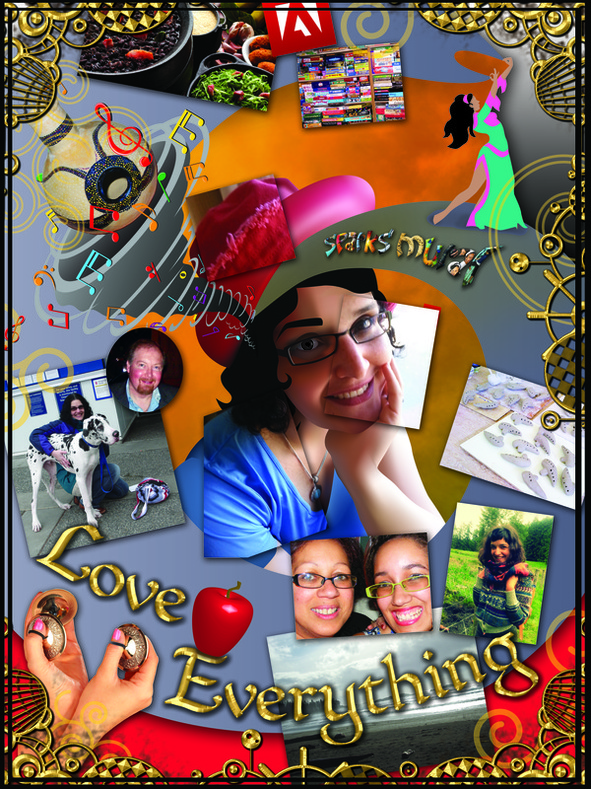
Looks like a lot of work, right? Let's see how I did it:
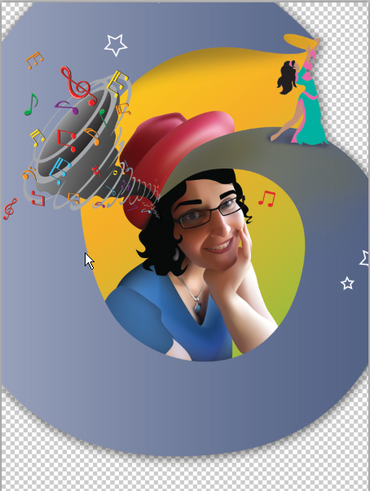
First, I made a design on Illustrator. I used the portrait I started and modified it a little, separating the hat and adding a swirl. When I was happy with it, I moved the whole set of vectors into a file I had made on Photoshop.
If you create the background like this, make sure your Photoshop file is set to 18" by 24", at 300dpi.
I put a layer below the vector layer and made it two colours, so the result would look like this:
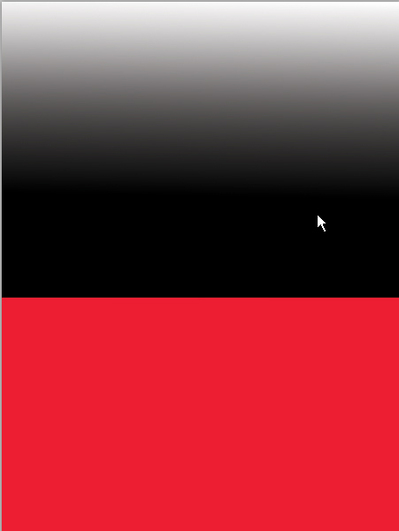
|
|
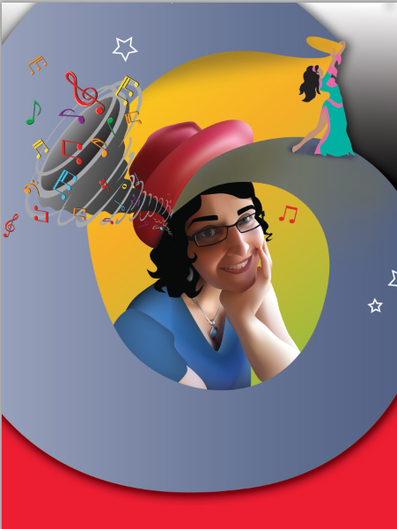
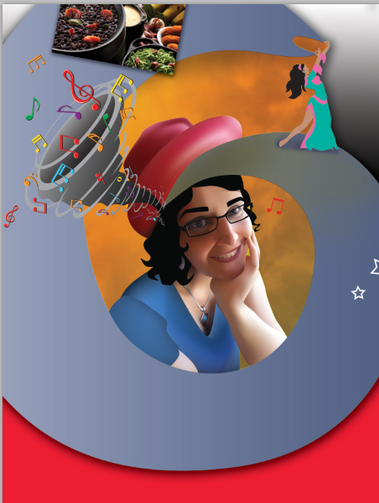
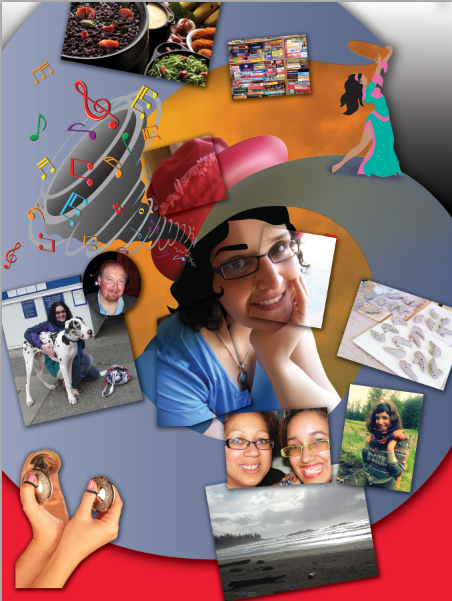
I added a texture to the orange portion by using the multiply layer blending option:
After this is all done, I saved my image, then placed the image to InDesign and started adding photos.
|
|
|
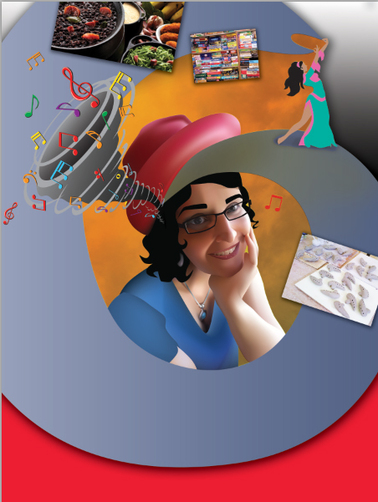
I decided to grab the photo I used as source for my self-portrait vector, and use parts of it to make my image more interesting. Notice the sleeve, the hat and the face?
|
|
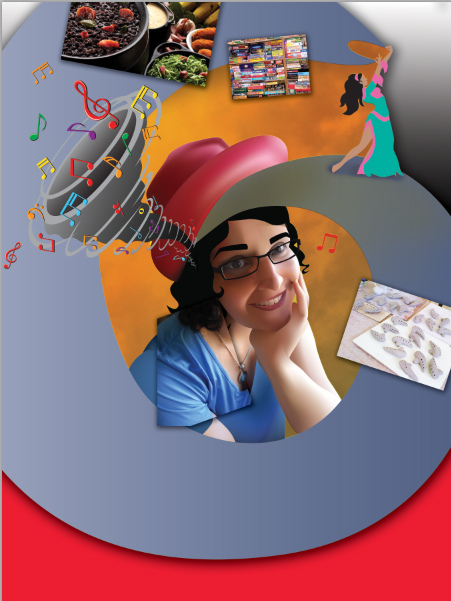
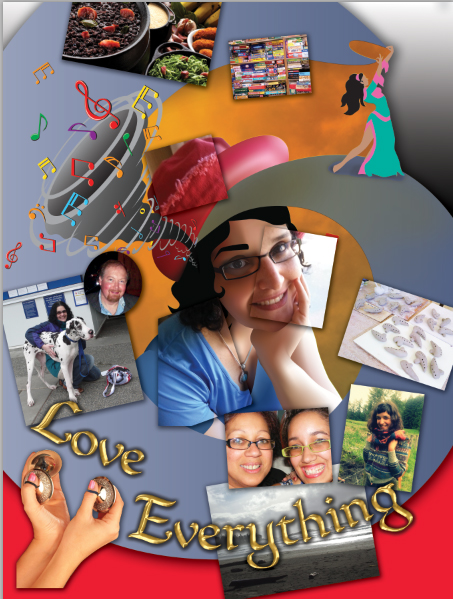
Adding text with InDesign is super easy... UNLESS you want it to have an effect, such as my gold effect below. In this case, you will build your font on a 18" by 24", 300dpi Photoshop file, save the file as a .png and then place it on InDesign.That is what I did:
|

|
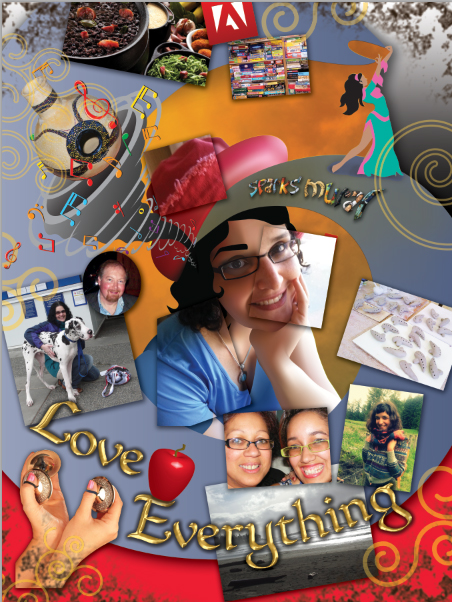
I also added another vector, a small apple I made by using the revolve tool on Illustrator. I added the Udu drum to the top left by cropping it on Photoshop and, again, saving as a .png. Dirty edges were added with a special paintbrush.

|
|
I found some cool corners online and took them to a 18" by 24", 300dpi Photoshop file, where I added the gold effect and saved as .png. I placed it on my InDesign poster:
|
|
So, are you ready?
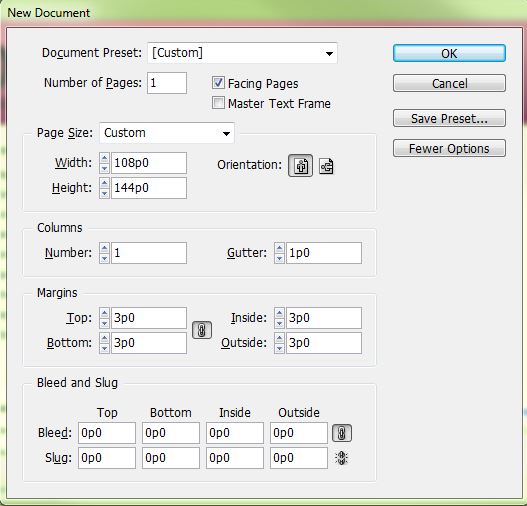
To start your poster, open InDesign. Make a new document with the following presets:
To start your poster, open InDesign. Make a new document with the following presets:
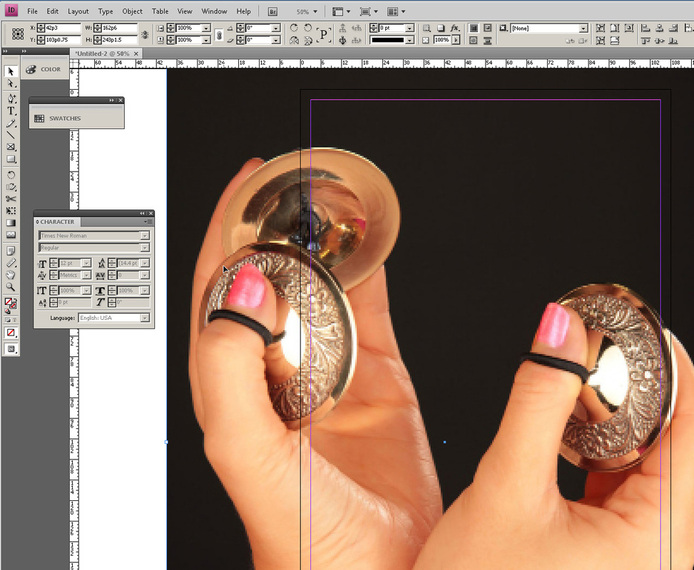
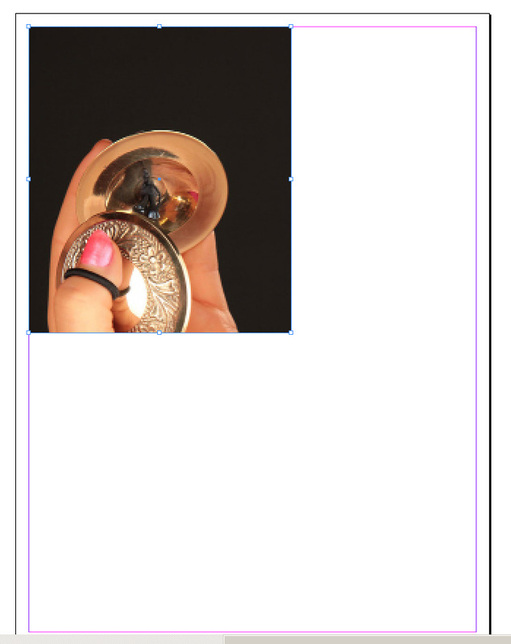
InDesign is a fairly simple program to use right off the bat. To place something on it, you do the same thing you did on Illustrator: go to File -> place, find your file and click to place it on your layout.
The problem is, doing it this way gives you no control over the placement of your picture.
Something like this could easily happen:
The problem is, doing it this way gives you no control over the placement of your picture.
Something like this could easily happen:
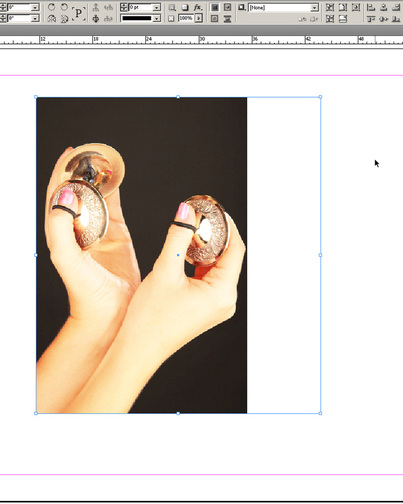
To avoid this, you can draw your frame first, then click to select it, and then put your content in the frame. You would get this instead:
"OY with the poodles, Mrs. J! Now it doesn't show the whole picture!"
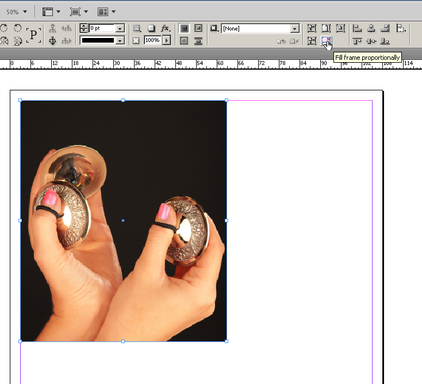
That is true! To correct this, there are a series of icons on the top right which help you fit something to a frame. I prefer to keep it proportional, so this is what I would use...
That is true! To correct this, there are a series of icons on the top right which help you fit something to a frame. I prefer to keep it proportional, so this is what I would use...
|
This option fills the content proportionally, but crops the picture a little to match the frame.
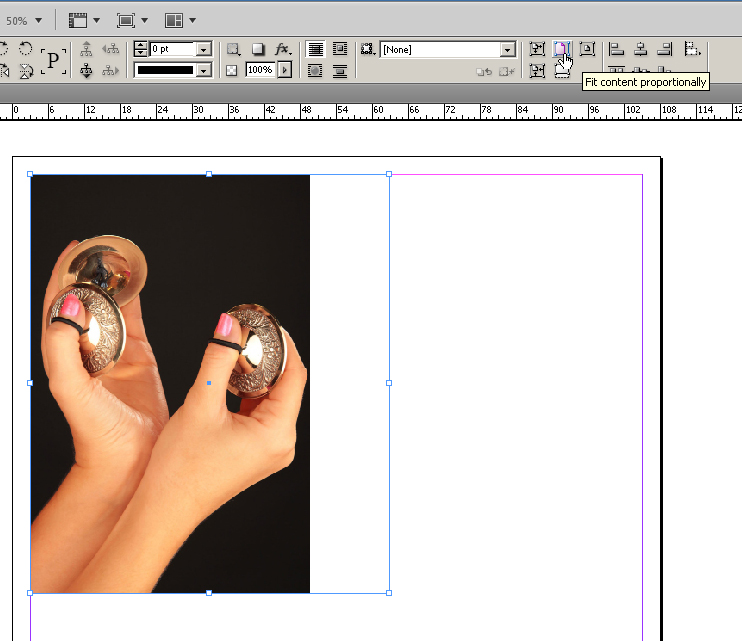
|
This option is also proportional, and without cropping, but now there is a little extra white space on the side.
|
With InDesign, you are able to use drop shadow, glow, etc. much like Photoshop. You can find these here:
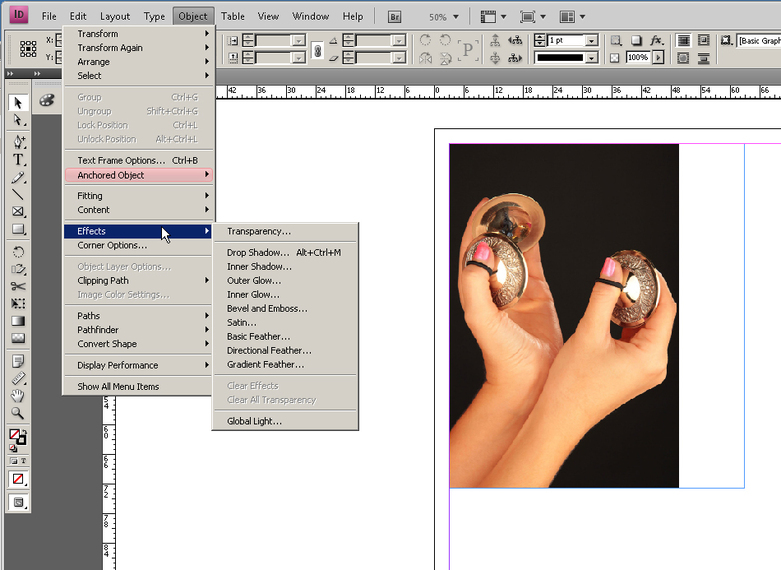
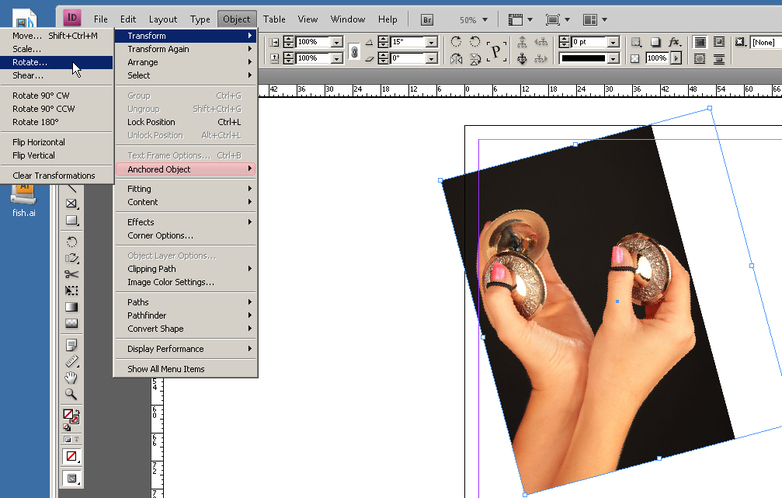
You can also rotate your image or elements here:
Writing something on InDesign requires you to do one of the following:
1. Click on the type tool, then click and drag on the InDesign file to make an automatic type box.
2. Click on the rectangle frame tool and prepare your frame/area, then select the type tool and start typing.
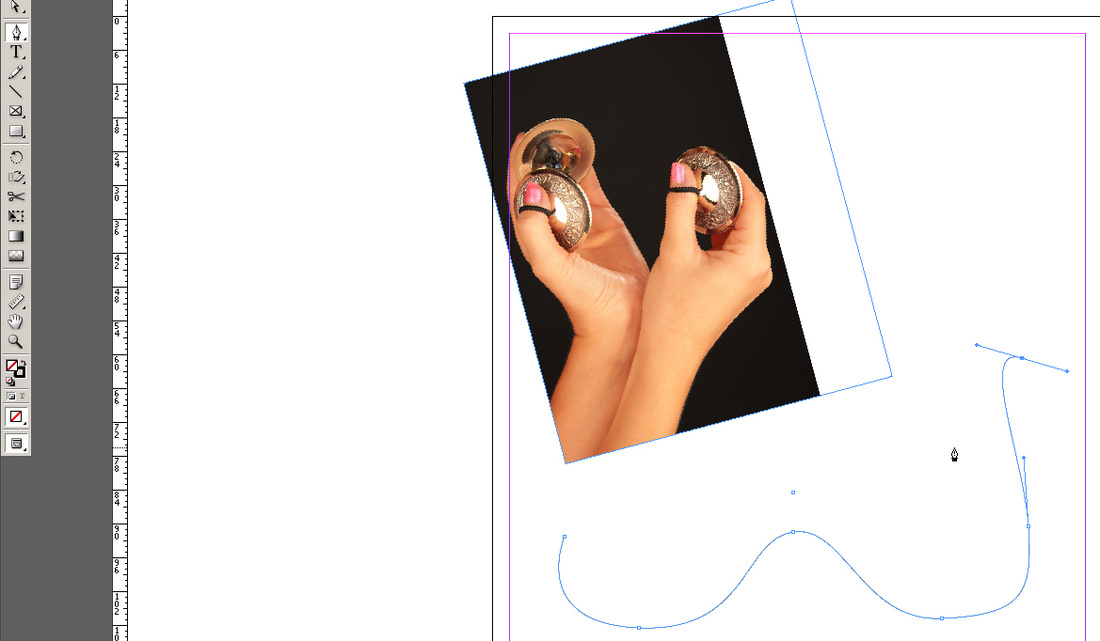
One cool thing about type on InDesign is that you can make a path with the pen tool, and use it to type on.
Here I select my pen tool and draw a path...
1. Click on the type tool, then click and drag on the InDesign file to make an automatic type box.
2. Click on the rectangle frame tool and prepare your frame/area, then select the type tool and start typing.
One cool thing about type on InDesign is that you can make a path with the pen tool, and use it to type on.
Here I select my pen tool and draw a path...
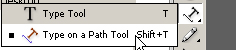
Here, I change from regular type to Type on path...
|

|
And finally, here I type on a path!

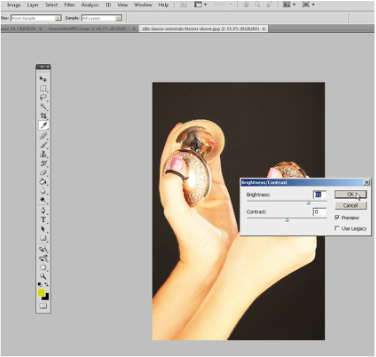
What if you have an image you worked on from Photoshop or Illustrator, but now you want to edit it a little on Photoshop?
Maybe the colour is not right.. maybe it is too light... maybe the vector is crooked and you want to fix it on Illustrator.
Easy enough. First, click on the image to select it.
Now, right click it and choose "Edit with..." from there, you can select Photoshop or Illustrator, depending on the image you have.
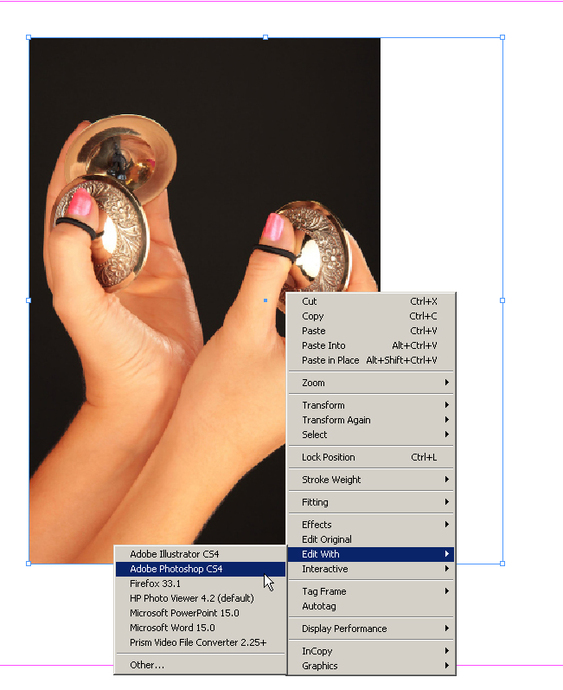
This will open the image on the program of your choice.
Once you edit the image, save it, and click on InDesign to see your updated changes!
Once you edit the image, save it, and click on InDesign to see your updated changes!
|
|
There are many, many options on InDesign geared for publishing content. For now, this is enough to get you started; but if you feel like doing something, and can't figure out how, please let me know and I will help you out right away!
