Tutorial 13 - Introduction to Weebly
Weebly is a free online toolset which allows you to create a website that runs with minimal glitches, in a very short amount of time.
You can have a simple, clean and beautiful website running in an hour or less. How long it will take you, however, depends on you and how much effort you want to put into the website.
This very website, for instance, was created with Weebly. The graphics found within were created on Illustrator and Photoshop.
So, let's start making a simple website.
Logging in
First, log into your account.
CLICK HERE TO OPEN THE LOG IN PAGE
Your account username is your first initial, your last name and the digits 51.
So, if your name is Lulu Smith, your username will be LSmith51.
Password: 123456 -- please change it later.
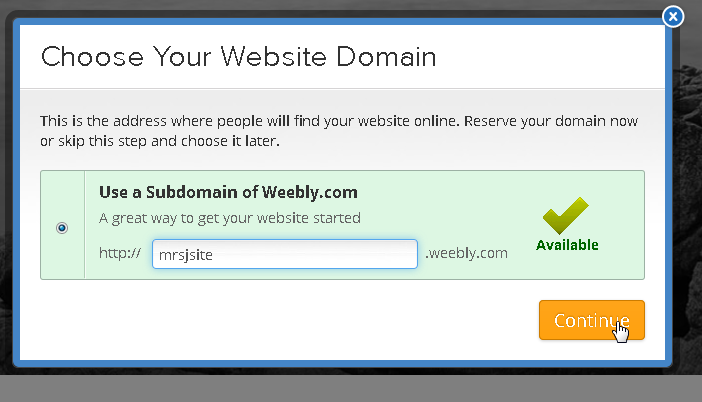
When you log into the account, Weebly will ask you to create a domain name.
A domain name is an address which will enable others to find your site on the web.
Make up a name, and click ok.
A video will pop up. You can just close it for now.
You will see the popup window below, asking you to come up with a domain name. You can skip this process (click the x on the top right corner), or come up with something right now.
When you are happy with your website's name, click continue.
CLICK HERE TO OPEN THE LOG IN PAGE
Your account username is your first initial, your last name and the digits 51.
So, if your name is Lulu Smith, your username will be LSmith51.
Password: 123456 -- please change it later.
When you log into the account, Weebly will ask you to create a domain name.
A domain name is an address which will enable others to find your site on the web.
Make up a name, and click ok.
A video will pop up. You can just close it for now.
You will see the popup window below, asking you to come up with a domain name. You can skip this process (click the x on the top right corner), or come up with something right now.
When you are happy with your website's name, click continue.

|
|
Weebly Tools
To the left side, you will see a few organized groups with tools for you to use. All of those work by dragging and dropping them onto your working space.
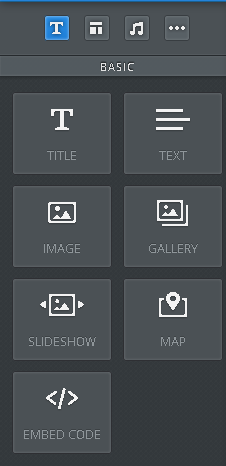
The first one is the basic set.
Here, you will find your text, images, titles, gallery, slideshow and maps, as well as "embed code".
All are pretty obvious, except for embed code; this is useful for pages that offer you a code to share things on your website.
An example of this would be a site such as Issuu, where you can share a readable book in your website.
http://issuu.com/anthologymag/docs/issue16-preview/1
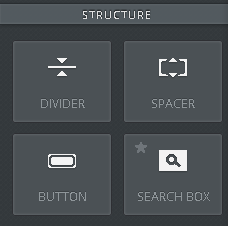
Structure helps make the website look better by offering you spacers and dividers.
Spacers work between elements, giving them space; it also works on the sides of elements.
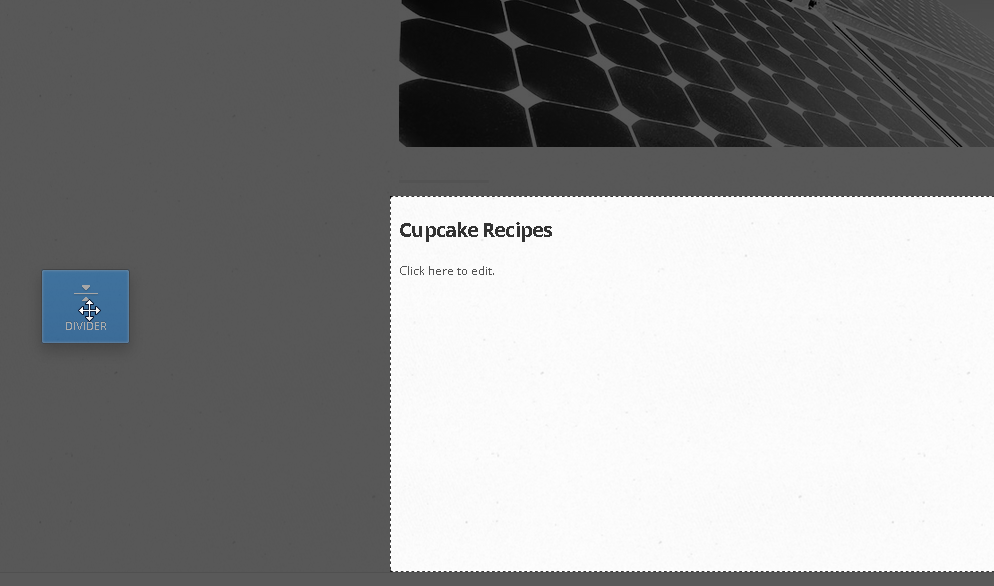
Divider also works between elements, but the function is to separate sections within your website.
Spacers work between elements, giving them space; it also works on the sides of elements.
Divider also works between elements, but the function is to separate sections within your website.
|
The space to the left was achieved by using a spacer.
The elegant line below was achieved by using a divider. |
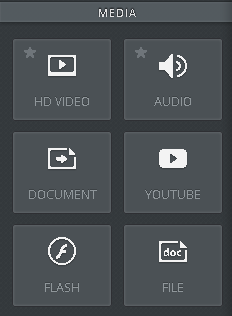
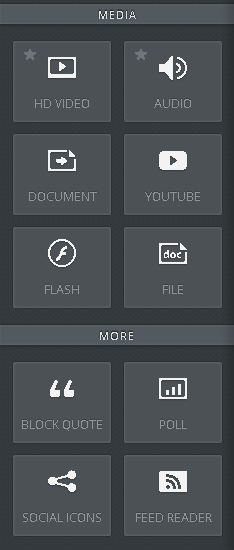
Below, you can see the Media set of tools.
This is where you can add a document to be read straight on your website, by selecting document.
Or, you can add a document for download by selecting file.
You can also add a youtube video, an HD video or a Flash file, and they will all play when published.
This is where you can add a document to be read straight on your website, by selecting document.
Or, you can add a document for download by selecting file.
You can also add a youtube video, an HD video or a Flash file, and they will all play when published.
Below Media, you will find an area with some extras, such as quotes, polls, social icons and feed reader.
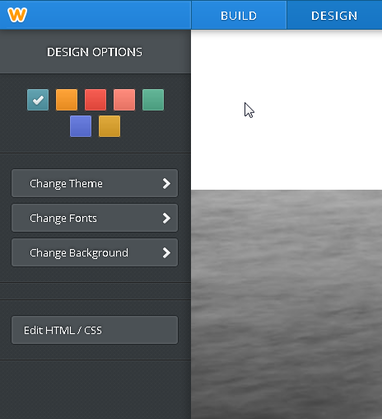
On the top bar, you should see five areas. You are currently on the Build area. Click on design, and you will see other options, such as change theme, change fonts or change background.
With Weebly, you can change your themes even after you complete your website; you will, however, have to add some items such as banners, as they will have disappeared.
With Weebly, you can change your themes even after you complete your website; you will, however, have to add some items such as banners, as they will have disappeared.
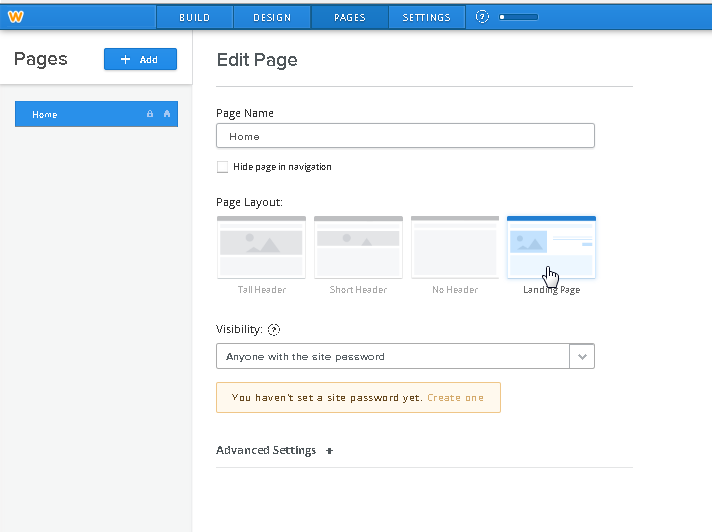
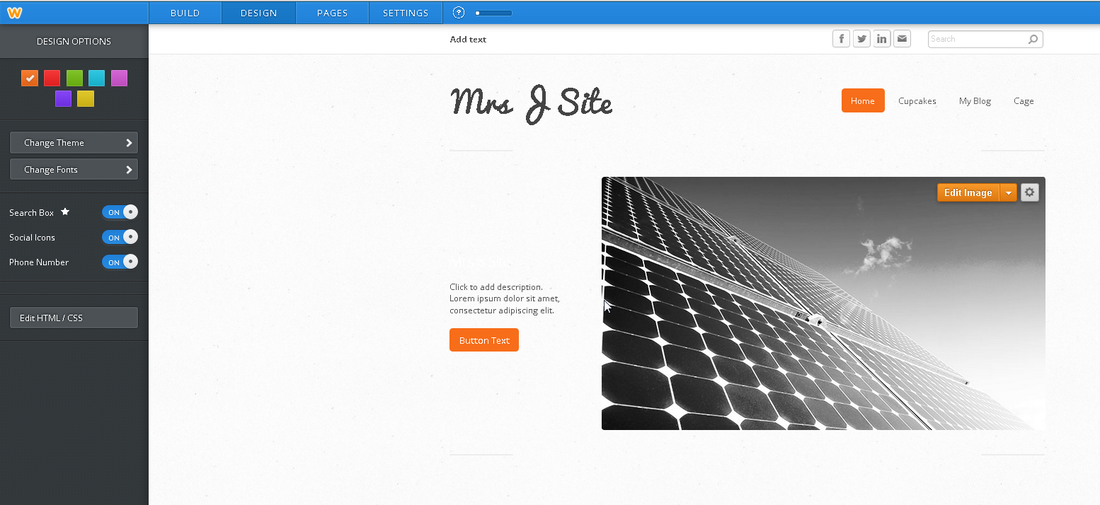
If you click to change theme, you will see a few themes available.
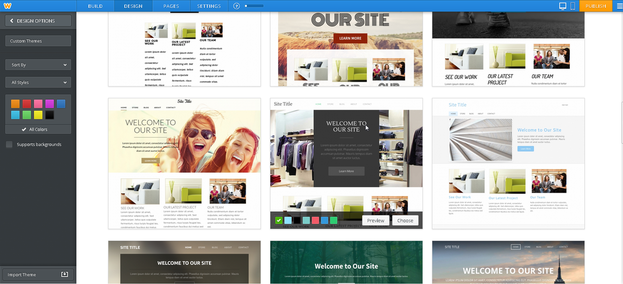
For this tutorial, I clicked on the theme below, on the centre of the screen.
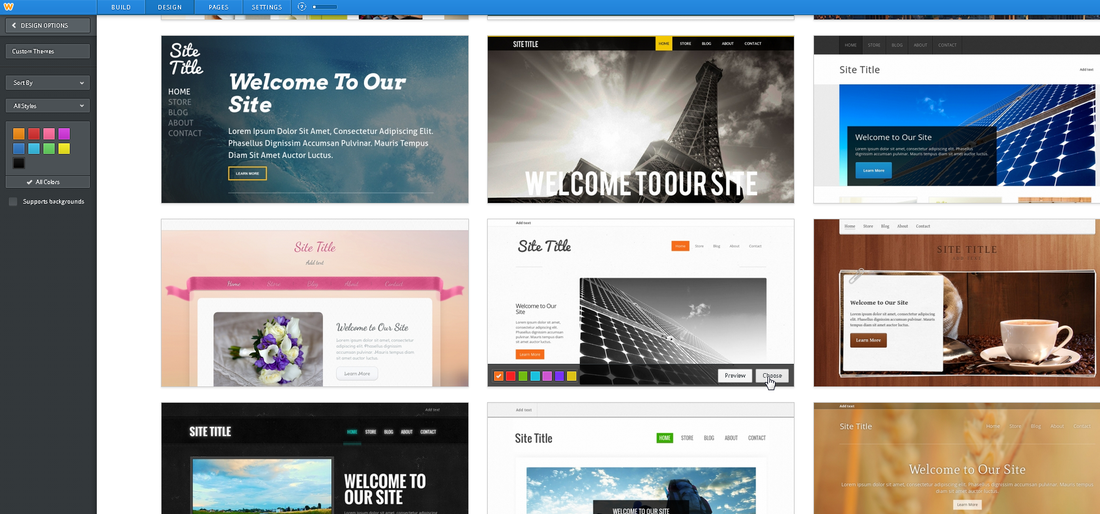
This is the theme I selected to work on for this particular tutorial.
Clicking on Pages will bring you to the page editor.
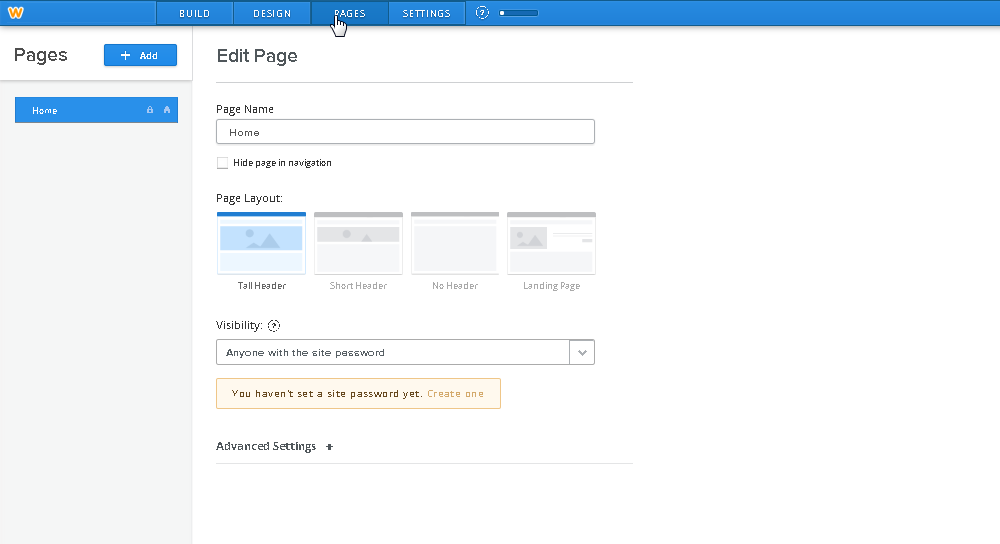
You can select the style for each page by clicking on one of the page layout selections. I changed my home page to landing page. You should do the same.
To add a new page, simply click the add button like I did below.
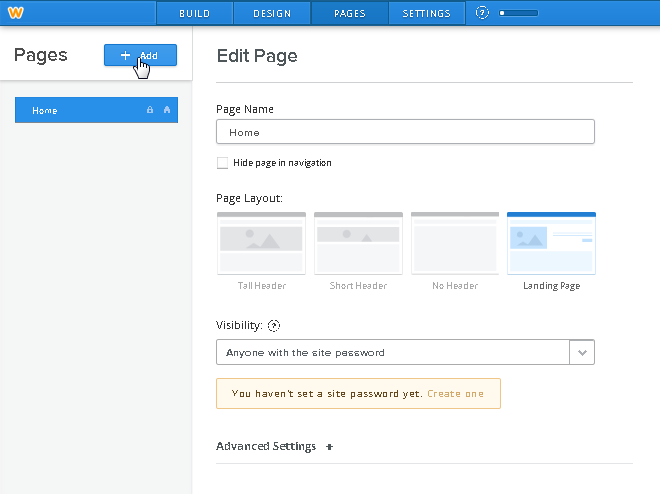
You can select from standard pages, blog pages or external links.
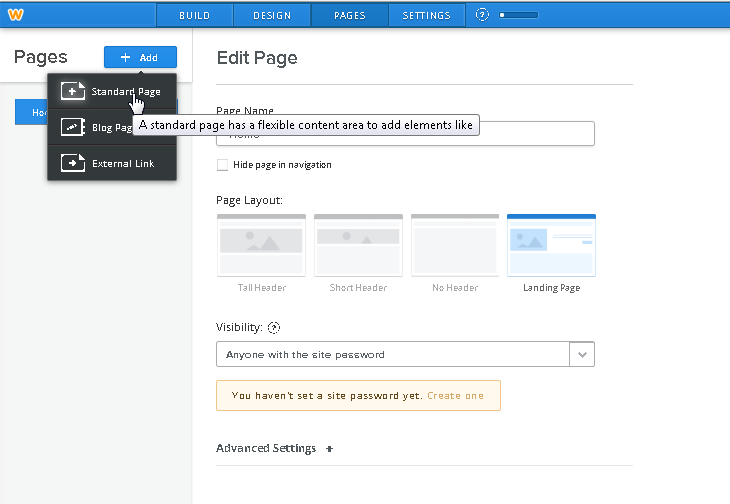
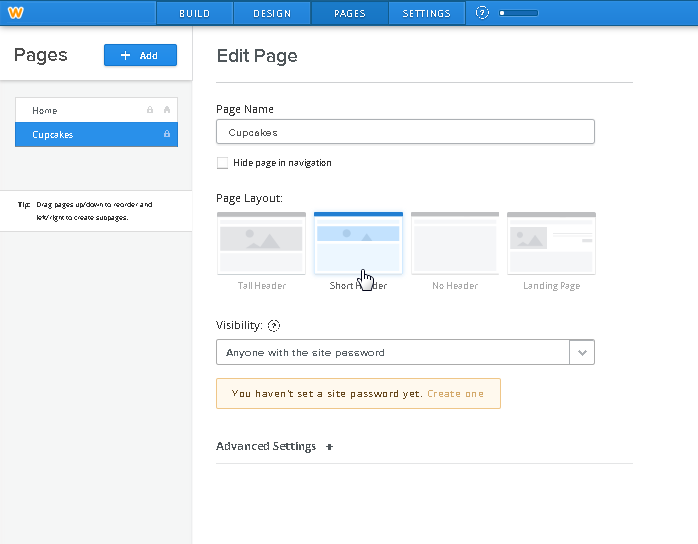
I added a page called Cupcakes and made it have a short header. That means the banner on the page will be a thinner strip on top.
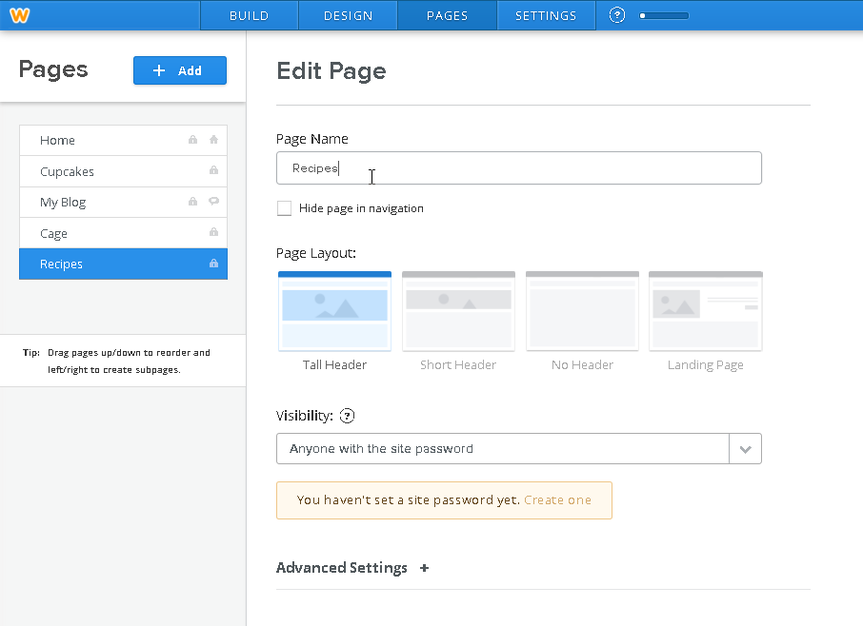
Below, you will see that I have done a few changes.
I added a blog page.
I added a Cage page, which is a standard page.
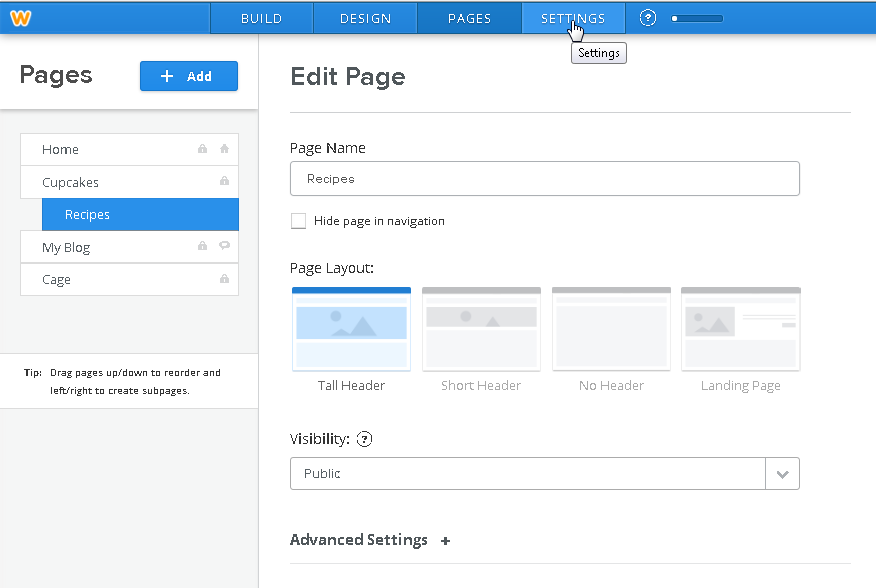
I also added a recipes page. But I wanted it to be a subpage, in a drop down menu, part of my cupcakes page!
To do this, simply click on the recipes box, and hold...
I added a blog page.
I added a Cage page, which is a standard page.
I also added a recipes page. But I wanted it to be a subpage, in a drop down menu, part of my cupcakes page!
To do this, simply click on the recipes box, and hold...
... and move the page below the page you want to be the master page, remembering to move the cursor a little to the right.
When it looks like it does below, you can release the mouse button.
When it looks like it does below, you can release the mouse button.
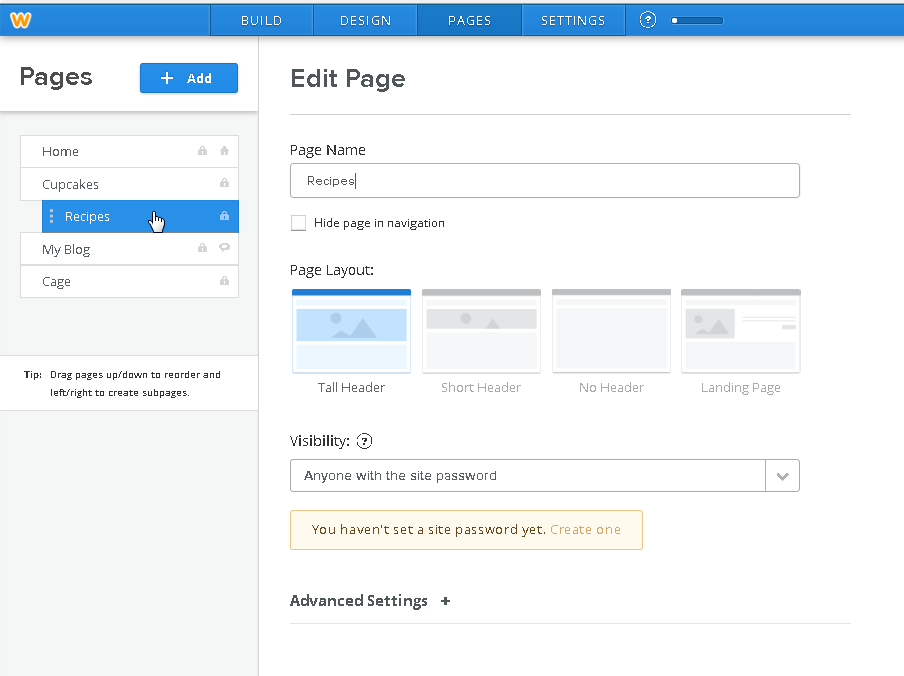
Now, the subpage will look indented.
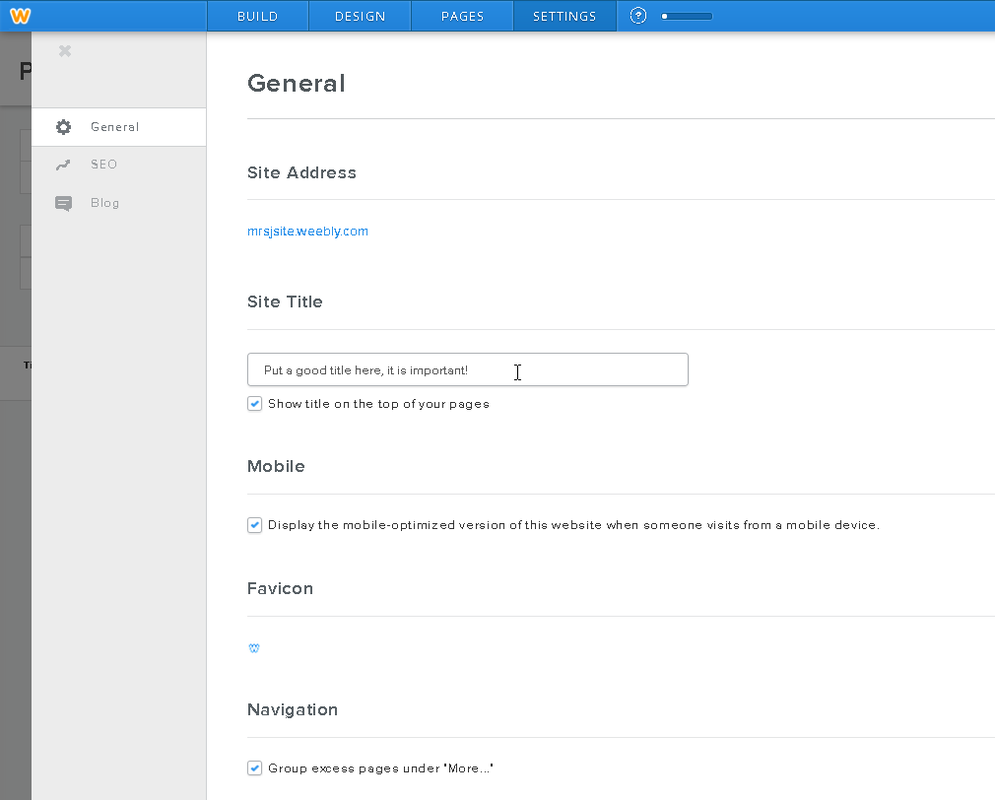
If you go to Settings, on the top bar, you will see three sections: General, SEO and Blog.
The general section is where you will put a title on your site, and add a favicon to your site.
Favicons are the cute things on top of the tabs, when you pull up a webpage.
For now, just place a title on your page:
The general section is where you will put a title on your site, and add a favicon to your site.
Favicons are the cute things on top of the tabs, when you pull up a webpage.
For now, just place a title on your page:
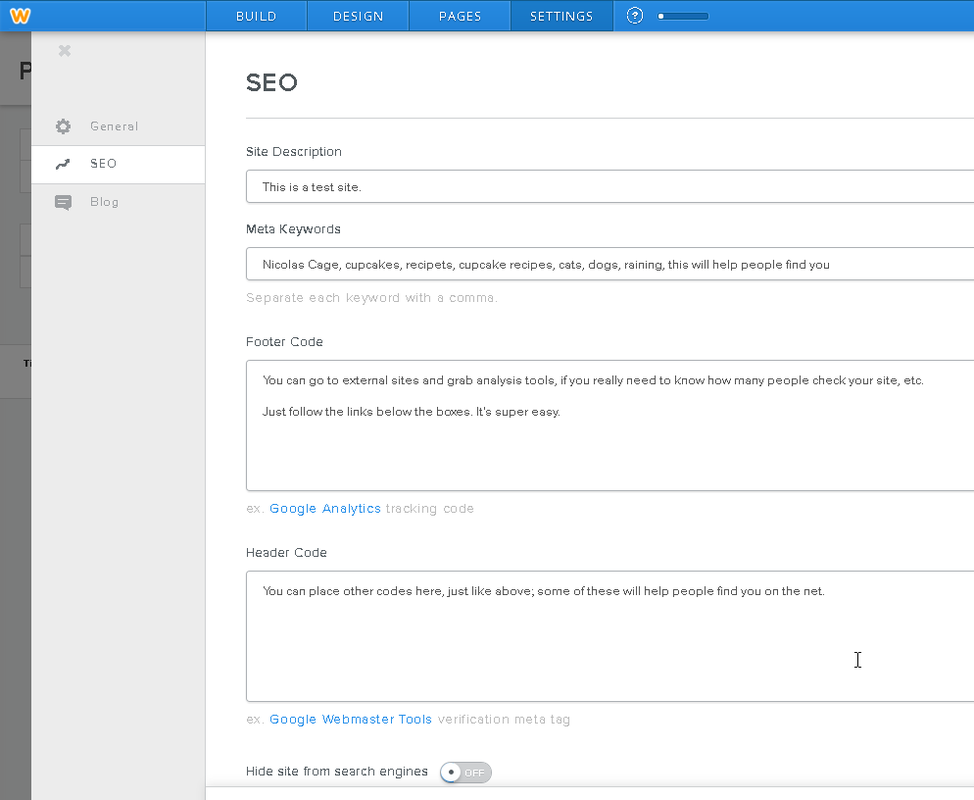
Below, you can see the SEO section. This is what makes your website easier to find. Make sure to add a good description, as well as good meta keywords.
Meta keywords will ensure your site gets picked up, when people look for cupcages, Nicolas Cage or cats.
Meta keywords will ensure your site gets picked up, when people look for cupcages, Nicolas Cage or cats.
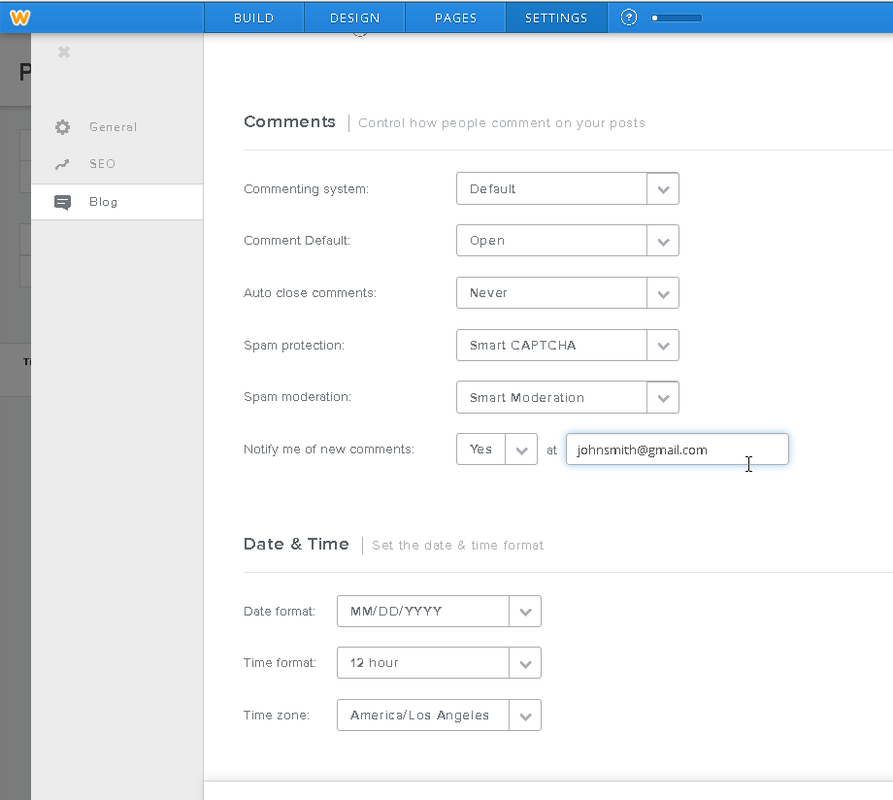
The blog section is where you go to fine-tune your blog selections, such as how many blog posts will show per page.
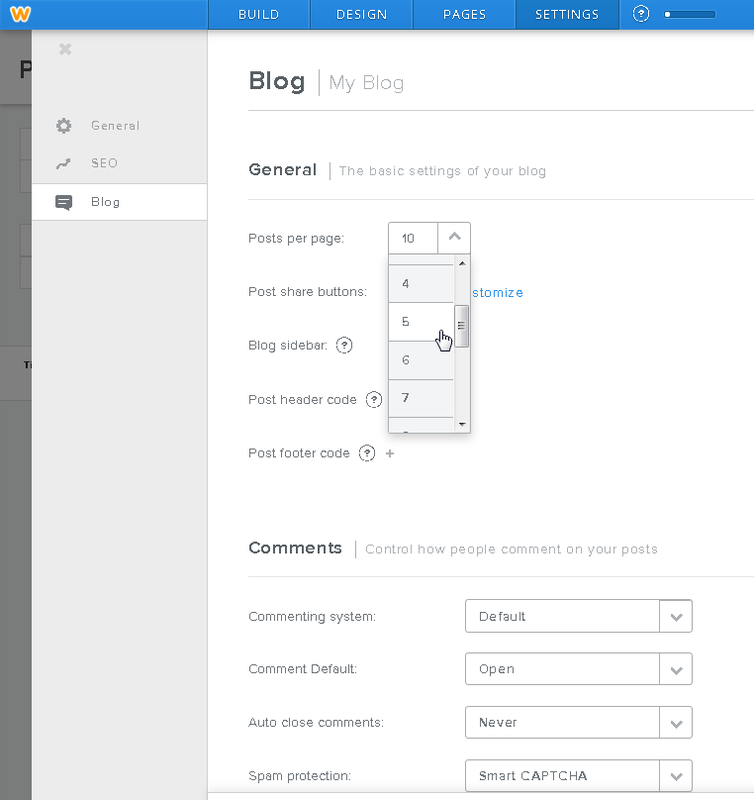
You can also make sure you get notified when someone leaves a comment by checking "yes" under the notification area, and adding an email, like below.
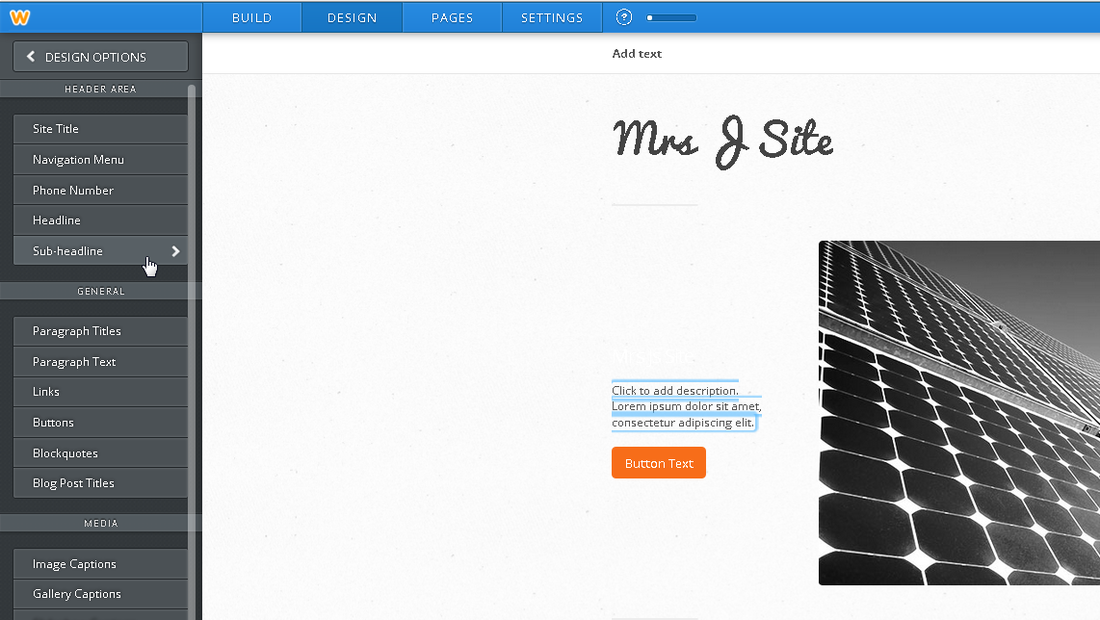
Let's go back to design options. Click change fonts.
Note that as you move your cursor through the bar on the left, the site highlights the areas that will incur change.
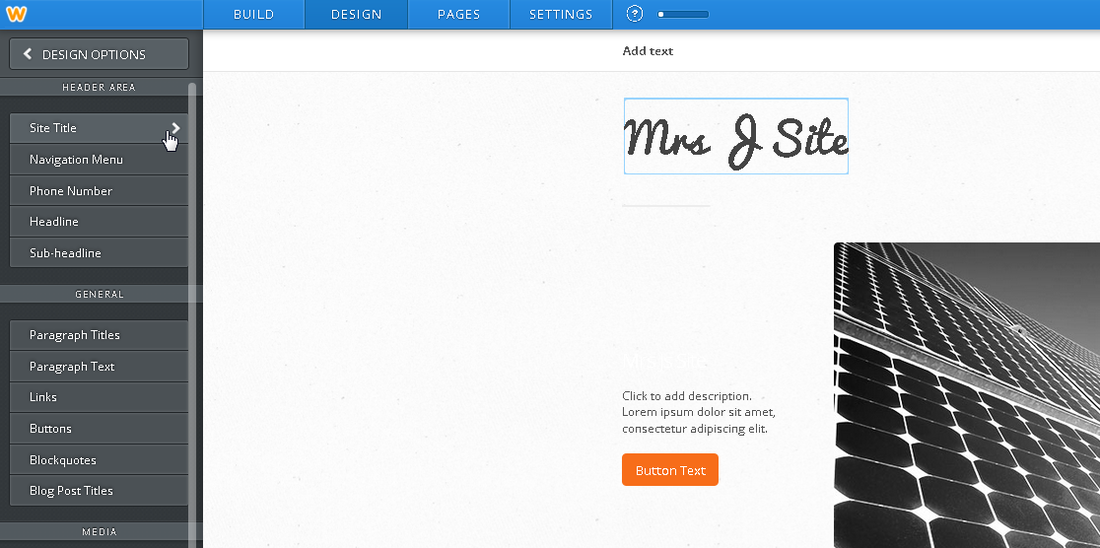
Below, I clicked the sub-headline area...
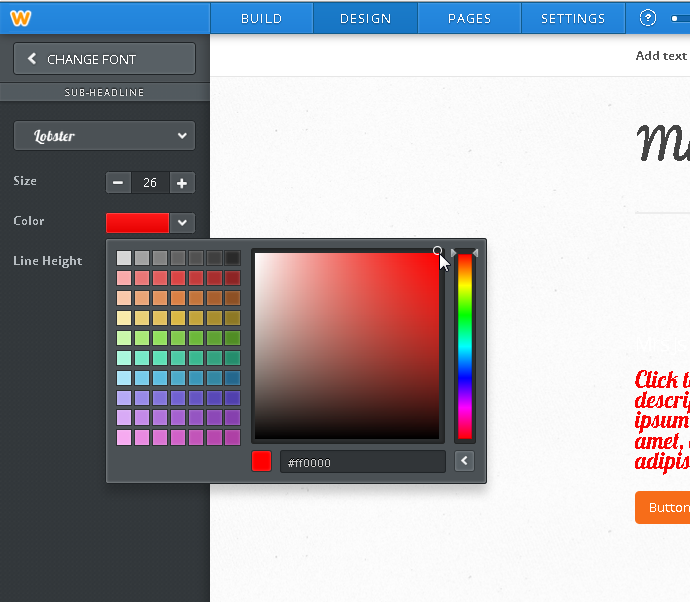
...clicked on the colour...
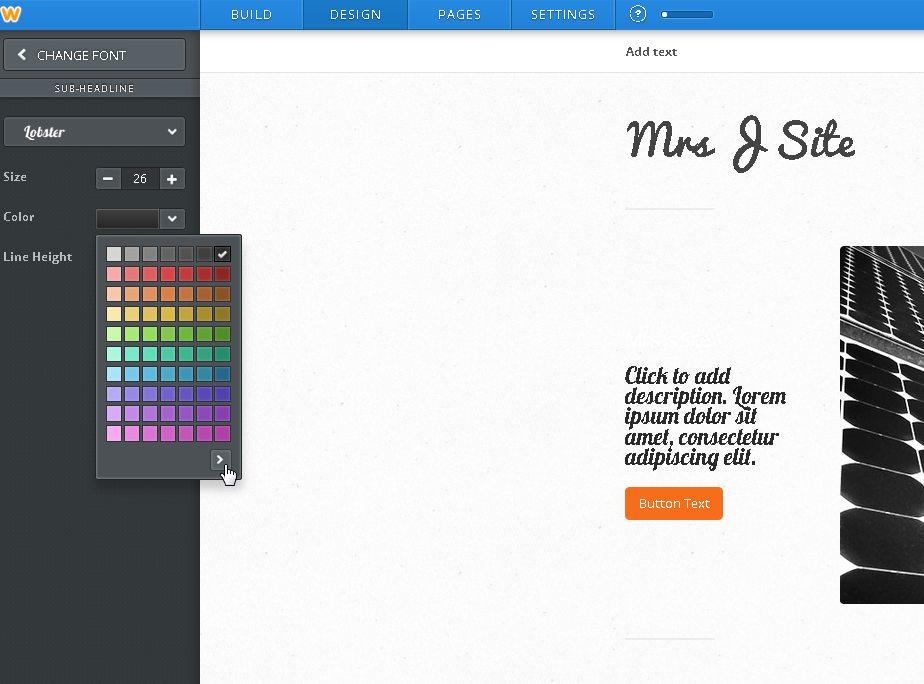
...and changed the sub-headline colour to red.
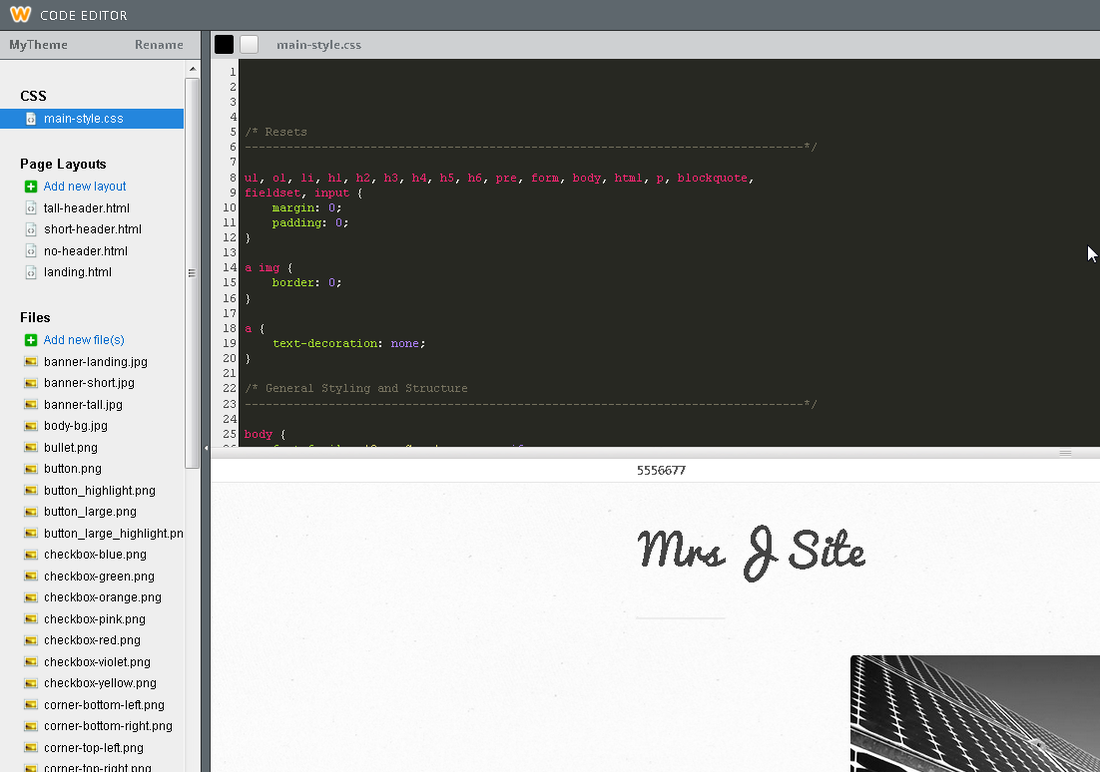
If you'd like to try fiddling with the HTML of the page, this is also where you will find the Edit HTML area. Click on it...
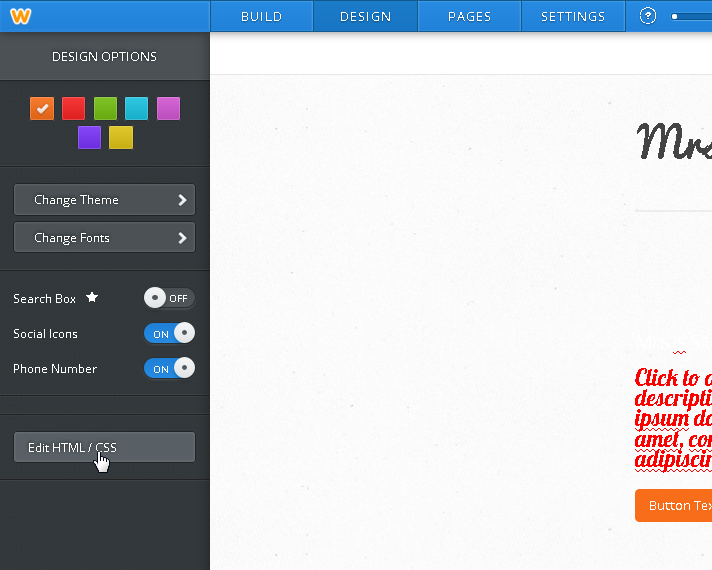
...and you will be taken to the HTML area. Make sure to make a copy of everything before you change things!!!!!
Changing banners
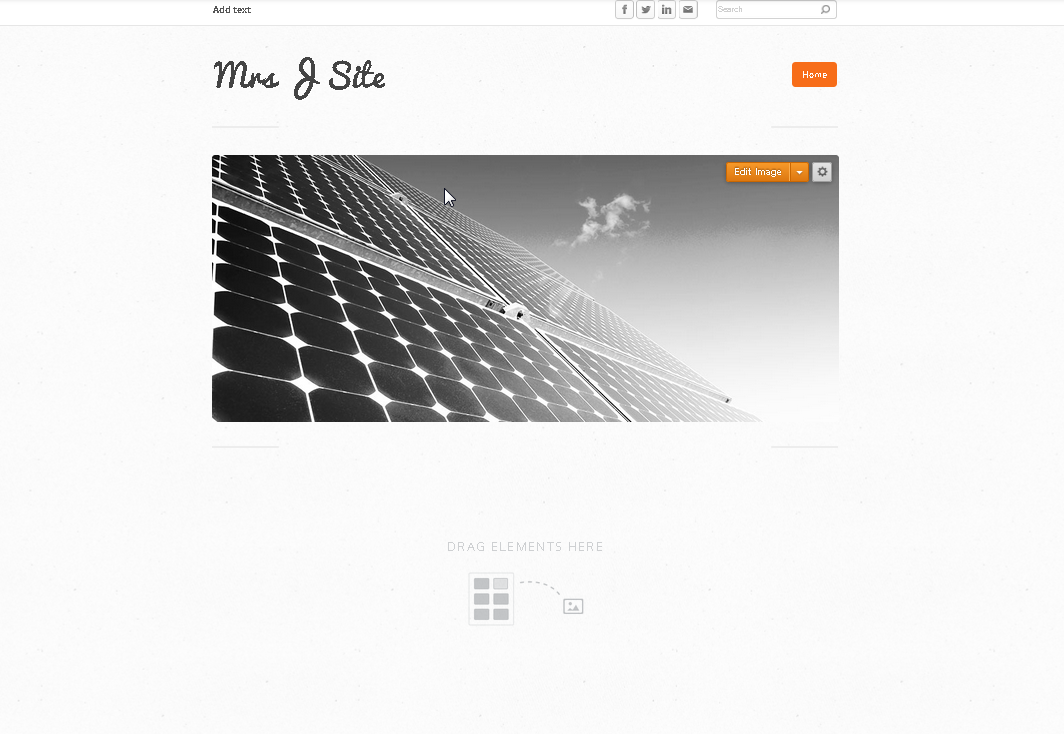
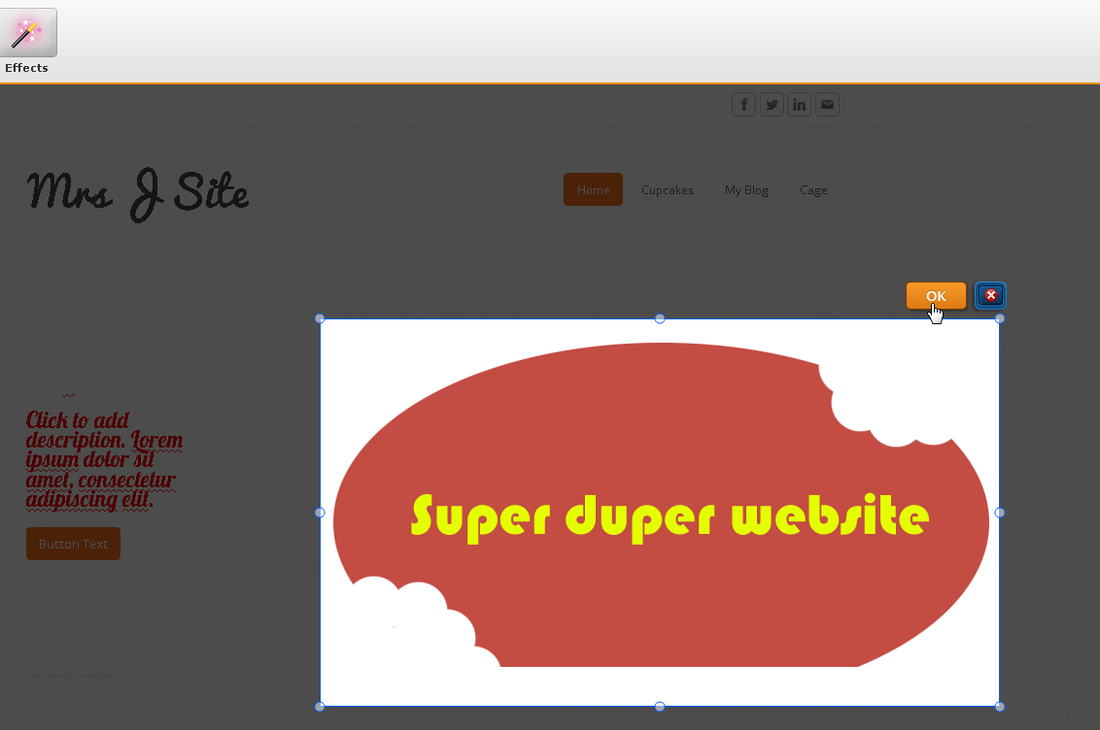
Now, let's make the site more attractive. To change the banner, you will click edit image, on the top right corner.
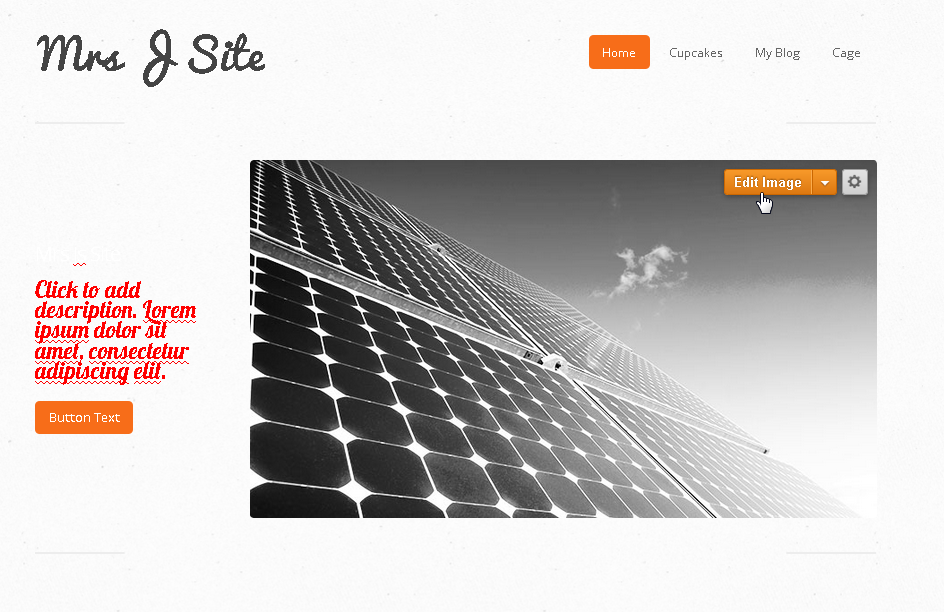
Don't put on an image right away!
If you look on the top right area in this screen, you will notice that Weebly tells you the size of the picture you need to create for your banner.
Copy those numbers; in my case, my height is 400 pixels and my length is 700 pixels.
Why not be smart about it, and create something unique for your website?

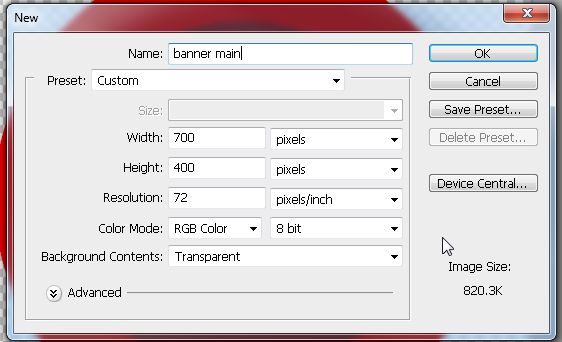
Go to Photoshop, and start a banner by setting the image size as shown above.
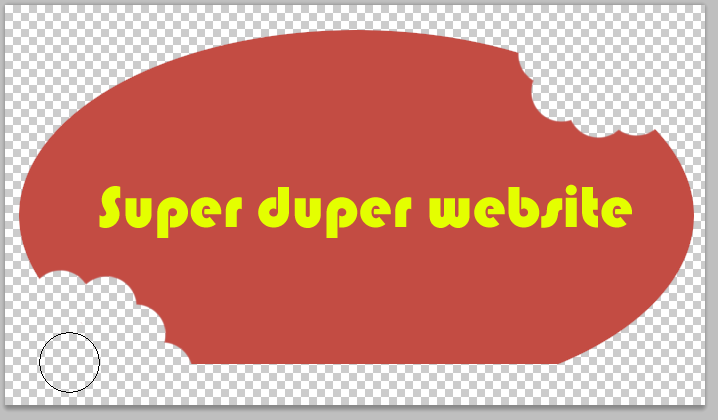
Below, you will see that I created a picture under those size constraints, with a transparent background.
On any picture in Weebly, you can save this image as a PNG and it will retain the transparent background.
This enables you to have amazing buttons shaped like cupcakes, monkeys, anything you want.
On any picture in Weebly, you can save this image as a PNG and it will retain the transparent background.
This enables you to have amazing buttons shaped like cupcakes, monkeys, anything you want.
But...
This does not work on banners!
To fix this, simply use the snipping tool to take a shot of the background of your screen.
This is important because you can now match the colour of your background perfectly.
This does not work on banners!
To fix this, simply use the snipping tool to take a shot of the background of your screen.
This is important because you can now match the colour of your background perfectly.

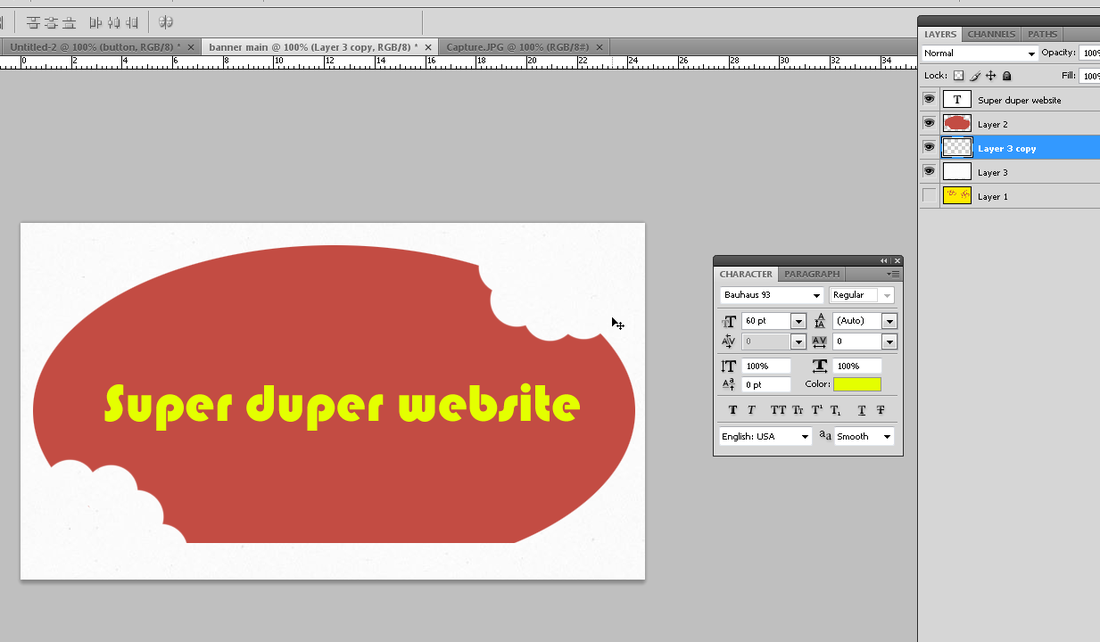
In my case, the background had a texture to it, which makes it even more important to bring it to Photoshop...
I can just copy the textured background and place it below my image, until it covers my background.
I can just copy the textured background and place it below my image, until it covers my background.
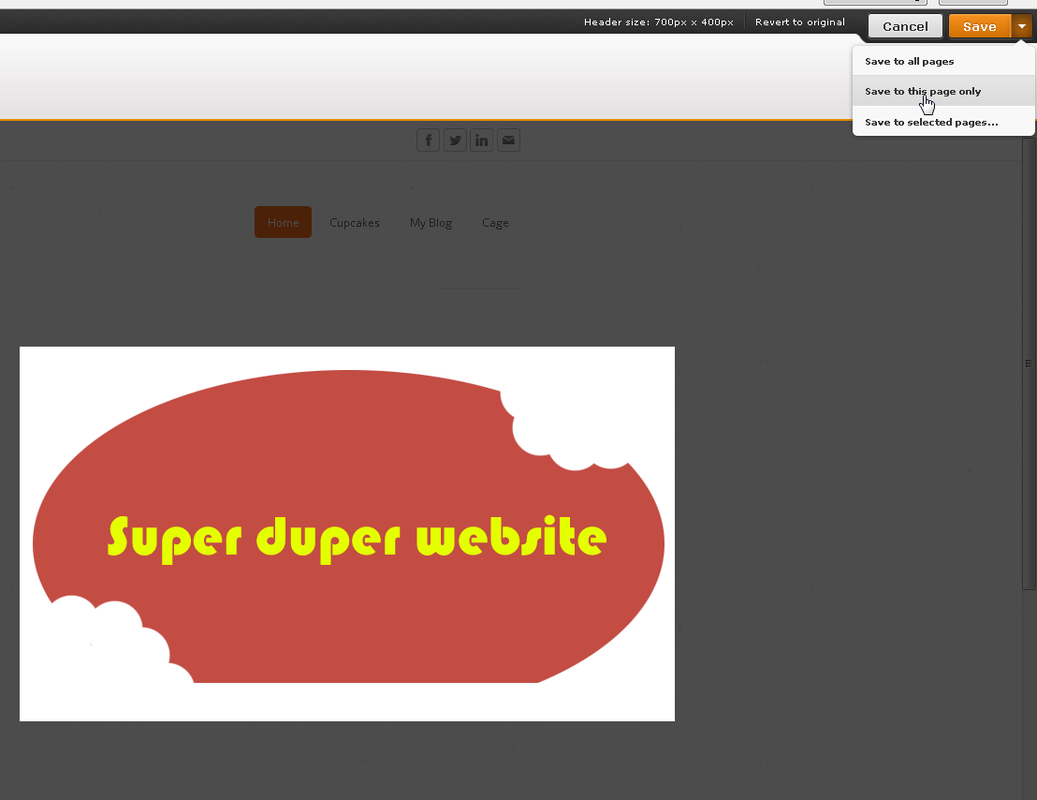
When you are ready and happy with your banner, you can click on edit image again, and upload the new image. Click ok...
...and make sure that you select "save to this page only". Otherwise, all your pages will have the same banenr, and you probably don't want that.
Let's add three buttons to our page; instead of using Weebly's stock button image, I like making my own links.
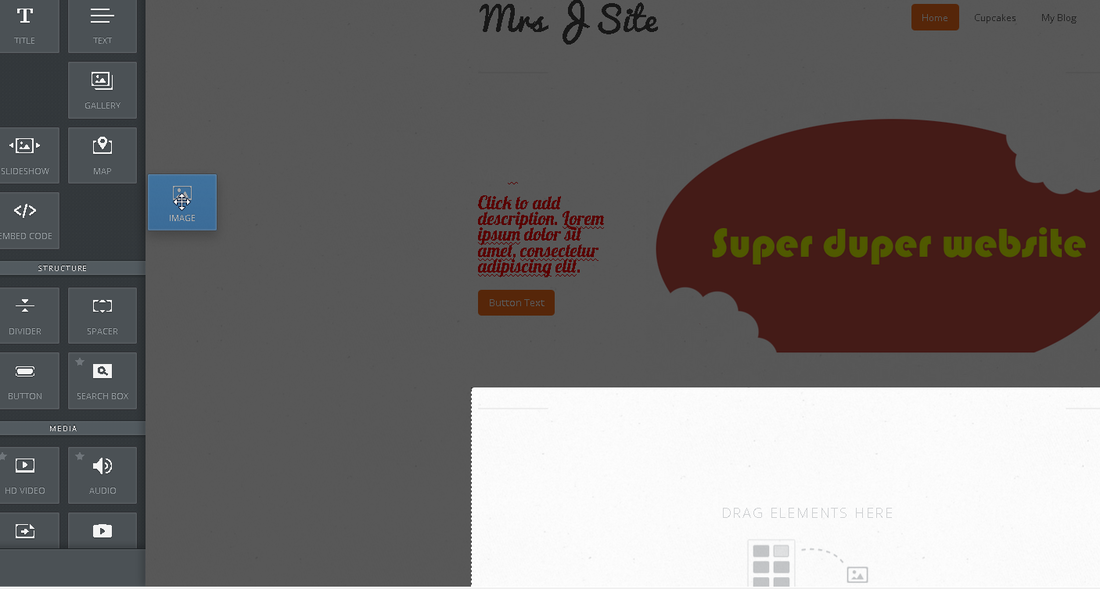
The initial process is the same as if you were simply adding an image to your page:
Click on the image button and drag it over to the right until it is over the white space.
The initial process is the same as if you were simply adding an image to your page:
Click on the image button and drag it over to the right until it is over the white space.
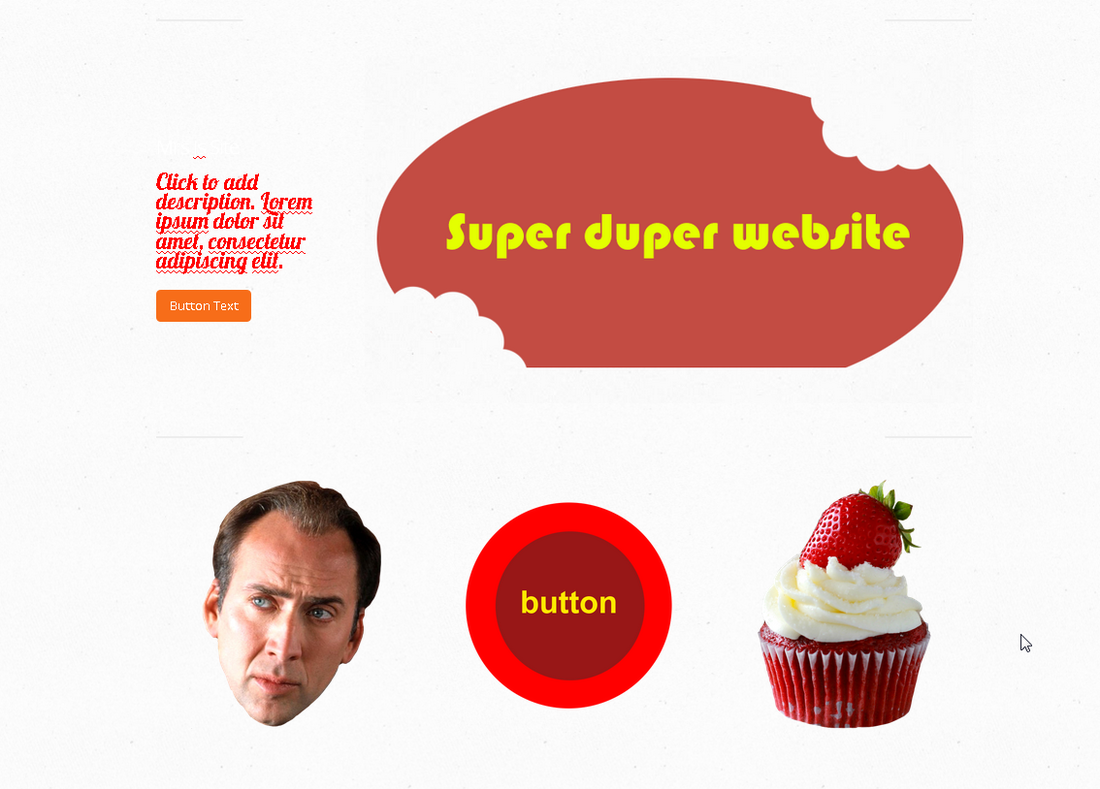
To make three buttons, add three images to your working area, side by side.
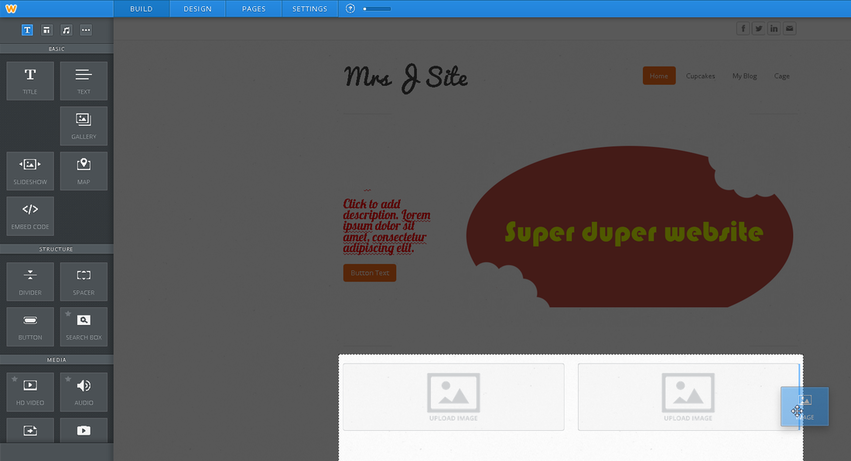
Now, click on each image area and upload your image. You should have created this on Photoshop, with a transparent background and saved as a PNG.
Notice below how the images retain their transparent background.
You can also CHANGE SIZE for each one of your images; you can make one bigger than the other, for instance, or all of them smaller or bigger.
Notice below how the images retain their transparent background.
You can also CHANGE SIZE for each one of your images; you can make one bigger than the other, for instance, or all of them smaller or bigger.
To make each image into a link, click on each image. A new, small menu will appear; click on "link".
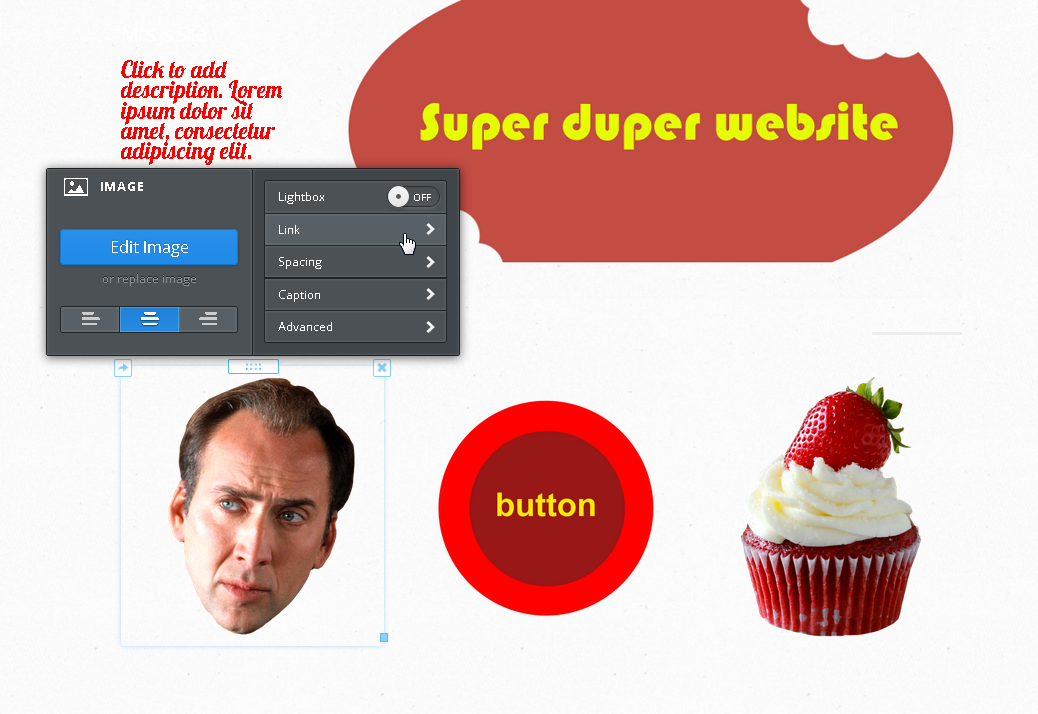
When the link window comes up, you have a few options.
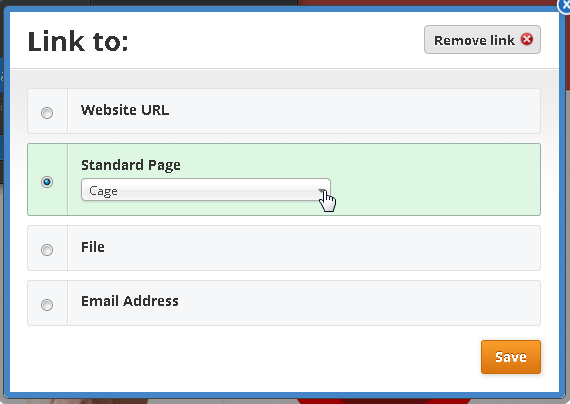
You can make your link take your visitor to an outside webpage; in this case, click the first option and add the external webpage.
Most likely, your front page links will take your visitor to a different page within your website, however.
Weebly has a great feature which helps you do this easily:
After you create the page under the "pages" menu, you can link a button or picture to one of your pages by clicking "Standard page" and selecting which page your button will be linked to.
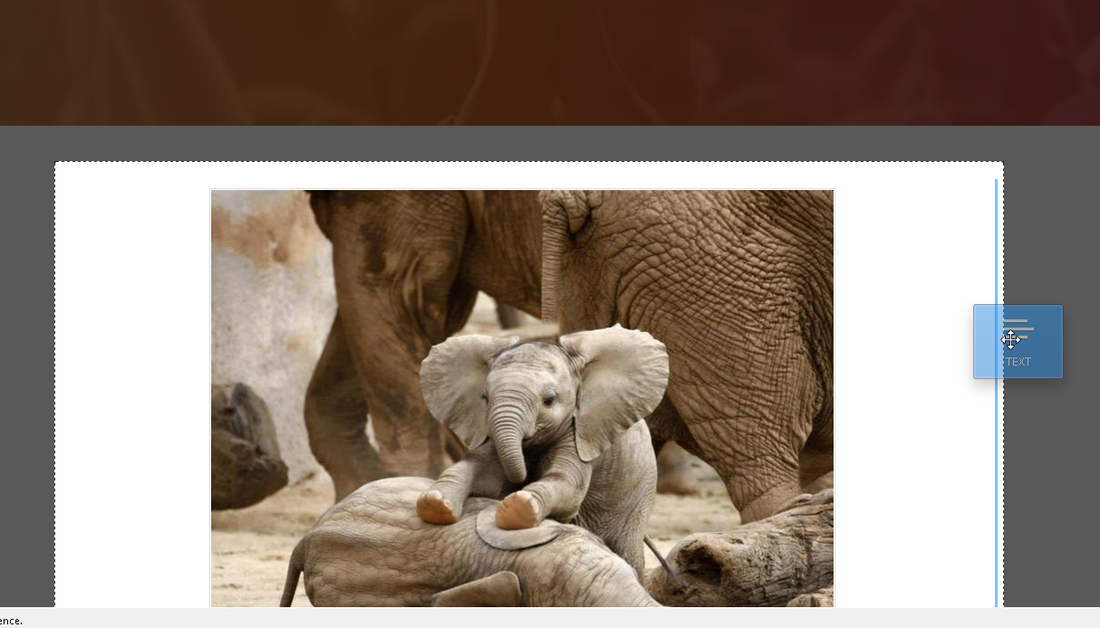
You have learned how to place pictures and text -- both are done by dragging. But Weebly allows you to place items anywhere around an item you have already on your screen. As you hold and drag your item across the screen, the blue line indicates the position your new item will take. Below, the new item would be above your existing item...
...below, the new item would be to the right or left, effectively creating the beginning of a column...
|
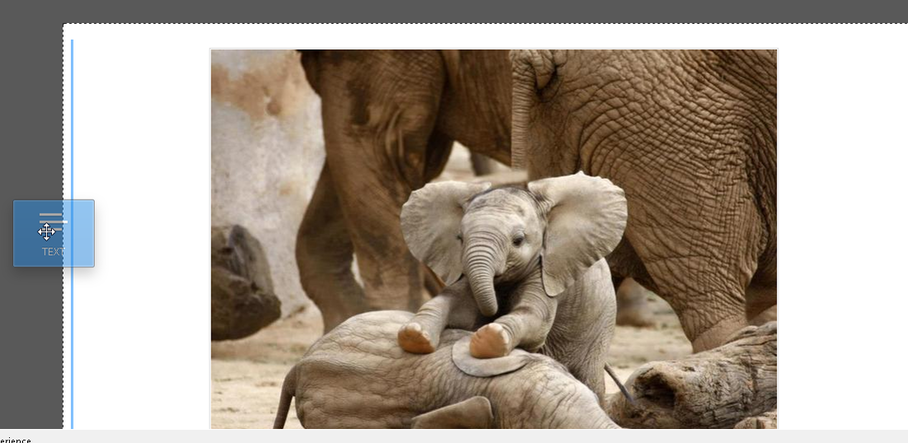
|
...and below, the new item would be below the existing item.
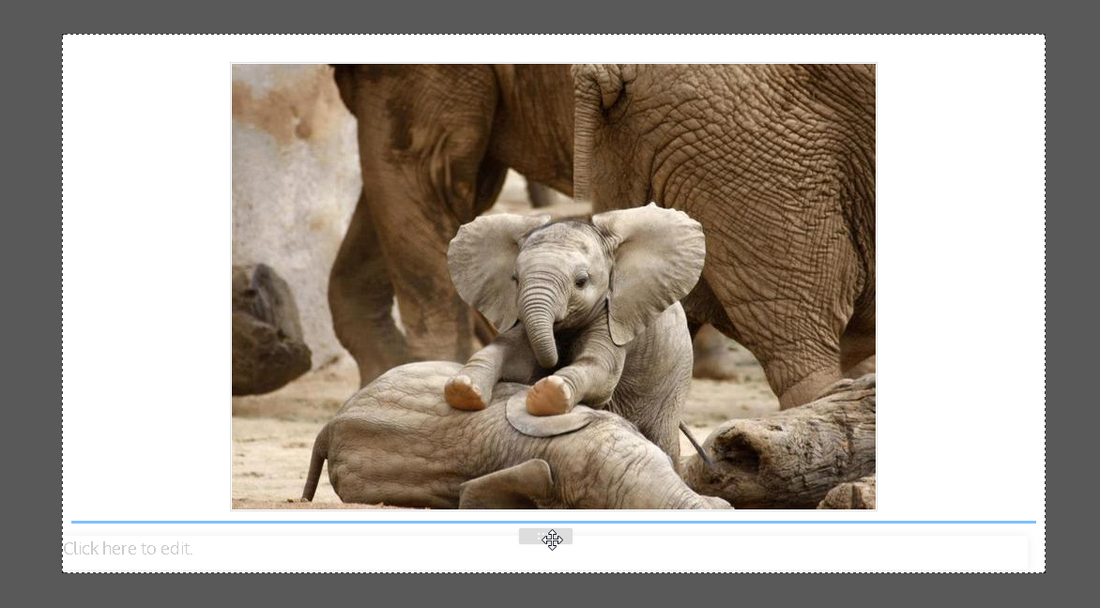
As you can see below, you can use careful planning and placement to create columns and organize your page in a friendly, dynamic manner.
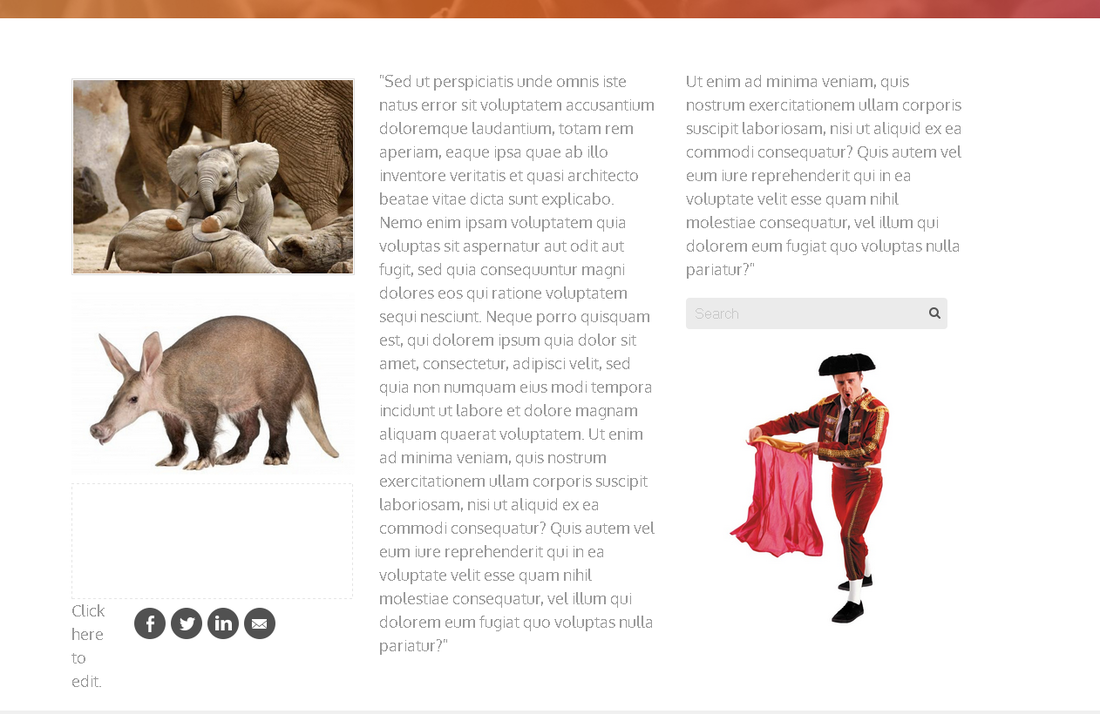
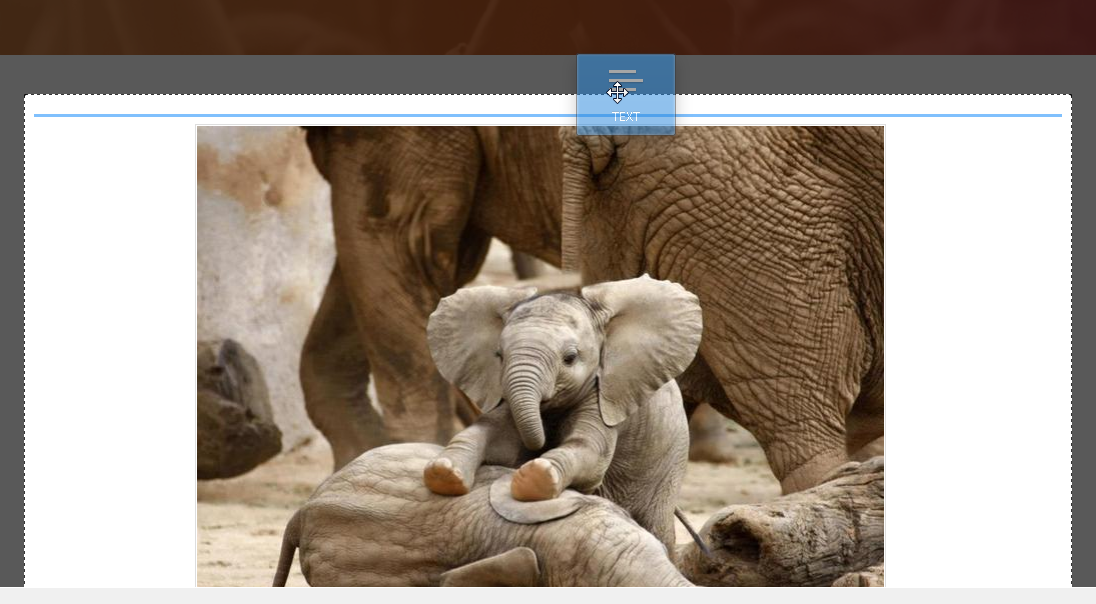
Lastly, you are also easily able to insert a picture on a text box, or vice-versa. Simply grab an image after you typed your text, and drag it over until Weebly shows a square on your text. Place the picture there. This will enable you to get results like the one below:

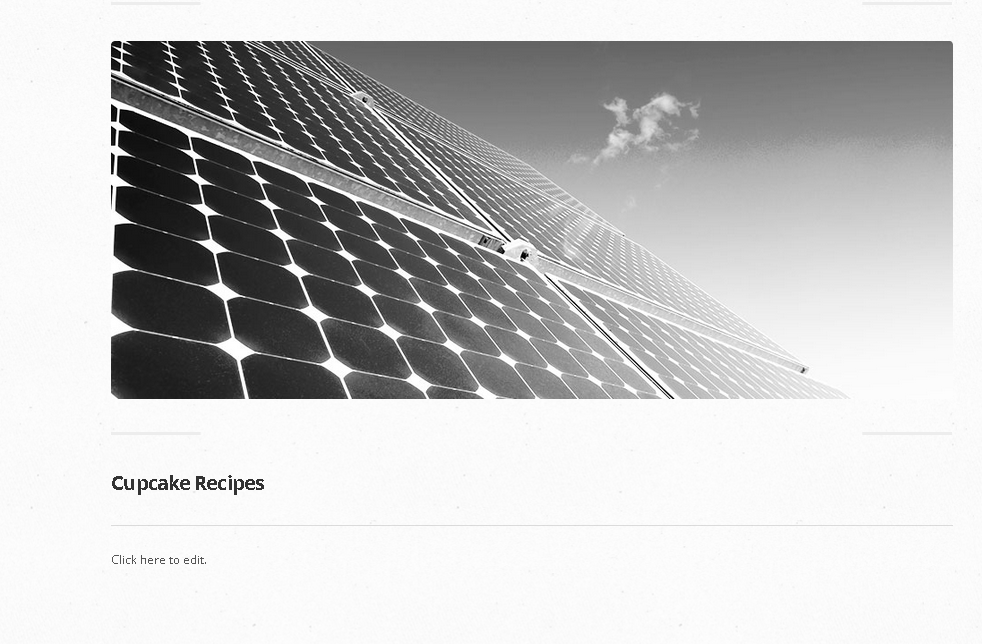
Dividers are small lines that work as an elegant separation option for your website. Of course, you can also use a picture as a separator -- some nice websites use curls, swirls and windings -- but this is an easy way Weebly provides for separation between sections.
|
|
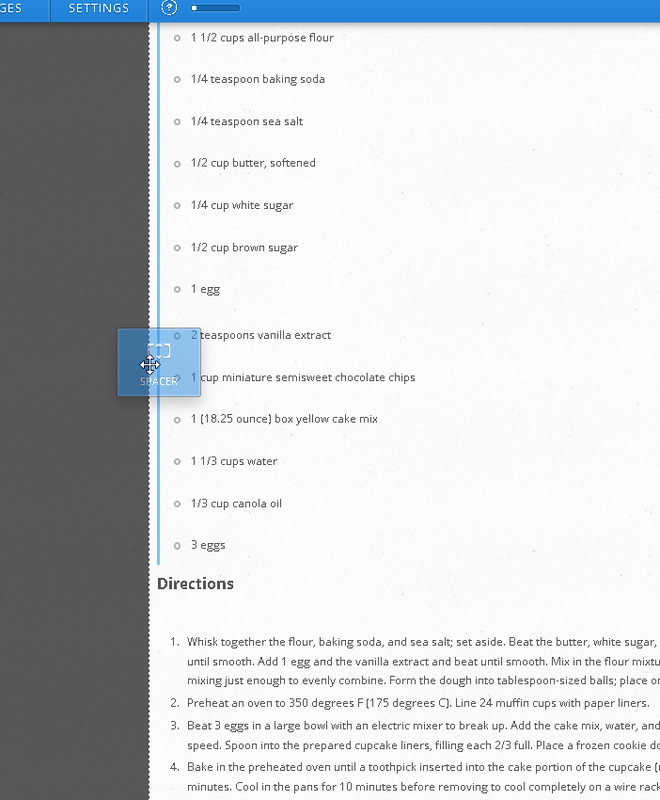
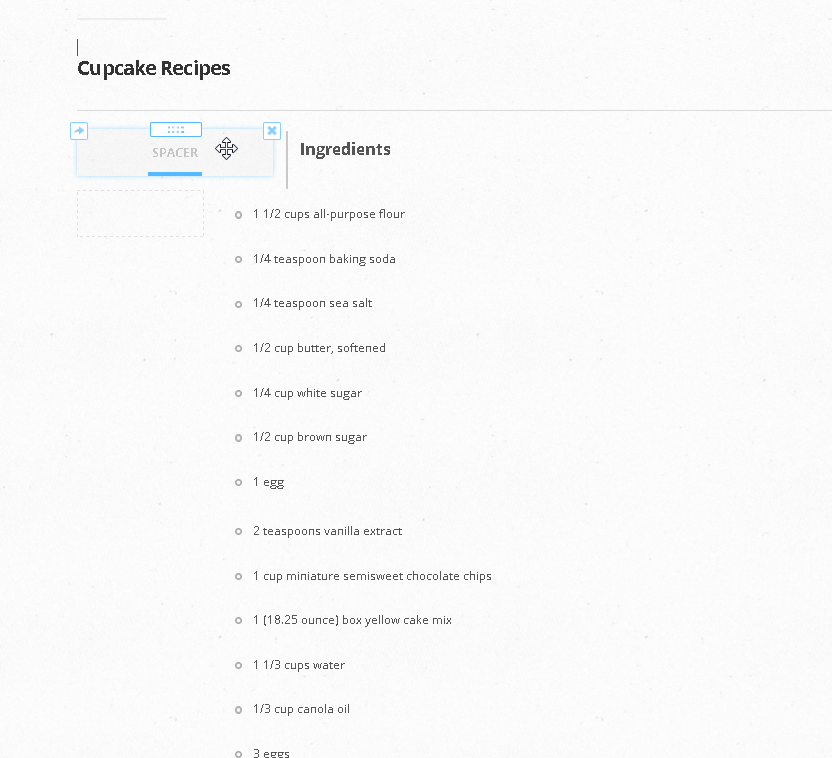
A spacer, on the other hand, helps you organize your webpage in a different way. As you can see below, it allows you to place a space in a specific place on your webpage.
|
|
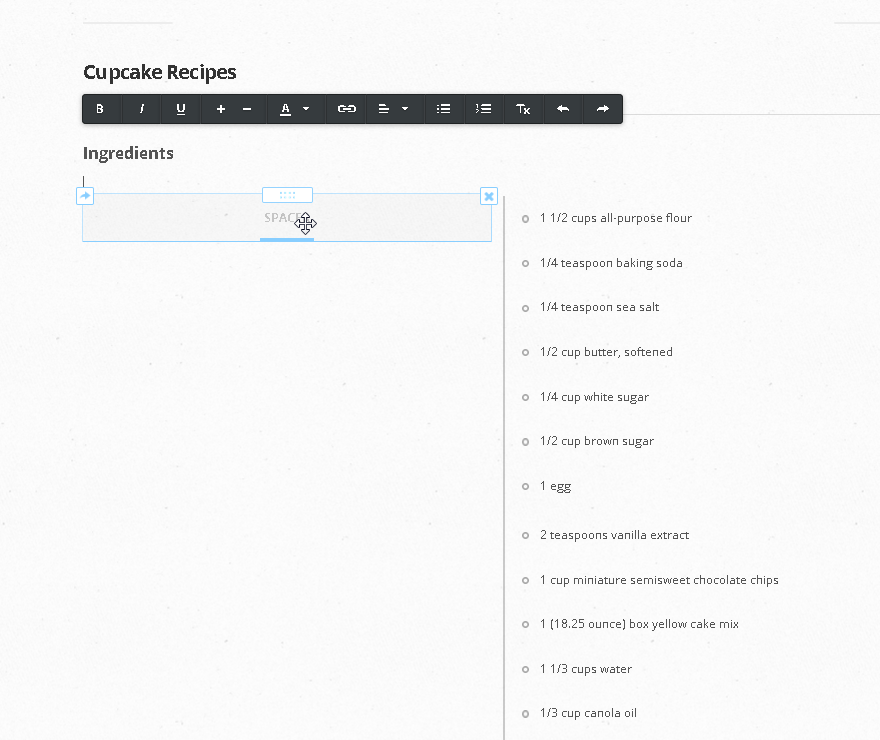
You can make the spacer smaller or bigger, according to your needs. Below, I used two spacers, to give me a clean indentation for my ingredient list:
One last thing for you to learn is how to set up a blog page.
Through a blog, you can communicate with readers about your favourite subject.
I created a blog page above, so we will be working on it on the next images.
Through a blog, you can communicate with readers about your favourite subject.
I created a blog page above, so we will be working on it on the next images.
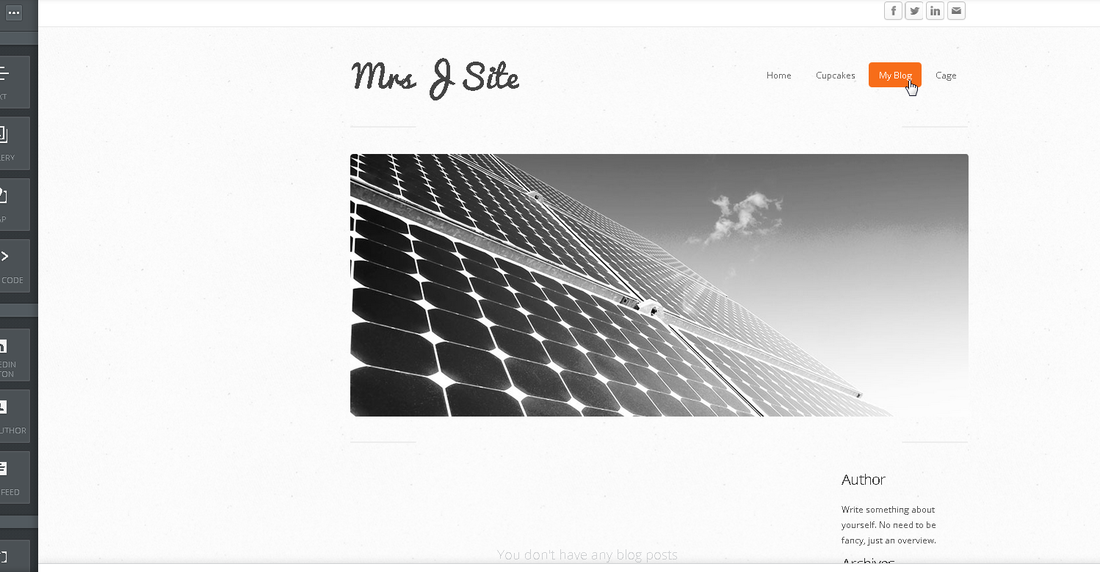
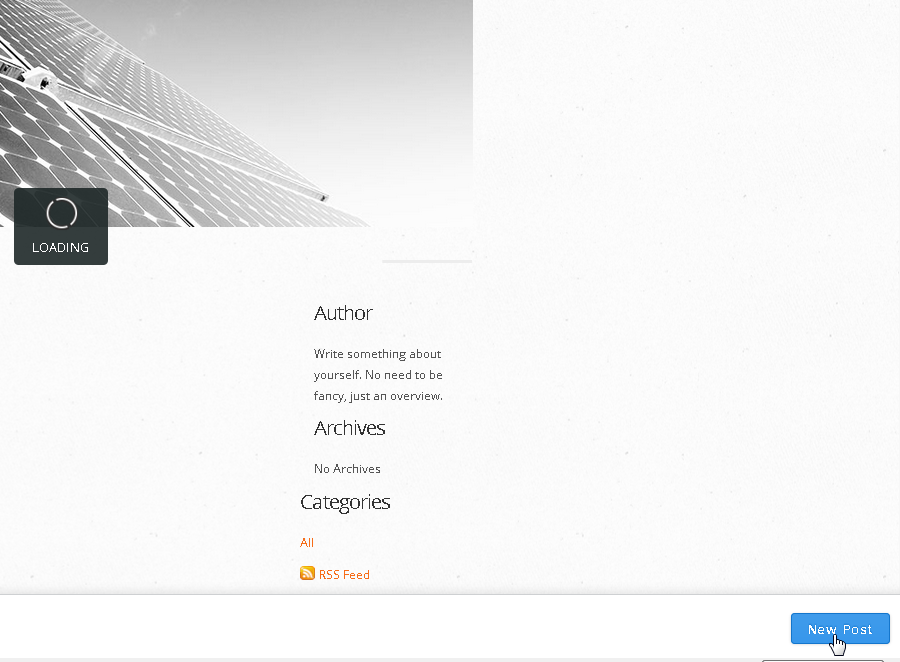
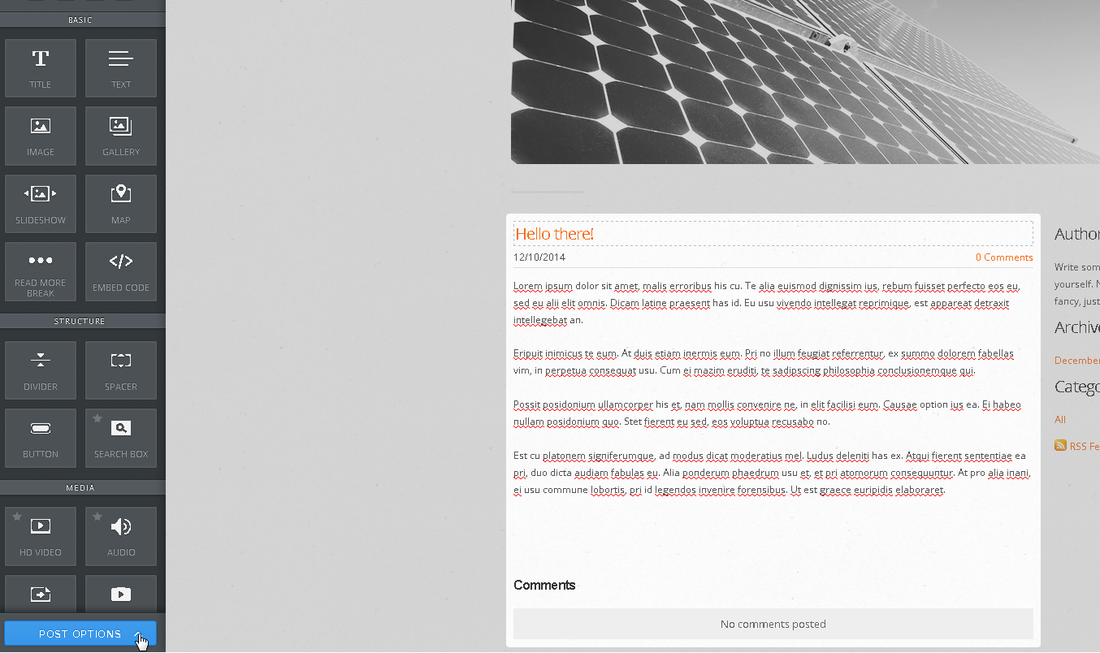
To start, click on the New Post button, on the bottom right corner.
Notice the Author area -- you should fill it in with something about yourself.
Notice the Author area -- you should fill it in with something about yourself.
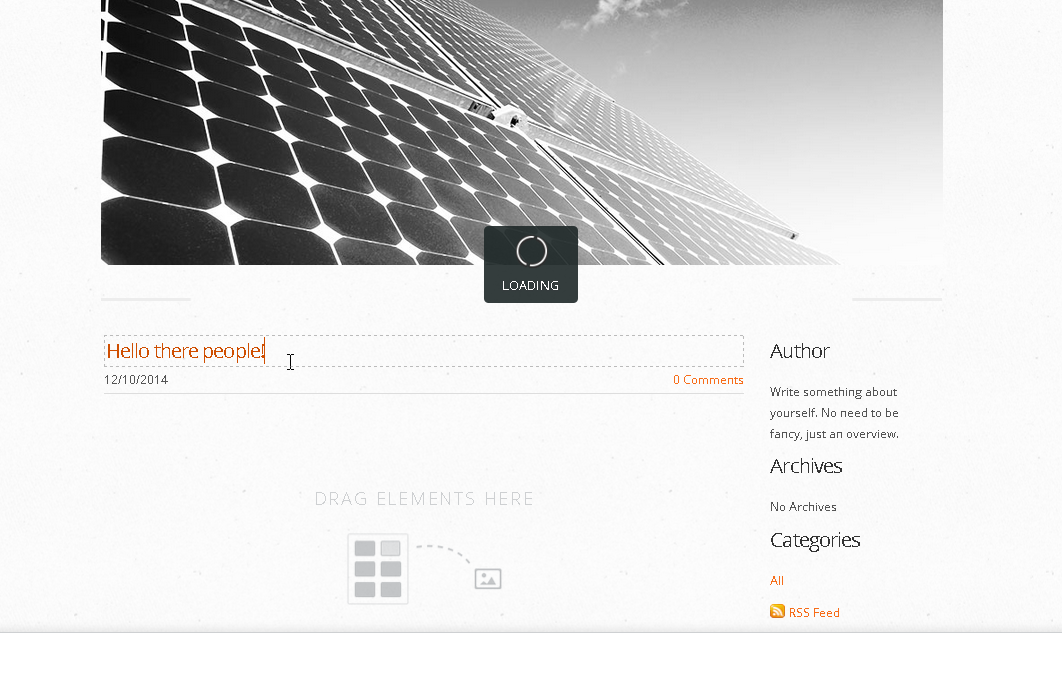
You can now edit your post. You can add images, text and everything you would on a regular page.
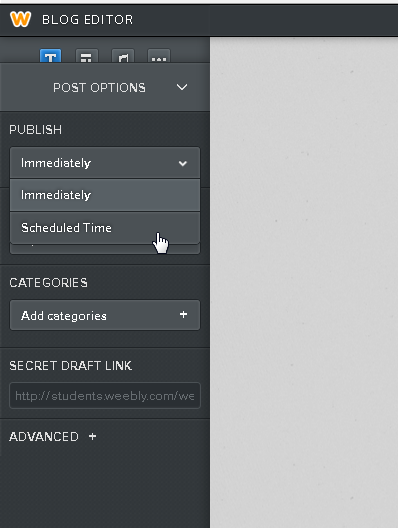
When you edit a blog page, you will notice that there are a few new items on your left side menu as well. If you click on Post Options, you will find some very useful items...
...one of these is publish in scheduled time.
The thing about blogs is, when people start following you, they expect you to blog every week at least. But sometimes, you simply don't feel up to writing, and other times, you want to write three or four blogs.
On those days you feel extra creative, you can write those blogs and schedule them to be released at a later day.
Whenever you are ready to check out your progress, simply click on Publish.
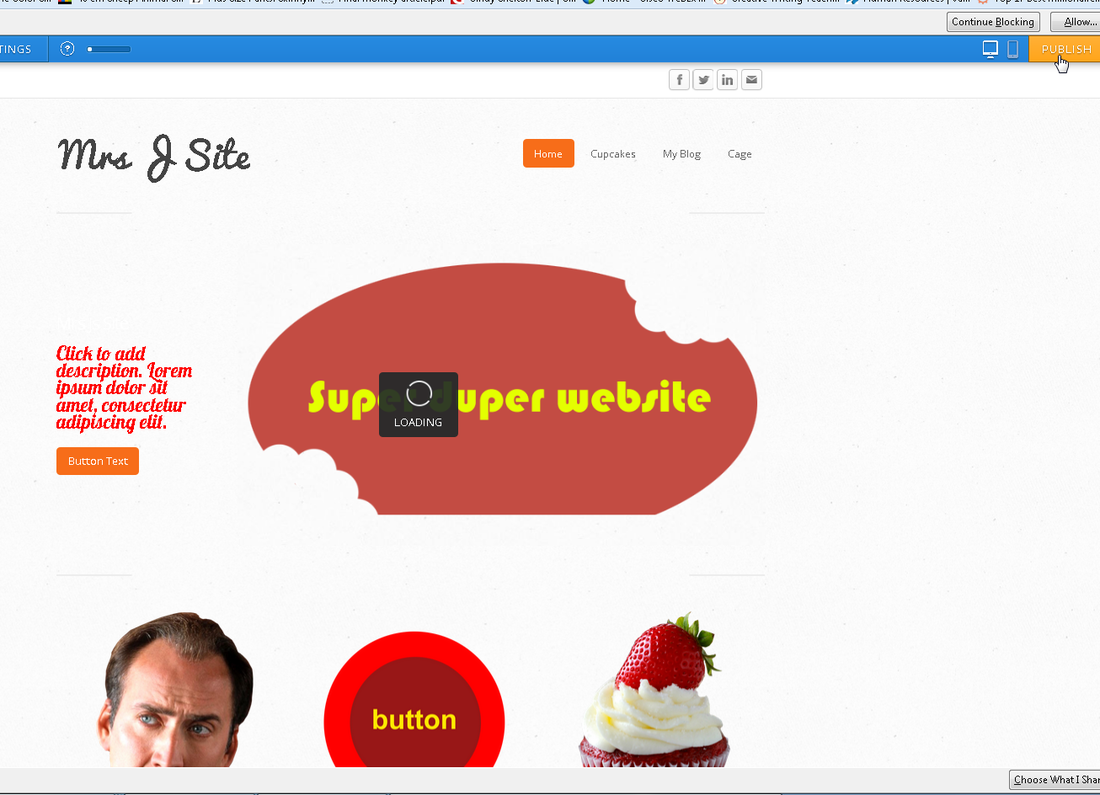
You can publish as many times as you want, and make changes in between.
My recommendation is to leave two windows open -- one with your weebly editor, one with your website, so you can see your changes happen in real time.
Just remember, after you made changes, to reload the webpage.
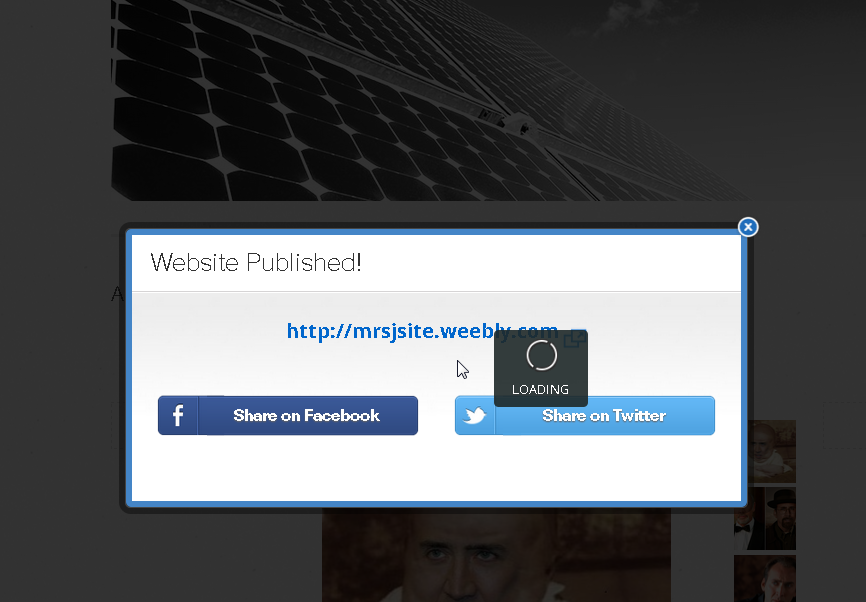
Every time you publish, Weebly will give you the link to your actual site, like below:
My recommendation is to leave two windows open -- one with your weebly editor, one with your website, so you can see your changes happen in real time.
Just remember, after you made changes, to reload the webpage.
Every time you publish, Weebly will give you the link to your actual site, like below:
This is it for our short tutorial on Weebly. There is quite a bit more to explore, and with a little creativity and the help of Illustrator and Photoshop, you can create something that is truly unique.
