Tutorial 8 - an Intro to Vectors
In this lesson, you will be using vectors to "pop" some elements from the background and add them to their own layer.
You will be doing this using the pen tool and the cut and paste commands under Edit.
This is your introduction to vectors, which will help you create artwork on Illustrator.
How to vectors work, and why are they better than rasterized images?
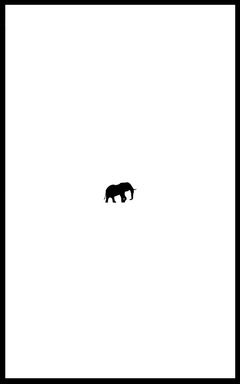
In a rasterized image, you paint an elephant on the screen. It is made of hundreds of pixels, and you think it looks good.
The computer saves that elephant, every single pixel, exactly where it is. The file size is pretty big, but it looks good, so yay.
You will be doing this using the pen tool and the cut and paste commands under Edit.
This is your introduction to vectors, which will help you create artwork on Illustrator.
How to vectors work, and why are they better than rasterized images?
In a rasterized image, you paint an elephant on the screen. It is made of hundreds of pixels, and you think it looks good.
The computer saves that elephant, every single pixel, exactly where it is. The file size is pretty big, but it looks good, so yay.

A week later, you realize that you wanted to use this beautiful elephant to make a poster.
You place the elephant on the poster, and realize you have to make it bigger.

And so, you make it bigger, and add fonts to it; but when you look at your poster up close, this is what you see:
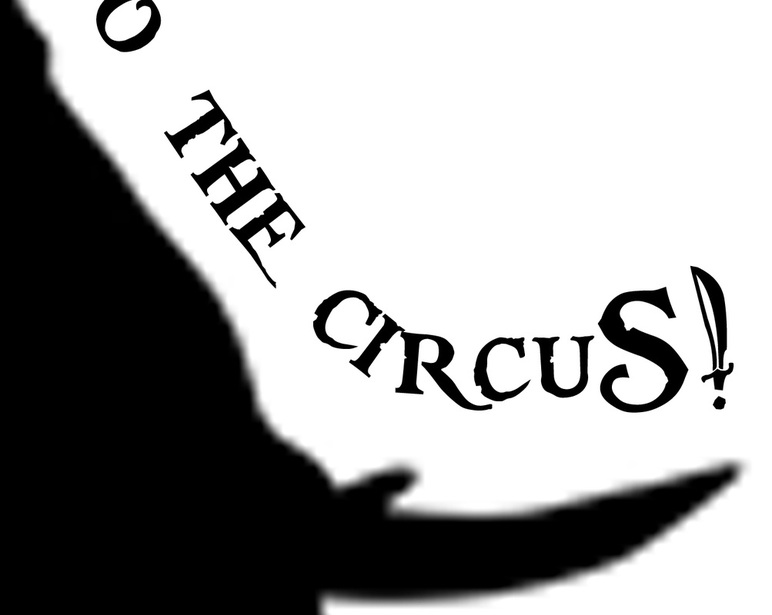
While the fonts are sharp and tidy, the elephant is now a pixelated mess.
The sharp edges you had carefully drawn are replaced by a fuzzy line.
What happened is that your computer, as it stretched your image and the pixels apart, it filled the empty spaces between pixels with its best guesstimate of what the final image should look like, based on your pixels drawn.
If this image had been a vector image, however, instead of saving the whole elephant, it would have saved a calculation of the elephant, as it transformed your image in a mathematical formula. This formula says how far the feet are from the trunk, how thick the trunk is, what colour the elephant is, and so on, and so forth; but it saves the information in a way that you could build an elephant equally as sharp, even if you make it a thousand times bigger, because the curves and calculations can be made as big as you want.
What do you think saves more space... saving a whole elephant, or instructions on how to make the elephant?
This is why vectors are so important for graphic artists:
They can be used as sharply on a business card as they can be shown on a billboard, and they save tons of space.
Of course, if you want to do something more painterly, it may be easier working on a rasterized image and making it really big, but whenever possible, vectors make your life much easier.
On to the Tutorial!
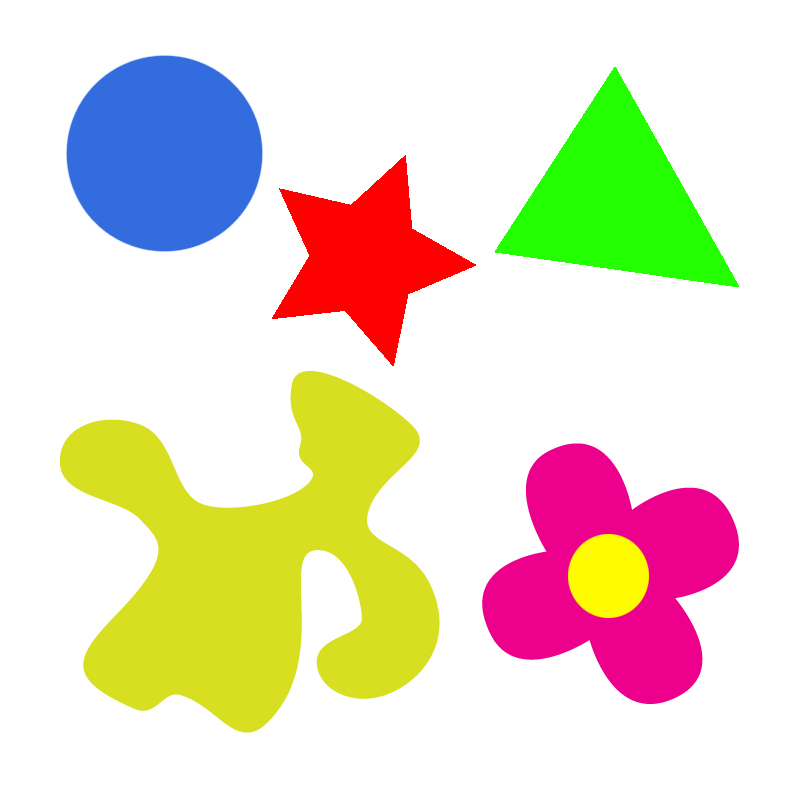
Open the file below:
| 8_-_practice.jpg |
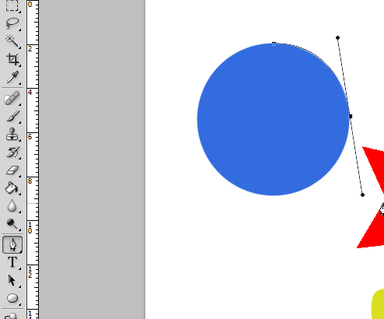
Using the pen tool, you will start clicking around one of the shapes. Start with one click; that will be your first anchor. Now, look at the shape and think where is the next point this shape will change directions, when thinking in relation to your first anchor point. On the case of the sphere, it's about a quarter of the sphere. Pull the adjustment handles until your vector curve
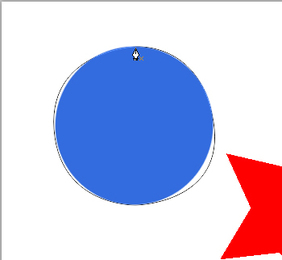
Continue adding points until you reach the beginning point. When this happens, as your cursor approaches the beginning point, you will see it turning into a "o".
That means it will close the image if you click there.
That means it will close the image if you click there.
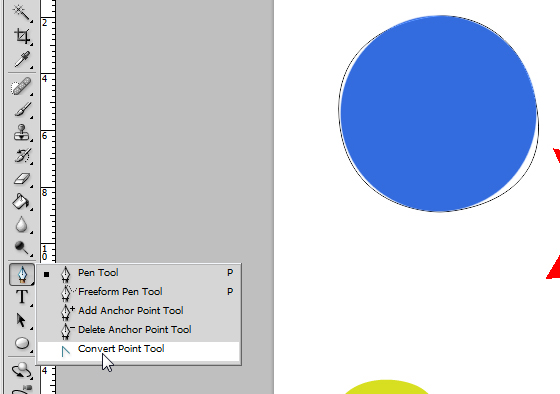
As you can see, the initial curve is not 100% perfect, so I will be adjusting it by using the convert point tool, which is located under the same family as the pen tool. I can readjust the ears of each anchor point until they look good.
If
you need to move your points, while the convert tool is selected,
click on one of the points and move the point by clicking the arrow
keys on your keyboard -- up, down or sideways.
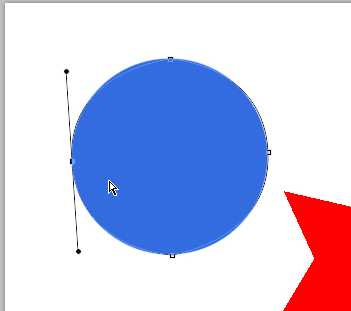
The circle is one of the simplest shapes, and yet, it is easy to make it more complicated than it needs to be.
Your circle should have only 4 anchor points, plus the one that closes it; so, five clicks.
When you are happy with your shape, hit Ctrl + enter. This should make the path into a selection:
Your circle should have only 4 anchor points, plus the one that closes it; so, five clicks.
When you are happy with your shape, hit Ctrl + enter. This should make the path into a selection:
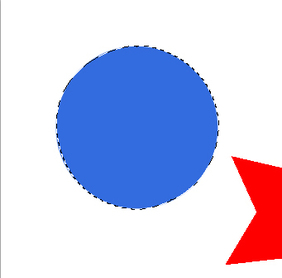
Now, go under Edit, and click cut. Then, go back into Edit and click paste.
A new layer will have appeared, now containing your circle.
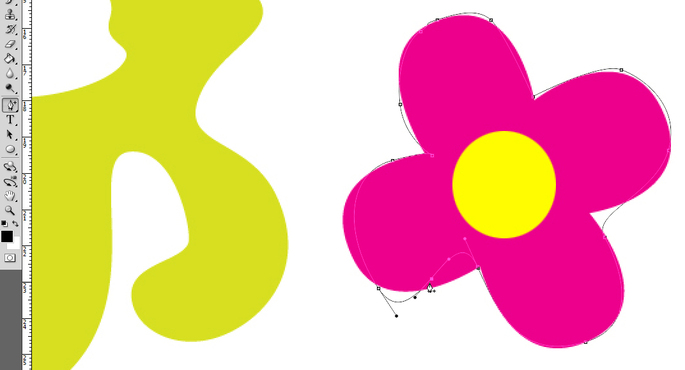
Now let's see another shape.
I did a quick job on the flower, and noticed it looks crooked, and looks to be missing some points.
A new layer will have appeared, now containing your circle.
Now let's see another shape.
I did a quick job on the flower, and noticed it looks crooked, and looks to be missing some points.

So, I went to the pen tool area, and changed my tool to add anchor point. This tool allows me to add an anchor point to my curve, wherever I want it.
You can also delete anchor points by selecting the delete anchor tool symbol, and clicking on the anchor you don't want.
You can also delete anchor points by selecting the delete anchor tool symbol, and clicking on the anchor you don't want.
Keep adjusting the points with the arrow keys (for moving up and down, and sideways) and the convert tool, to move the anchor's control ears around:

You will notice that sometimes, when you click on a point with the convert tool, Photoshop turns the point into a corner, like this:

If you click the corner point, hold and drag, you will see the ears appear again, and you will be able to make the curve come back:
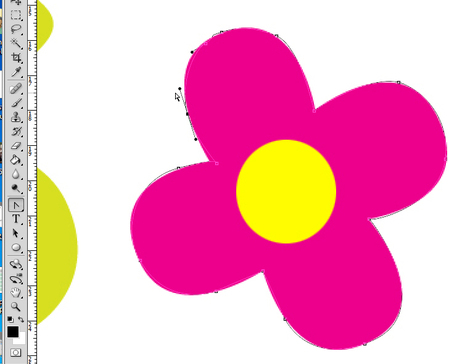
Once you are done with contouring your flower, click ctrl and enter again, and it will make the path into a selection; again, go to edit, select cut, then paste.
Do this for all four shapes. In the end, you should have each shape on a different layer.
Now you understand vectors a little bit more, and we can start playing with Illustrator!
Do this for all four shapes. In the end, you should have each shape on a different layer.
Now you understand vectors a little bit more, and we can start playing with Illustrator!
