Tutorial 10 - Make a Fruit Assignment
| assessment_2.docx |
Rules for mesh:
- The fewer points you have inside the mesh, the better your drawing will look.
- Your first mesh point is very important. If you don't like it, undo or delete the anchor point.
- If you click on an empty space within your picture, two new lines of mesh will form: one horizontal, one vertical. If you click on a Horizontal line, a vertical line will form. If you click on a vertical line, a horizontal line will form.
Everyone knows how powerful Illustrator can be in creating original artwork; however, it is also easy to create digital artwork based on a photograph, or shaded original artwork with Illustrator.
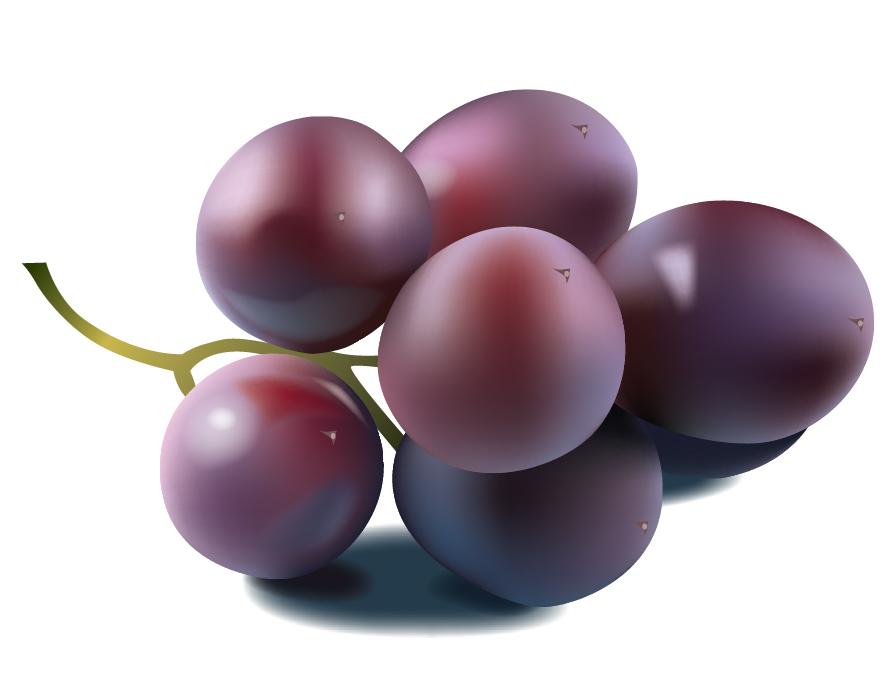
We will be creating, in this assignment, a realistic fruit picture, like the one below:
We will be creating, in this assignment, a realistic fruit picture, like the one below:

You can get even more detailed, with more objects added to really emulate the changes between areas of the fruit skin, but for this tutorial and assignment, we will stick to the basics.
FIRST, download the following folder, unzip it, and look over all the fruit selections.
Pick one that you like.
FIRST, download the following folder, unzip it, and look over all the fruit selections.
Pick one that you like.
| fruit.zip |
I picked the grape, but you can pick anything.
The principle is the same.
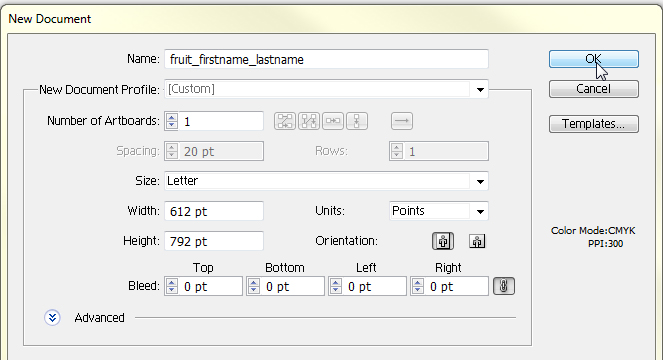
Now, start a new file. Go to File-> New, and start a file with the name of the fruit, your first name and your last name,
For me, it would be Grape_Mrs_J, for instance.
The principle is the same.
Now, start a new file. Go to File-> New, and start a file with the name of the fruit, your first name and your last name,
For me, it would be Grape_Mrs_J, for instance.
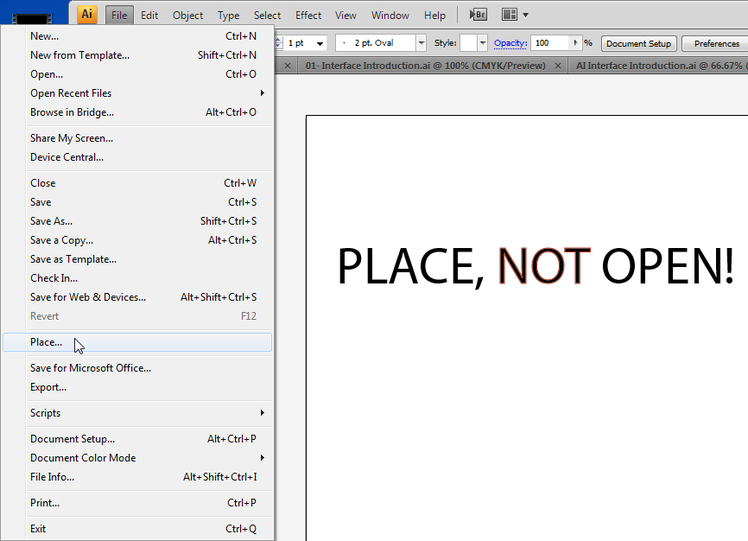
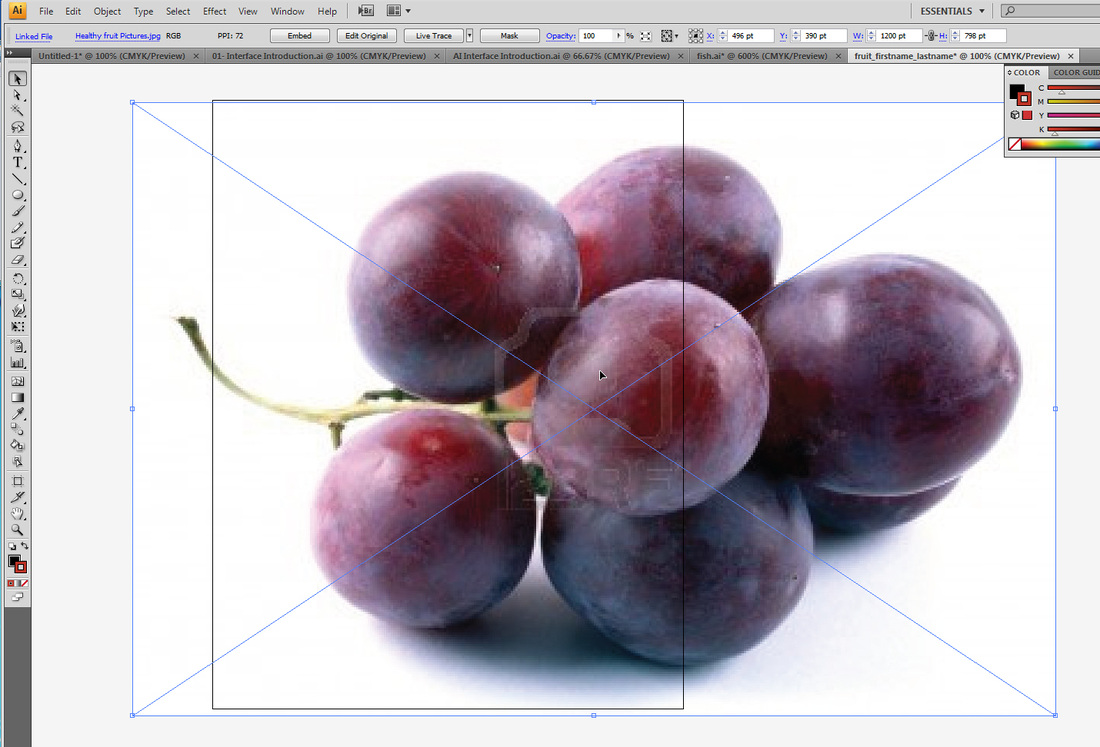
With your file open, you will place the chosen fruit file onto the new artboard...
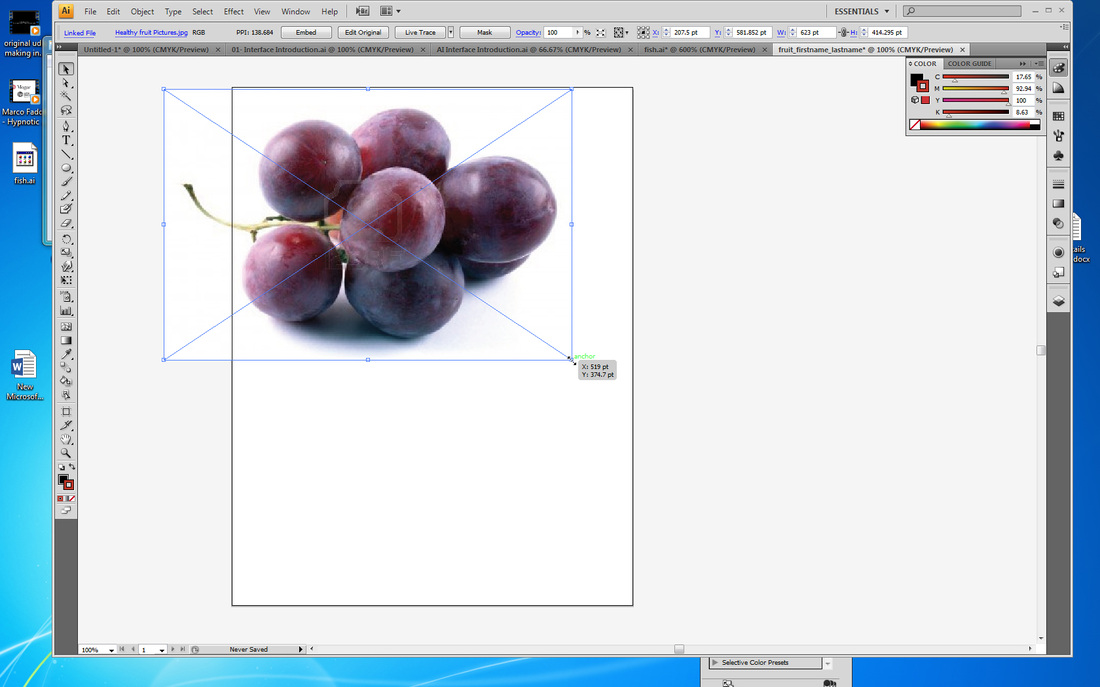
Notice how much bigger it is. You can resize it by holding one corner and dragging while holding shift.
|
|
Now, reduce the opacity of your fruit.
You want it to be a ghost image, so that you can use it as a guide.
You want it to be a ghost image, so that you can use it as a guide.
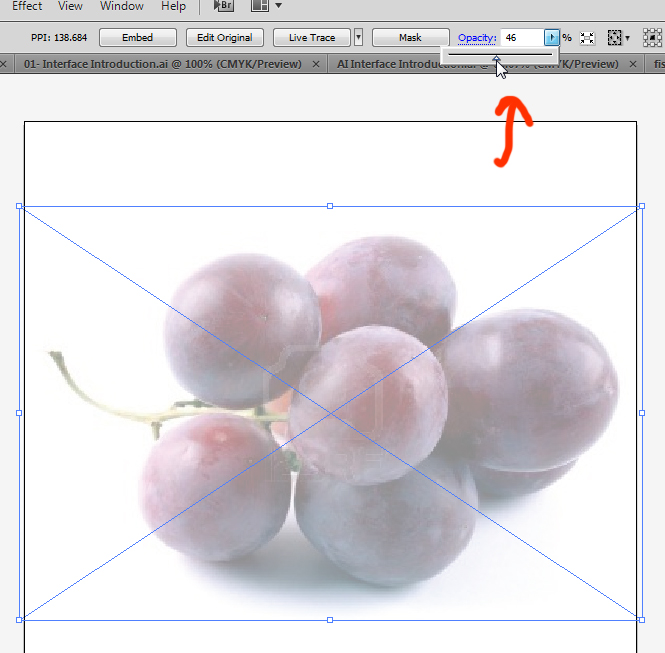
You can still select the image. That is not good, because you want to be able to work over it without worrying about it moving.
You need to make it so that the fruit is not selectable.
Click on your image with your selection tool.
Now go to Object, Lock and Selection.
You need to make it so that the fruit is not selectable.
Click on your image with your selection tool.
Now go to Object, Lock and Selection.
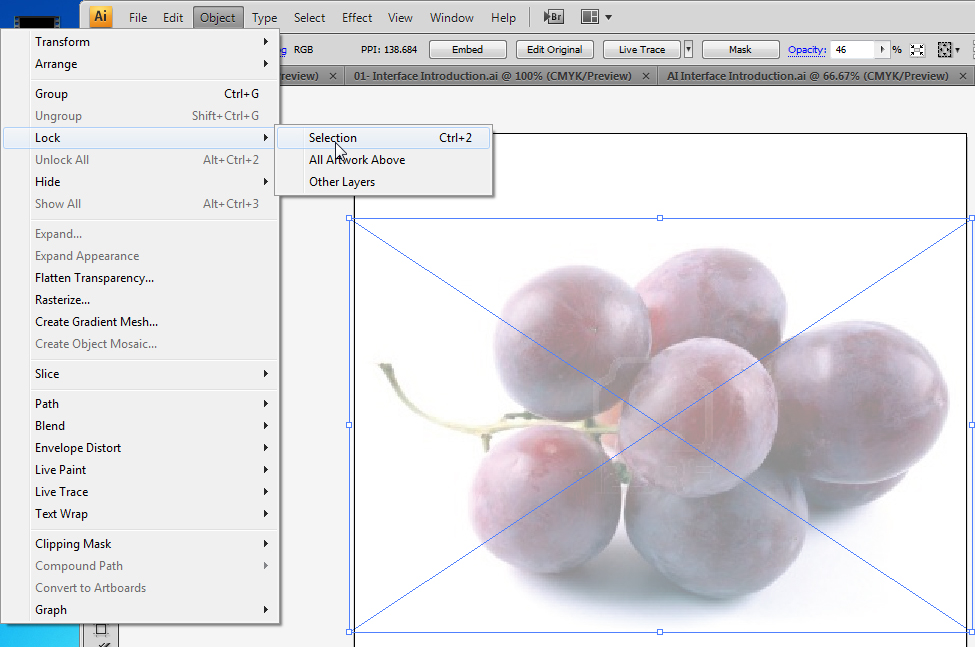
Your image is now protected, and you can start working on top of it without fear of selecting the background image.
Grab your pen tool and start working on each individual grape.
Make sure to keep organized as you follow the next steps.
Grab your pen tool and start working on each individual grape.
Make sure to keep organized as you follow the next steps.
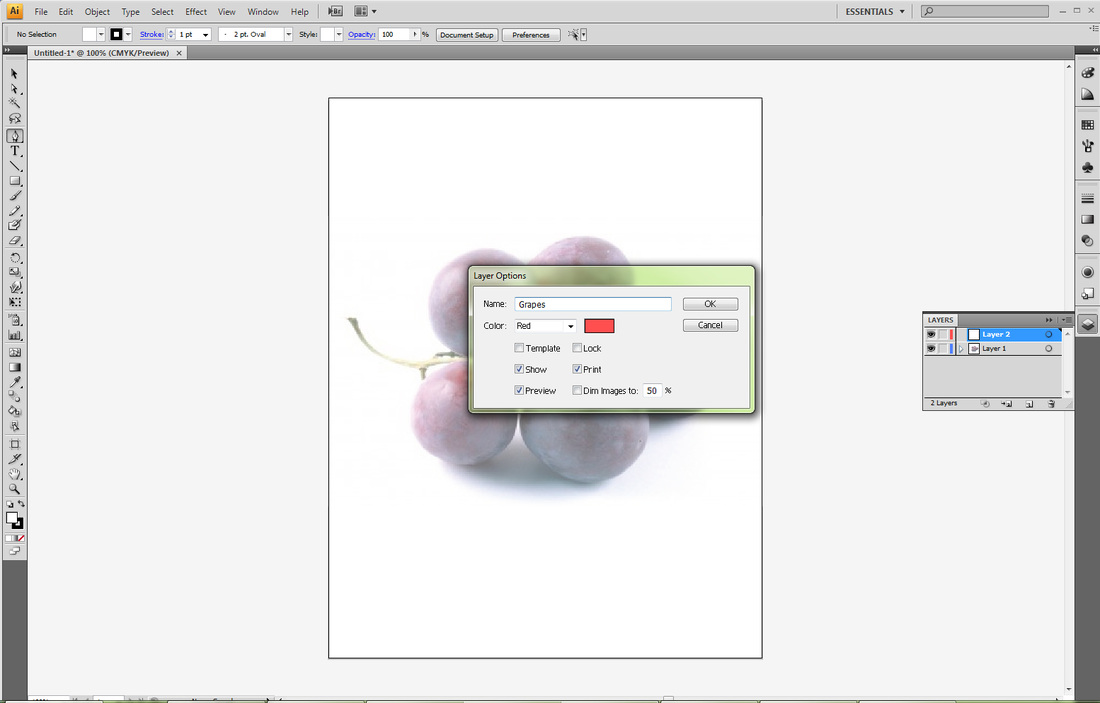
First step: Draw your grapes on a "grape" layer.
To start, make a new layer called grapes:
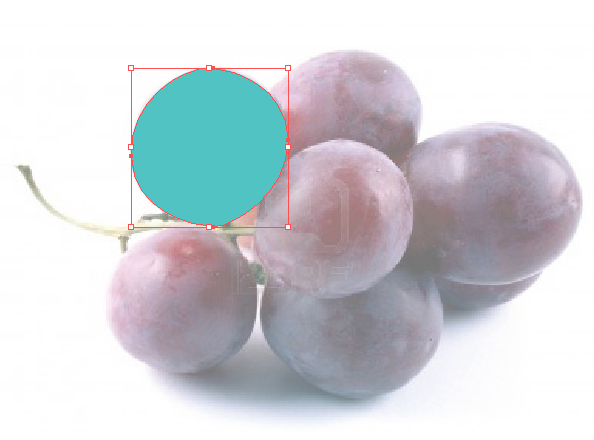
Start drawing your grape. Notice how it started with a black stroke and white fill for me:
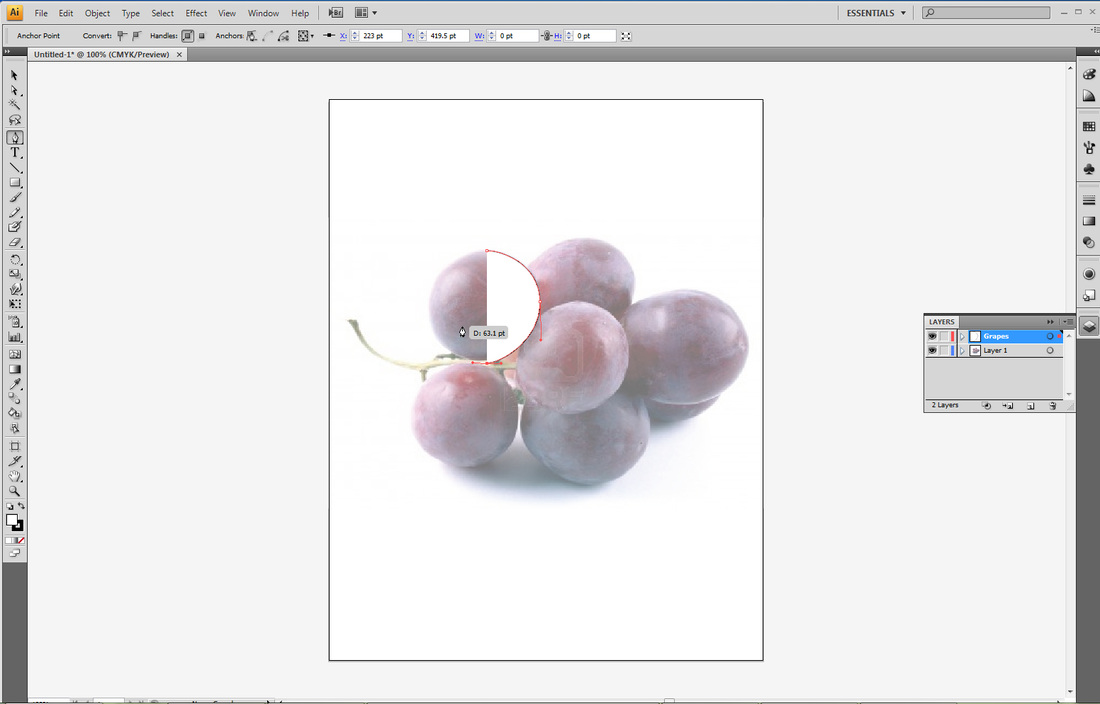
That is not ideal because we will be working without a stroke, and white will meld with the background. Change your colour to something else, like blue:
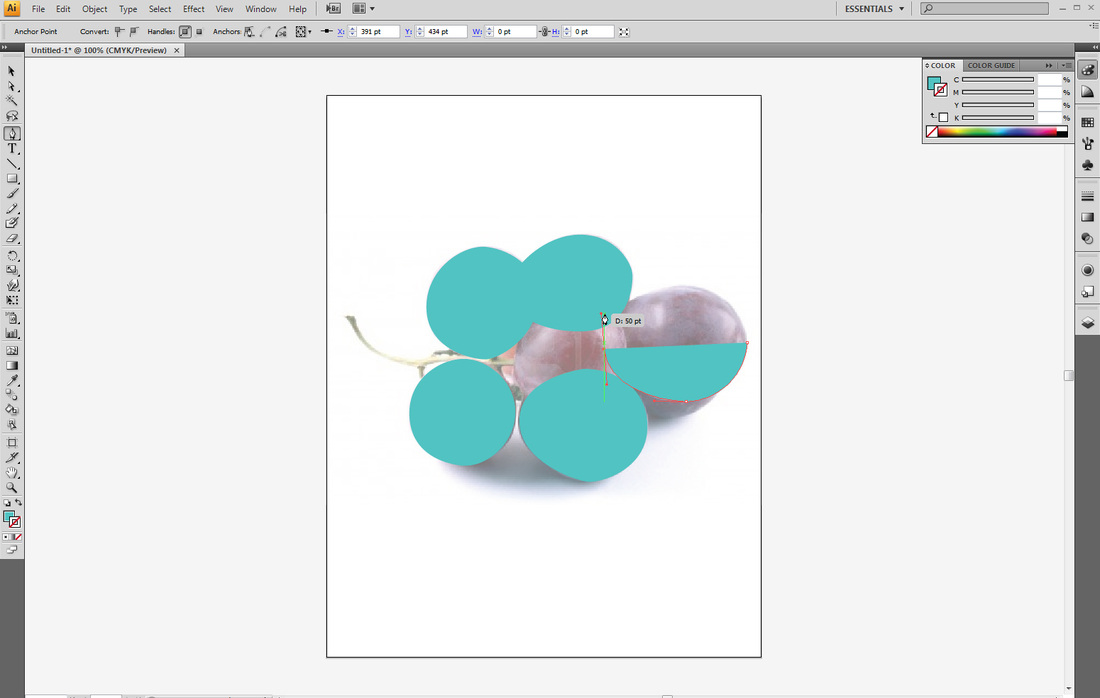
Continue to draw all your shapes one by one:
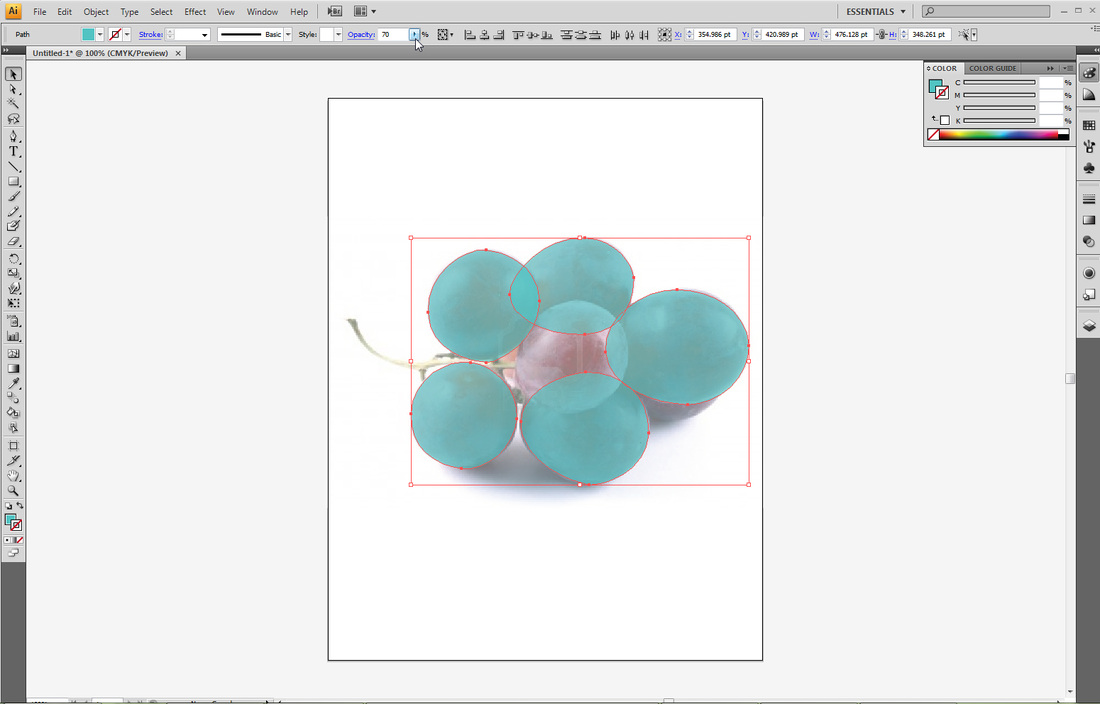
Notice you can't see anymore. To fix this, select all of your grapes by holding SHIFT and clicking each one with the selection tool (black arrow), and then changing the opacity on the top bar:
Finish drawing your other grapes. Don't worry about order right now:

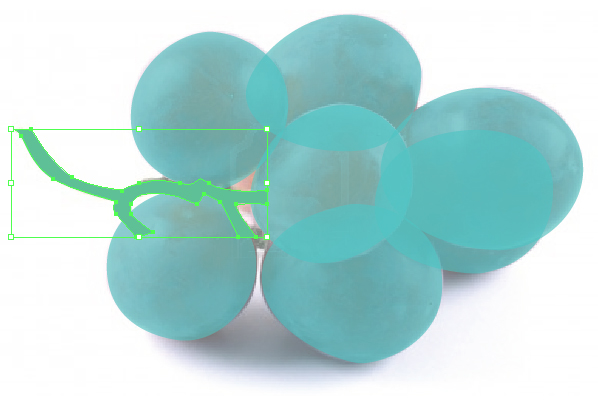
Make a layer for your second element -- here it is a twig, but if you were making a banana, it would be a banana peel, or a leaf for an apple, or the white part of a parted pear, etc:
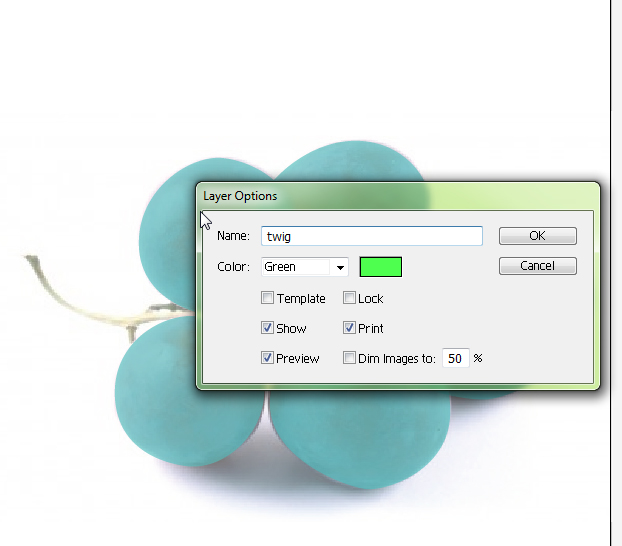
Do the twig shape like below. You can refine it later:
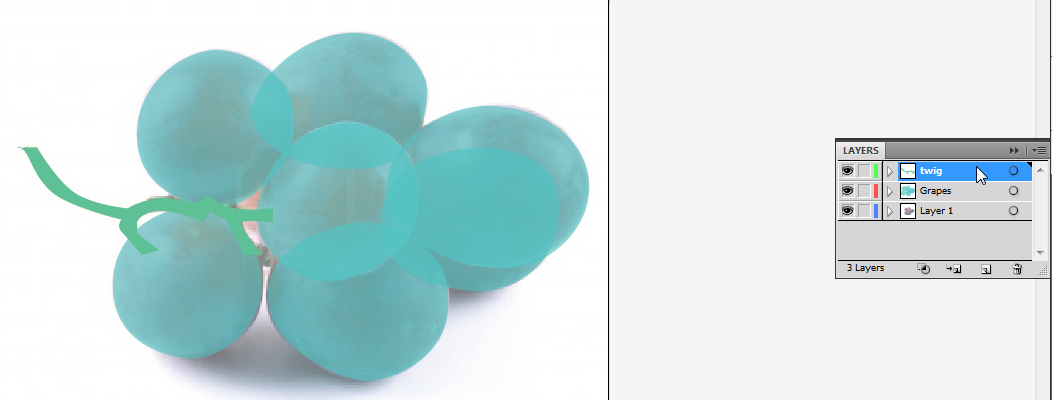
The twig is on top of the grapes! Make sure to move all your layers to the right position.
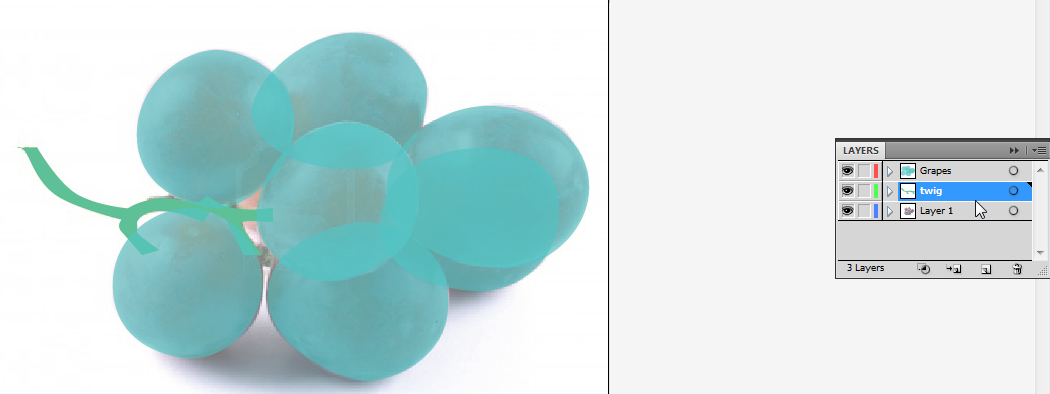
See, here the twig is on the bottom. I simply grabbed and dragged the layer below the layer labelled "grapes".
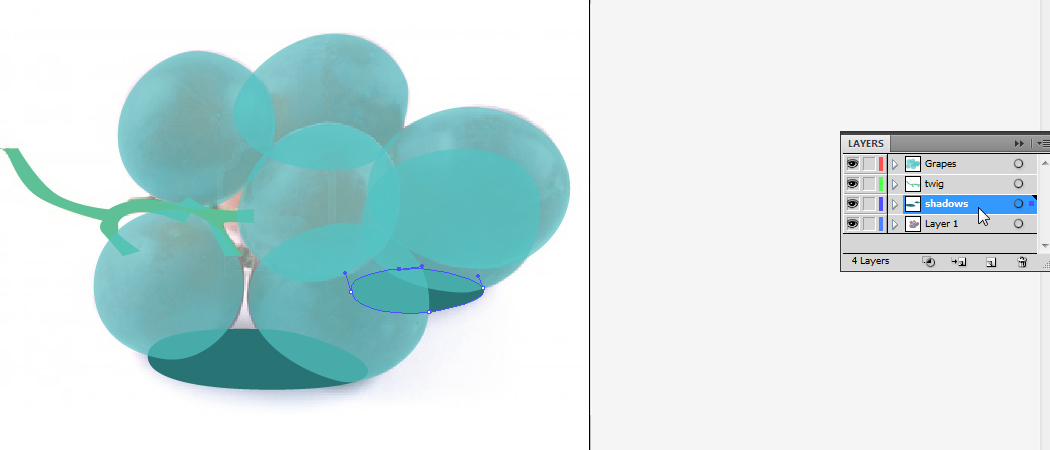
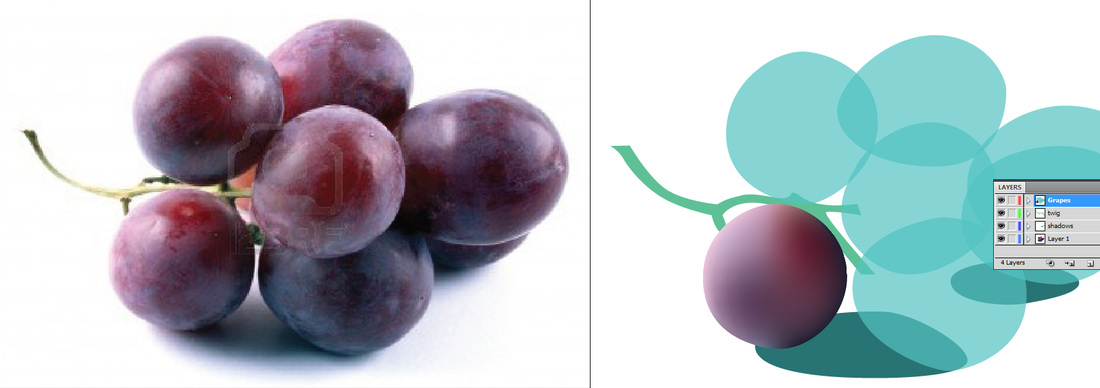
Add other elements, such as shadows.
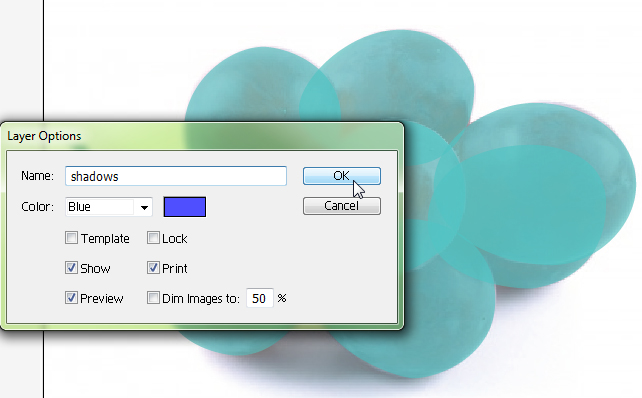
Below, I drew the base shadows, and then moved the layer to the proper position.

You are done with the drawing part. Now what?
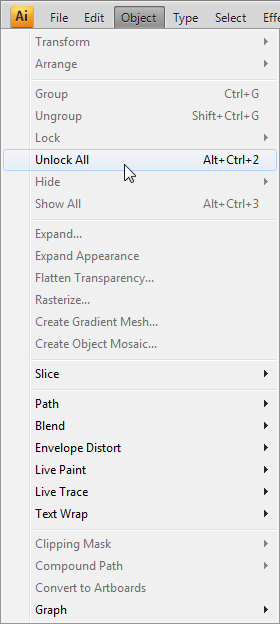
First, you need to remove the photograph from behind the grapes.
To do this, go to Object -> Unlock All:
First, you need to remove the photograph from behind the grapes.
To do this, go to Object -> Unlock All:
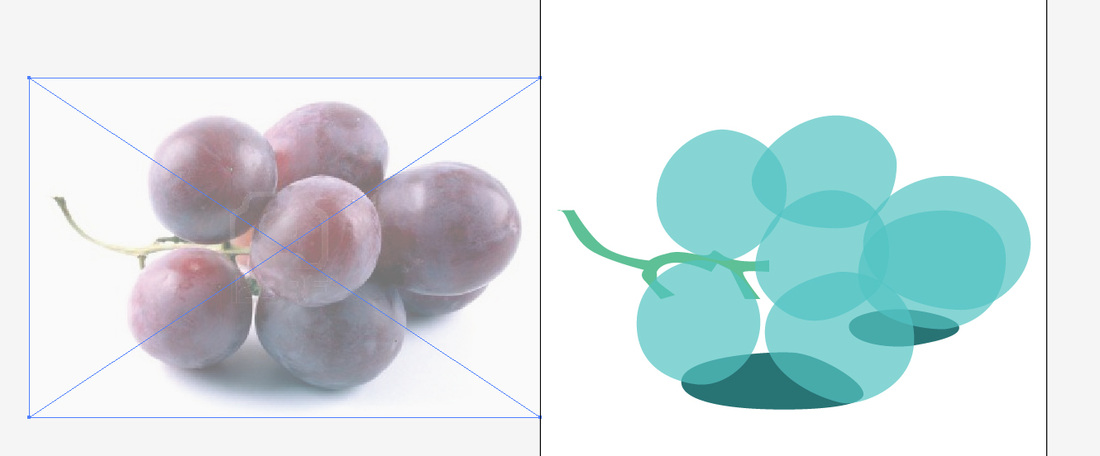
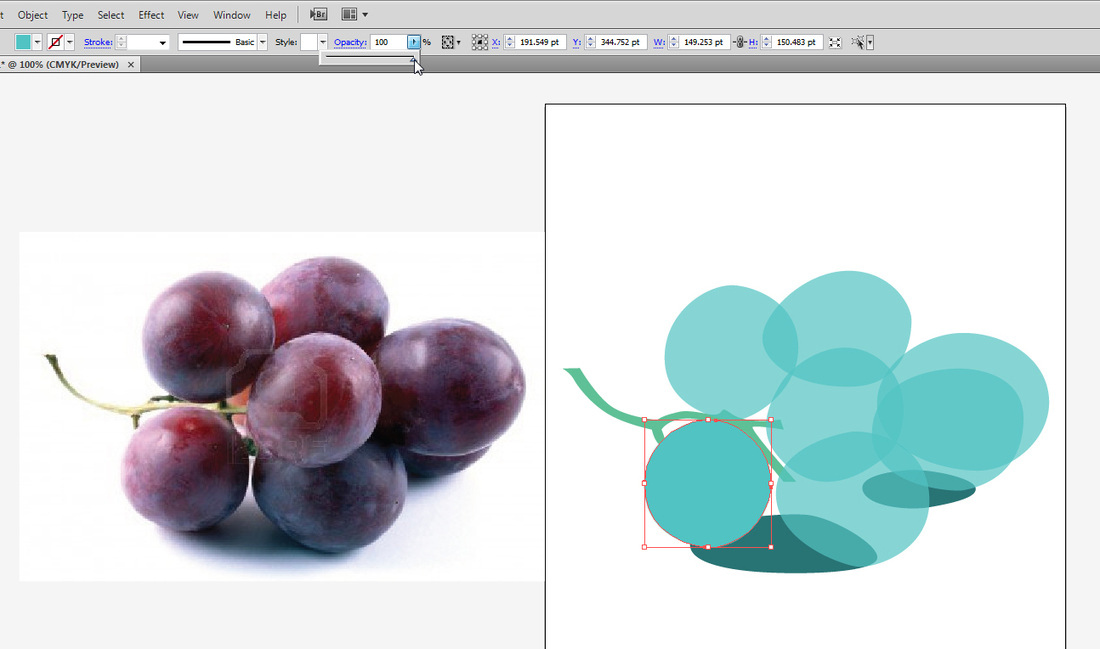
Now you are able to move your photograph over to one side.
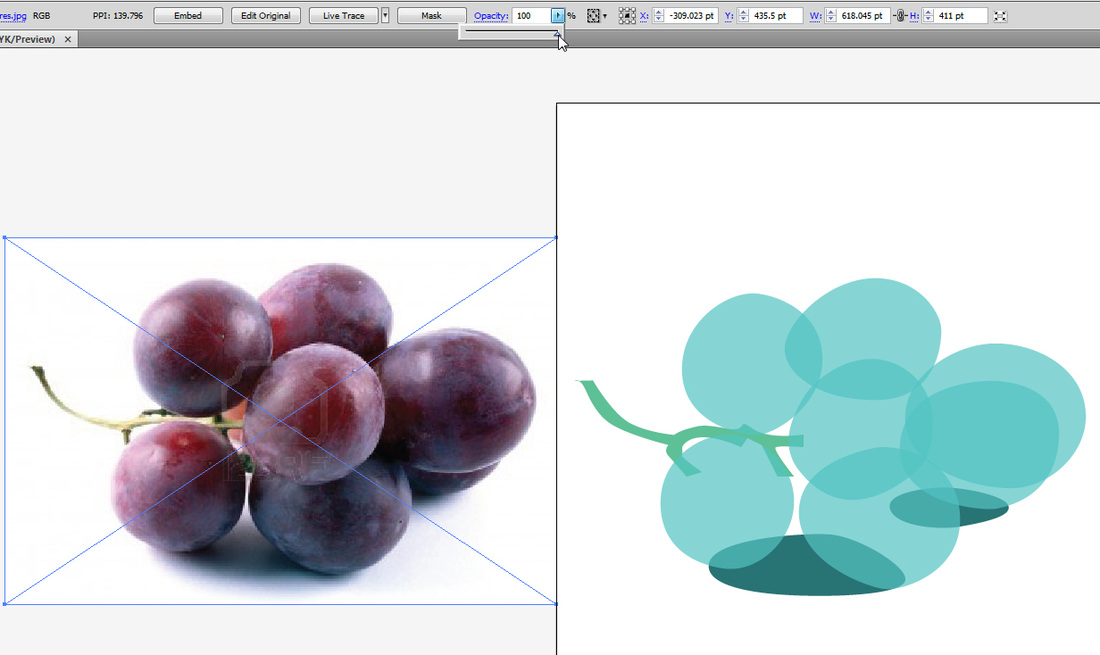
With the photo still selected, bring the opacity back up to 100%:
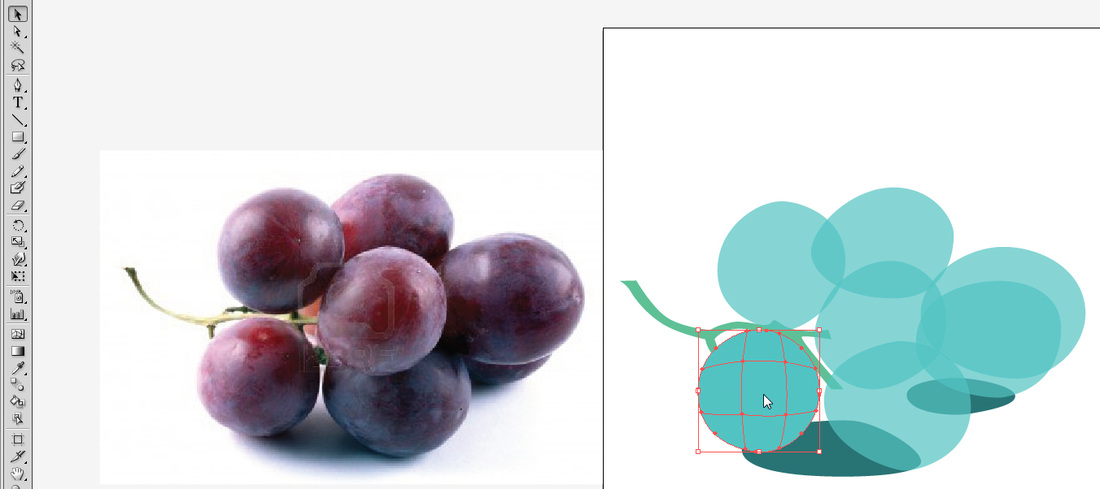
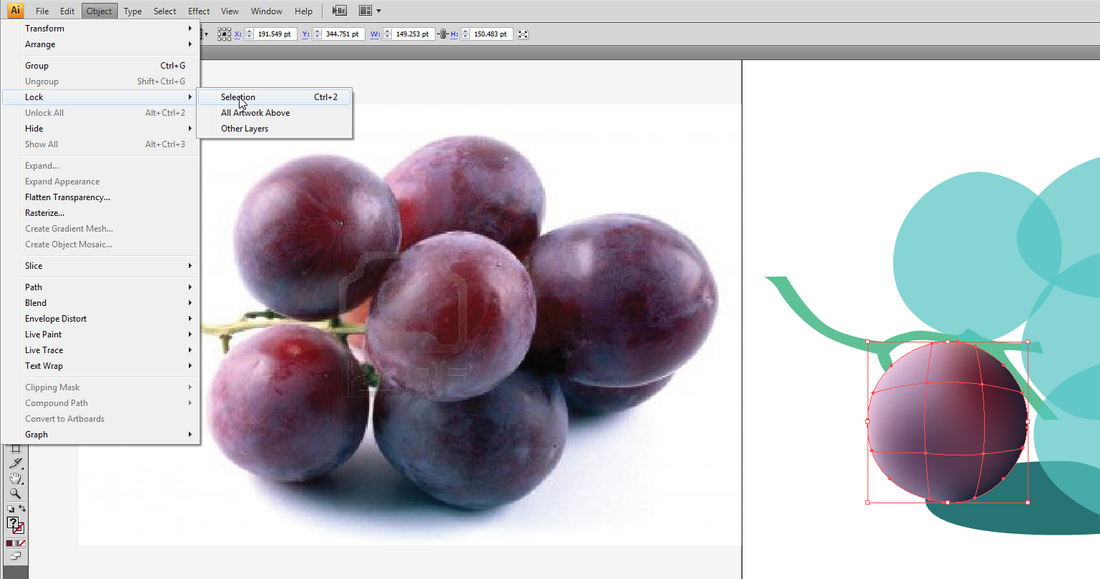
Do the same for one of the parts of your fruit, so you can start meshing it. I chose the bottom left grape.
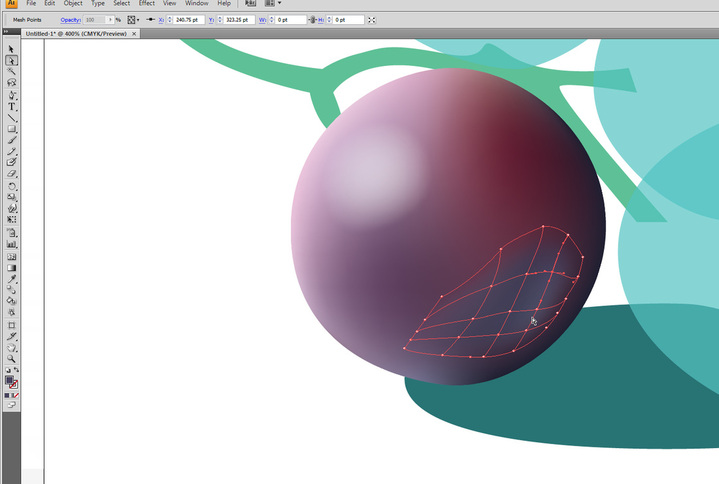
Select the mesh tool.
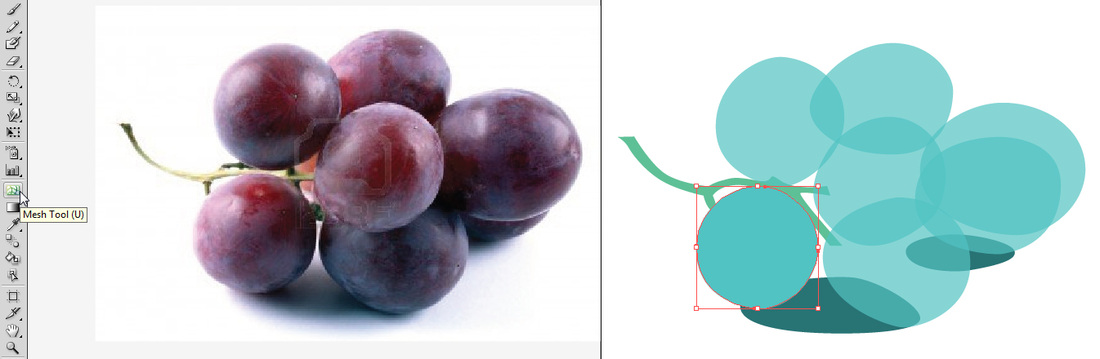
Click on your fruit once. This will add a point, and start your mesh. I chose to add it a little above the middle and to one side. Don't start on the centre! I makes boring meshes, YAWN. Even if it is a banana, off-centre is better.
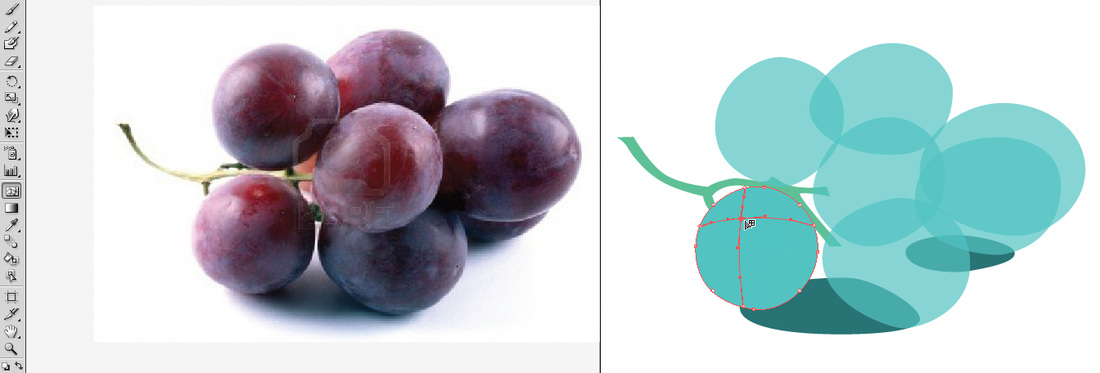
Add another point to complete the mesh.
Now, with your selection tool, click on the fruit -- not on the mesh itself:
This will select all the points in the mesh. Now, with the eyedropper tool selected, click on a general colour on your fruit, to start the process of colorizing the fruit.
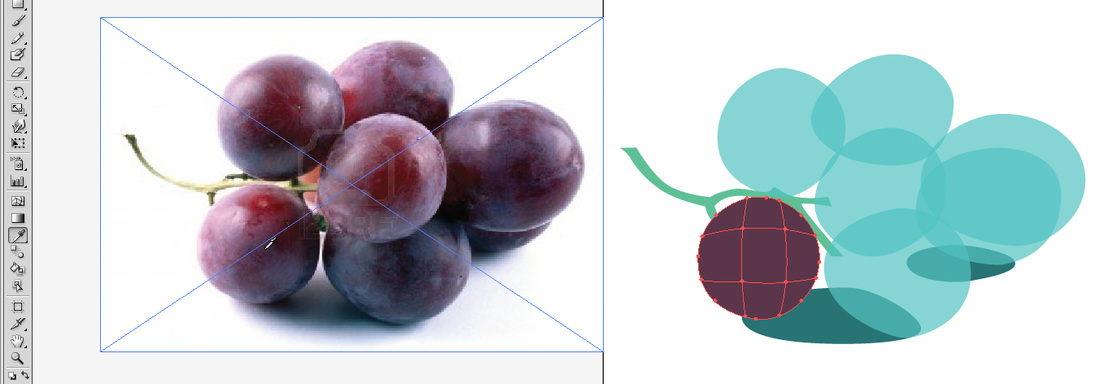
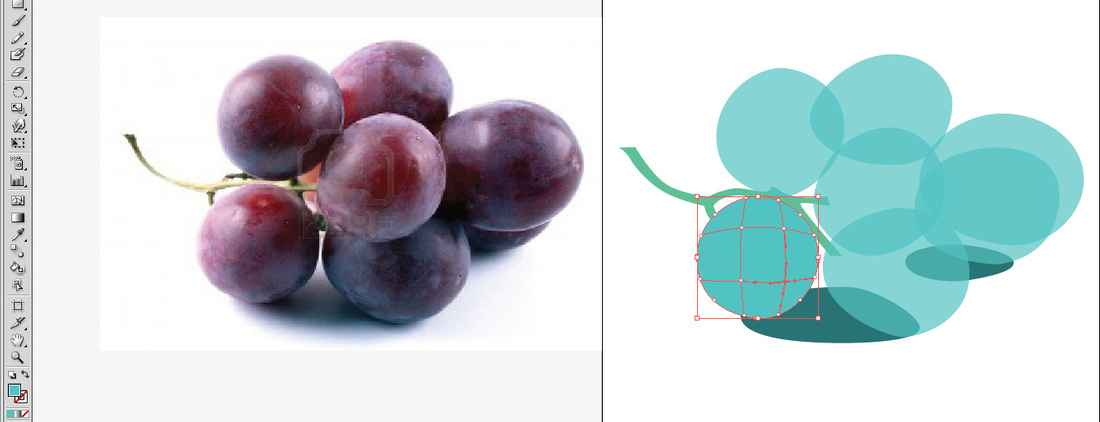
Start sampling with the eyedropper tool. Sample from the correct area on the fruit. Click on one vector point, then click on the photo, and do this for every portion of the fruit.
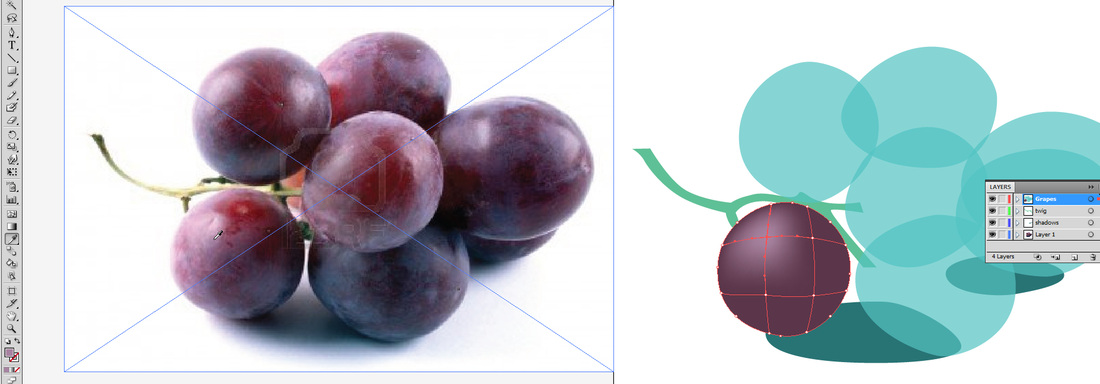
I start sampling other points...
This is the final result of sampling every point on the right place.
I clicked on the fruit with my selection tool and locked my selection:
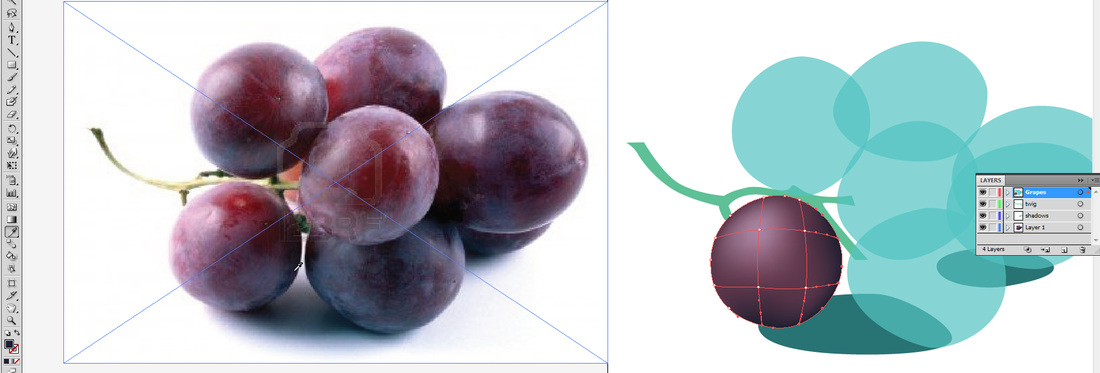
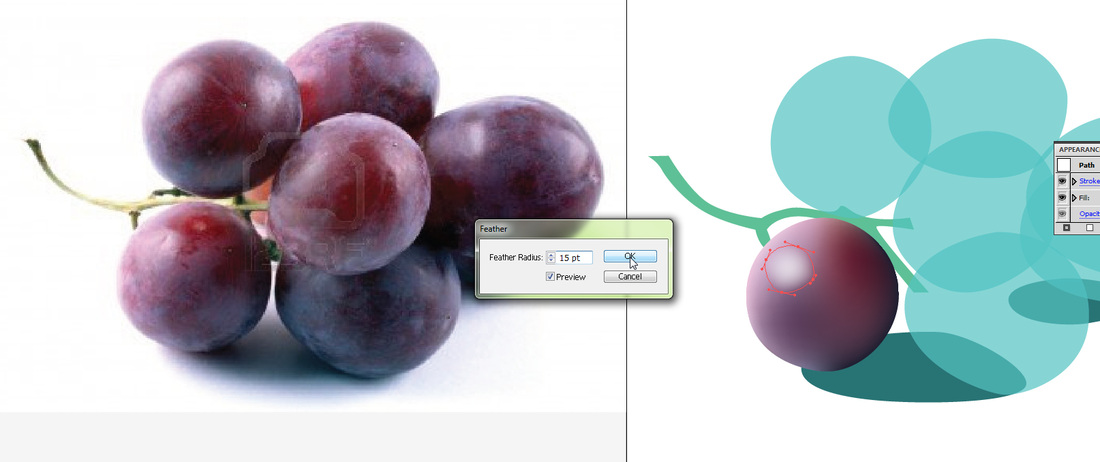
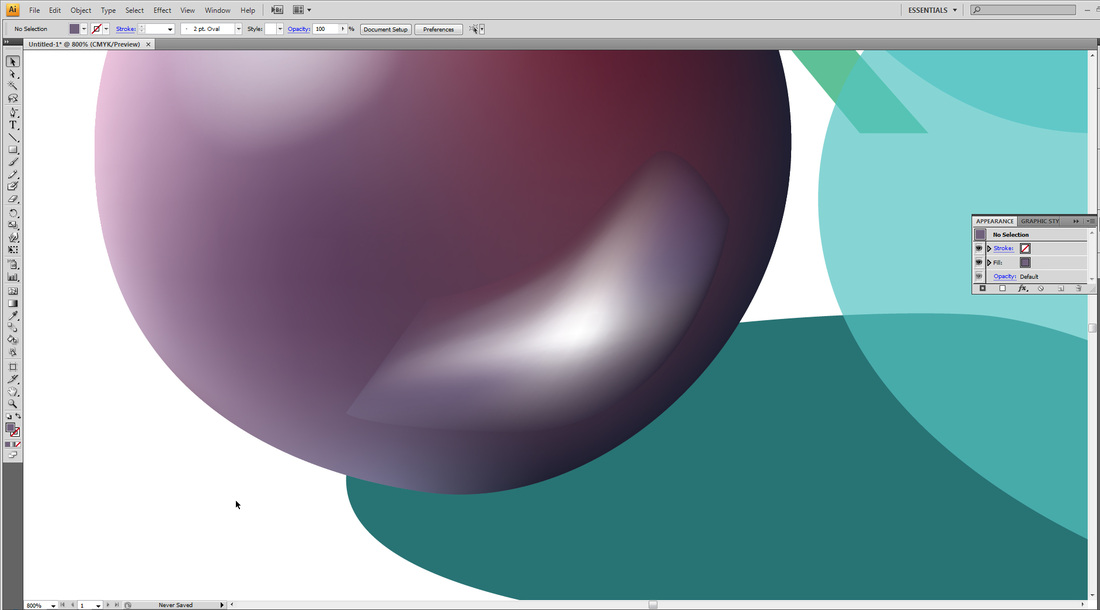
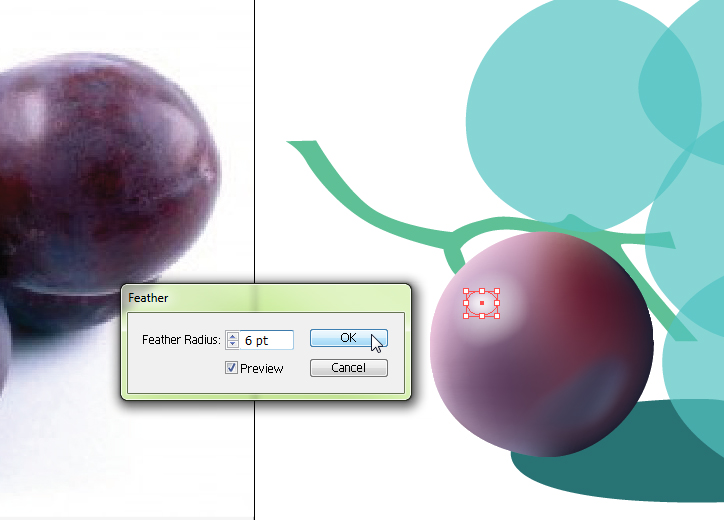
I drew a circle for my highlight. Usually direct light will look circular or oval on shiny fruit. If you are doing a banana, this will not happen, most likely.
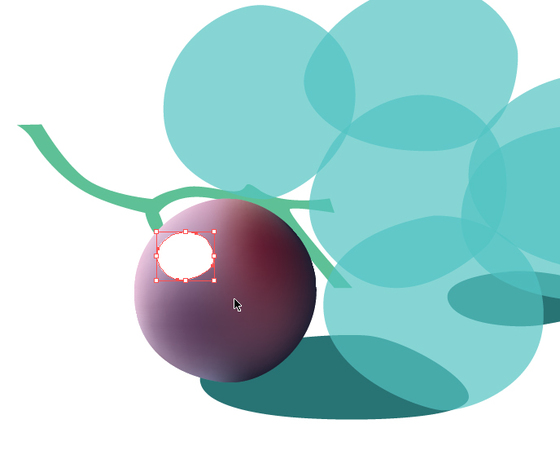
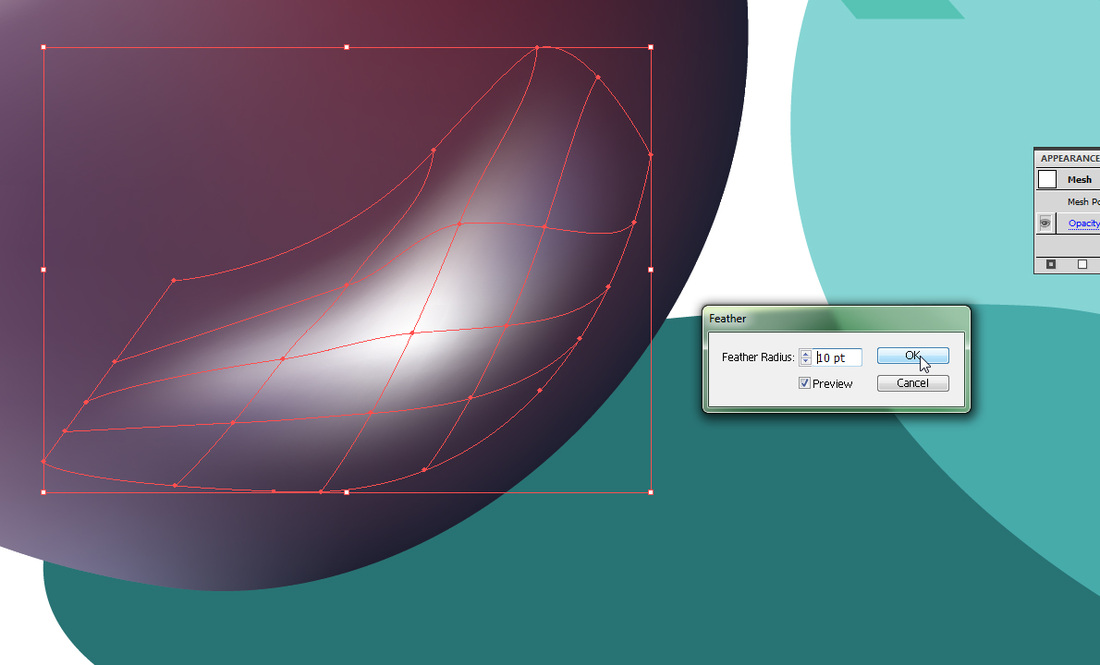
To blend my white shape to my fruit, I go to Effect -> Stylize _> Feather:
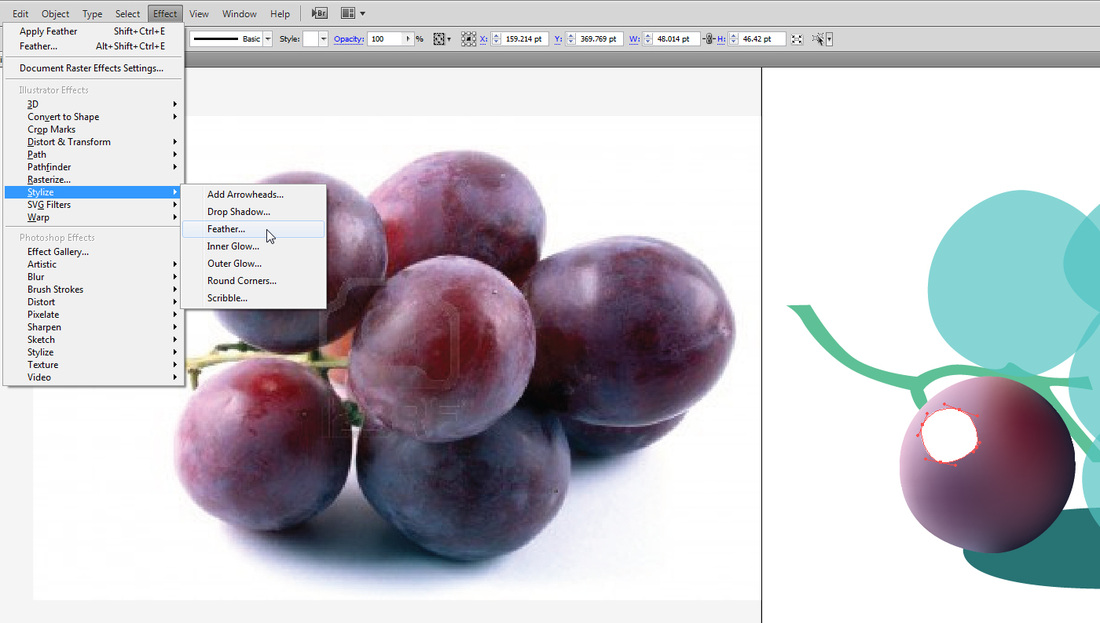
See what the feather tool does?
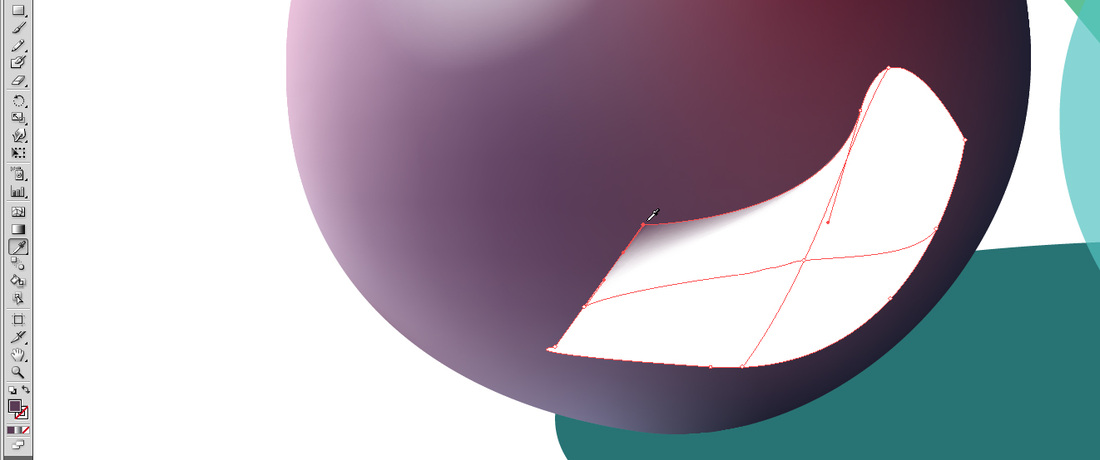
Reflected lights and colours are everywhere in nature. If you see something that stands out, create a new shape just for it. Below, I decided to create a shape for a reflected light.
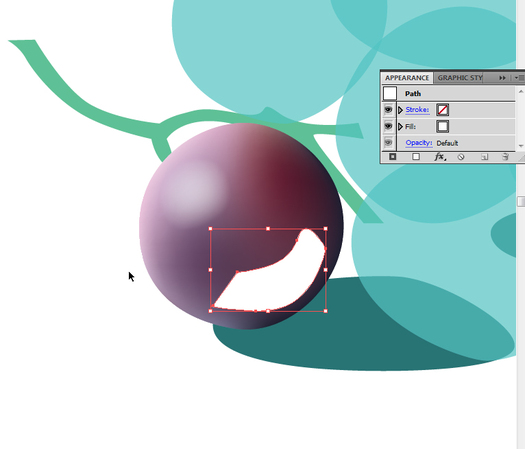
Click on the mesh tool.
Add a mesh to your shape.
This time, you will be sampling the colour from your fruit itself! First, click on an edge point, and then click on the fruit, as close to the point as you can.
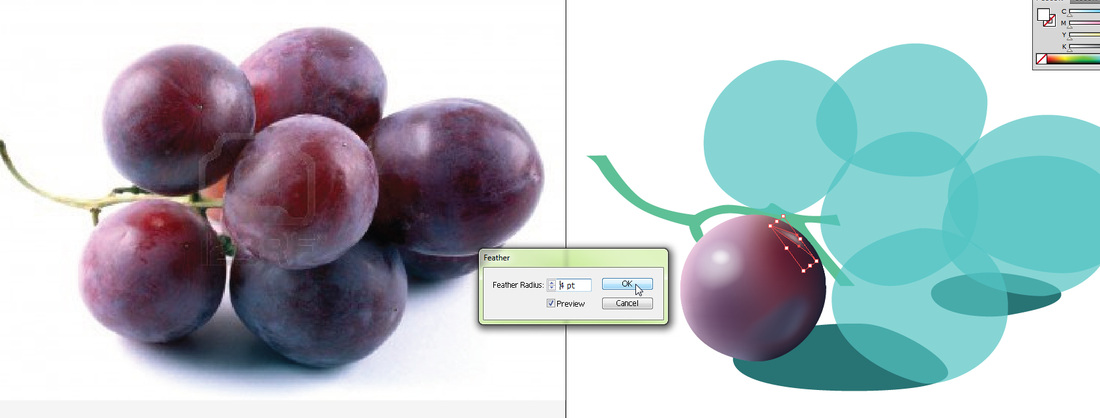
Notice that even after I sampled the points, there is still a visible edge to the shape.
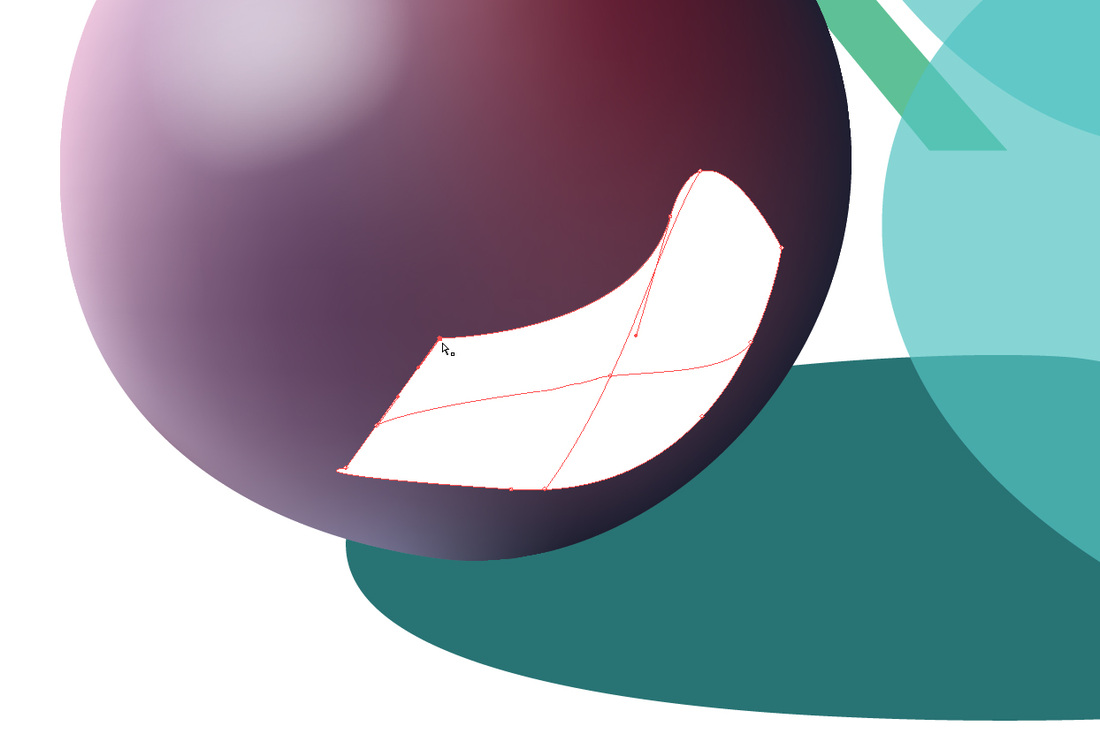
To make that sharp edge disappear, you use the feather tool, but now the blend is much better, as you are blending points extremely close in colour.
All the points in the middle of the mesh need to be sampled too, and you do this by sampling from the original photograph:
If necessary, add a second highlight, like here:
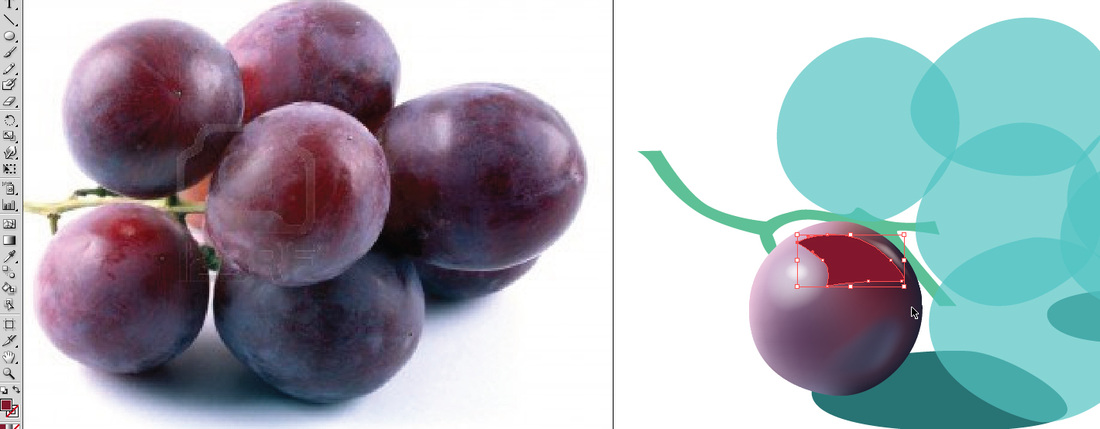
Add details, such as small highlights, as these bring realism to your piece. Here, I am adding a small reflected light:
And here, I am adding another shape to bring forward that red bit:
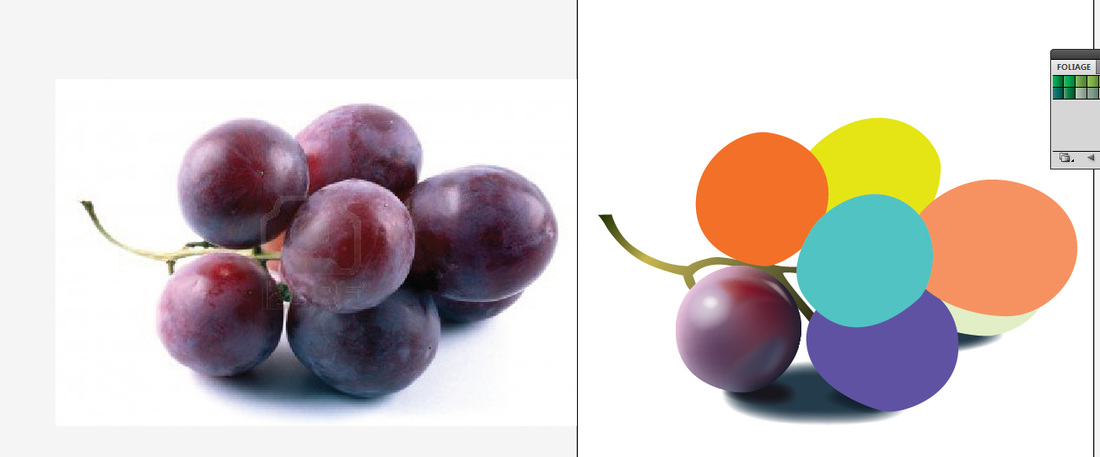
After I finished my first fruit, I realized my layers were not in the right order. I changed each piece of fruit to a different colour to help me get them on the right order. It's a good trick and you should do the same.
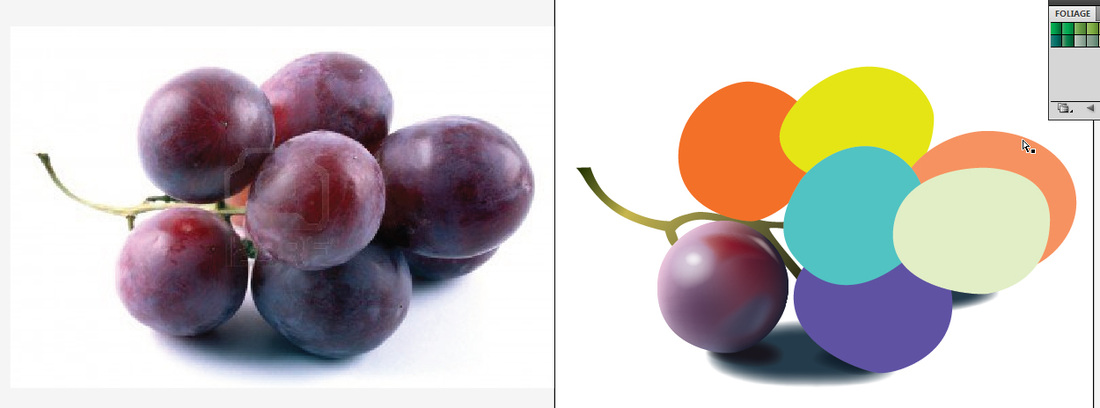
To change the order of the elements on a same layer, you can just go under Object -> Arrange -> Bring forward and Send backward. You can also use the shortcuts: bring forward is Ctrl + ] and Send backward is Ctrl + [.
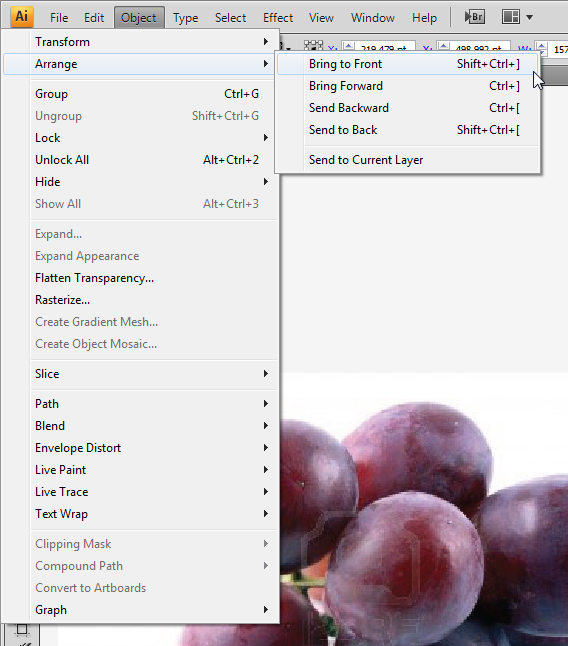
Now, all your pieces of fruit should be on the right order:
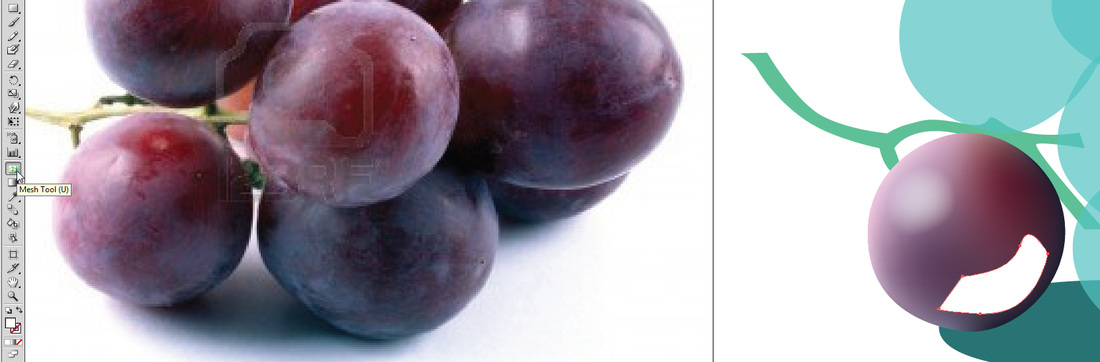
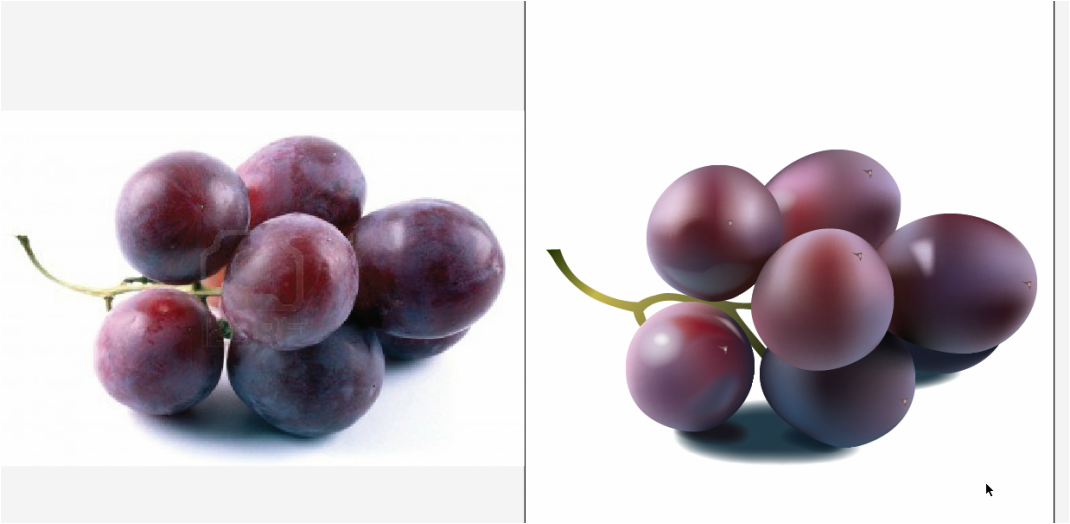
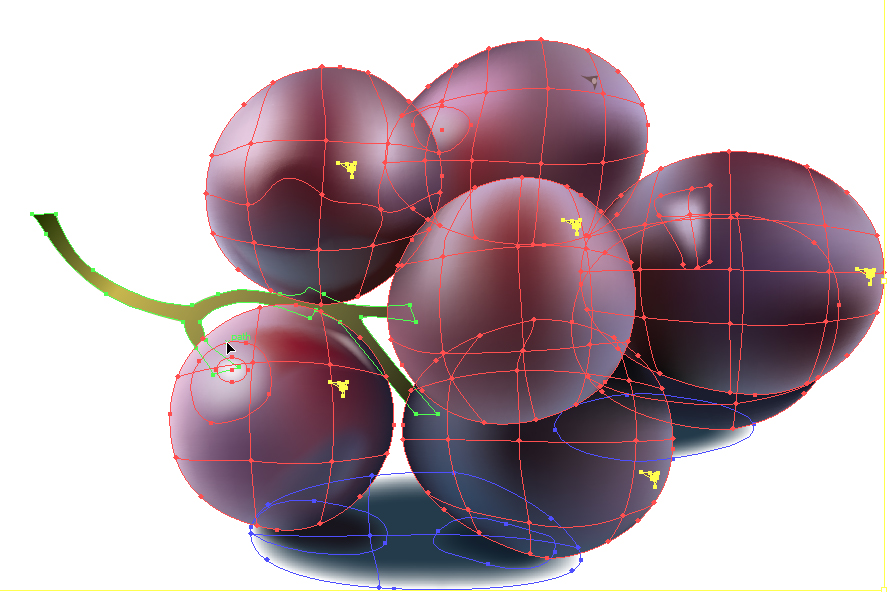
Continue working on the meshes and adding detail for every area of your photograph until you are done. Here is a final comparison to the photo versus a vector/mesh drawing:
The final fruit is below:
And finally, here are all the different meshes and objects in my picture. Notice I have two different shadows and two highlights, sometimes:
I hope you enjoy this tutorial and the process of creating something realistic on Illustrator.
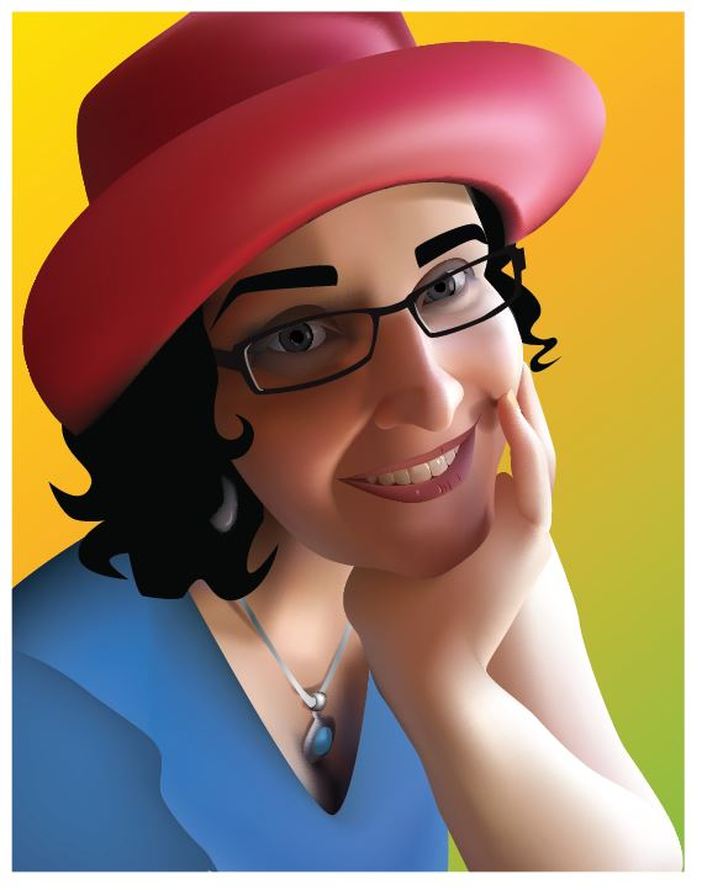
Below is a self-portrait I have been working on... it is still not done, but it gives you a good idea of a portrait done solely on Illustrator:
Below is a self-portrait I have been working on... it is still not done, but it gives you a good idea of a portrait done solely on Illustrator:
| fruit_bijora.ai |
