Realism Project
Before you start creating crazy characters, it's important to become comfortable depicting realism.
Only by understanding shading and how objects have form, you will be able to make your imaginary objects and creatures look as if they could actually exist.
Our first project is a realistic animal/object on Photoshop.
I chose this monkey:
Only by understanding shading and how objects have form, you will be able to make your imaginary objects and creatures look as if they could actually exist.
Our first project is a realistic animal/object on Photoshop.
I chose this monkey:
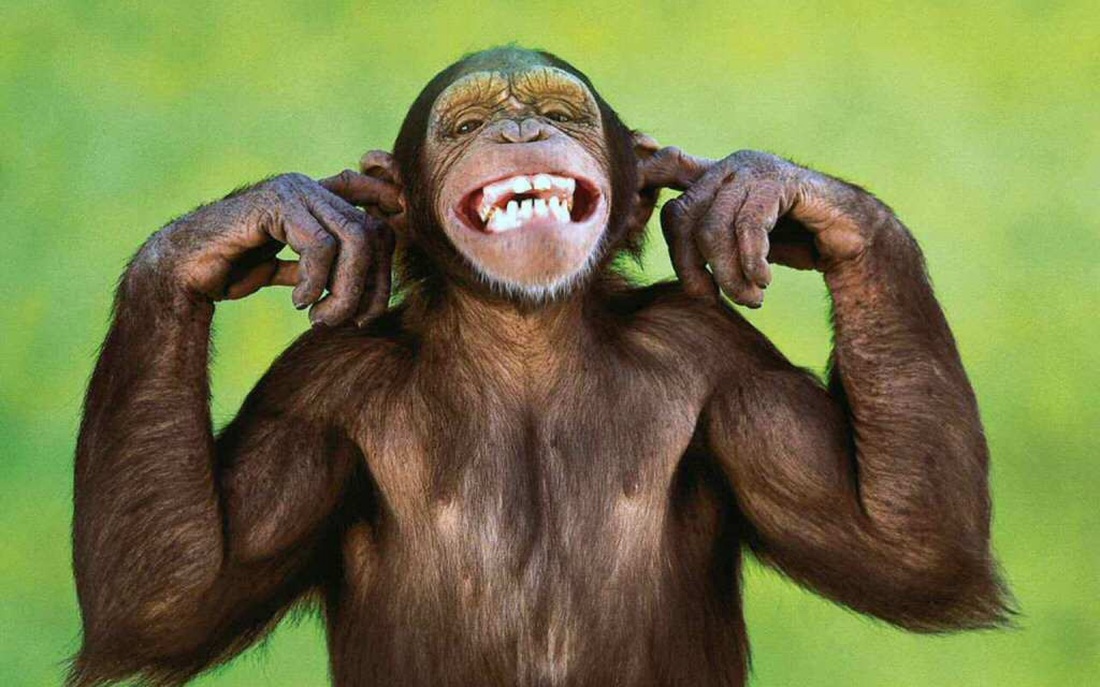
Original image.
|
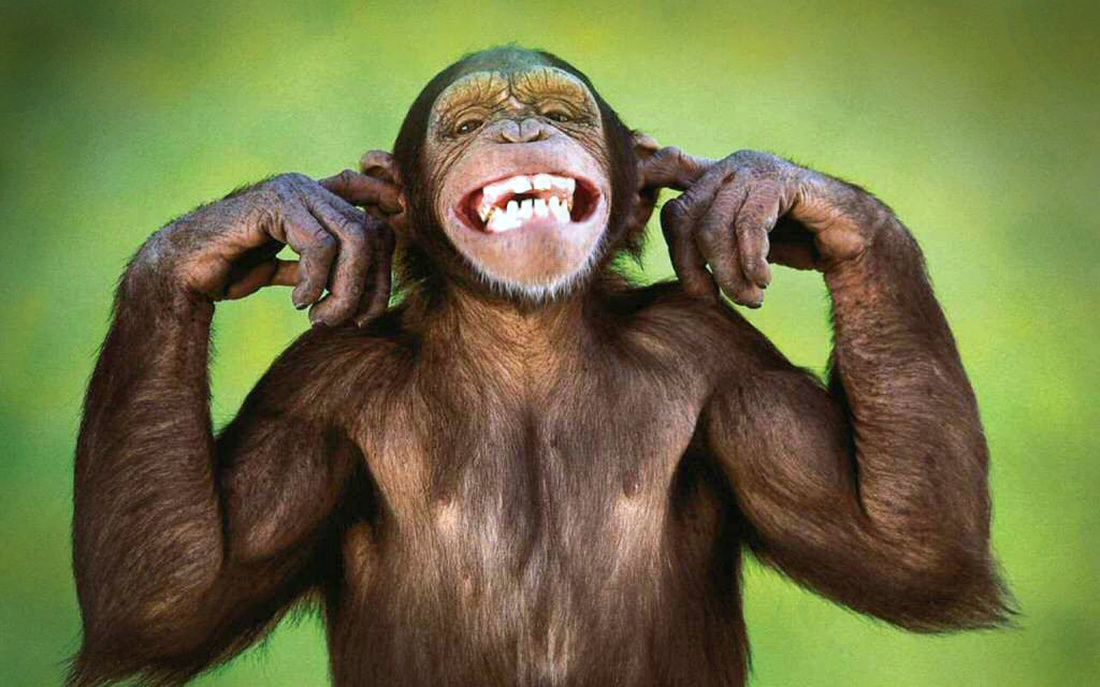
Using a black brush size 5 and a hardness of 0%, I added some darkness to the surrounding area. I also worked on the levels to increase the contrast.
|
I saved the file, and then saved it again with a different name, so that I would have a working file and a source file. I made sure the size was good for printing (and at 300 dpi).
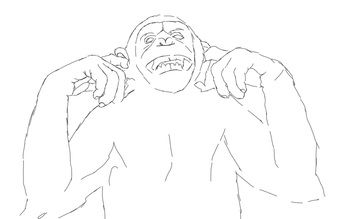
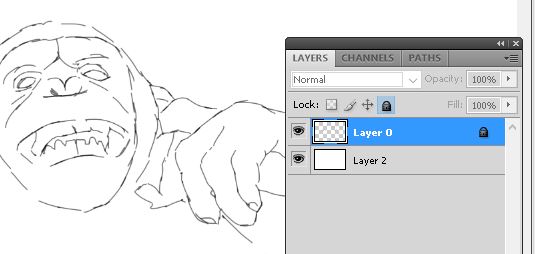
On my working file, I created a second layer, decreased the opacity of my original layer and drew a sketch of the monkey on top.
Then, I deleted the bottom layer and added a white layer.
Now, I have a layer with the sketch of the monkey, and a white layer below.
|
After you LOCK the sketch layer, it's time to start blocking out the colour of your image.
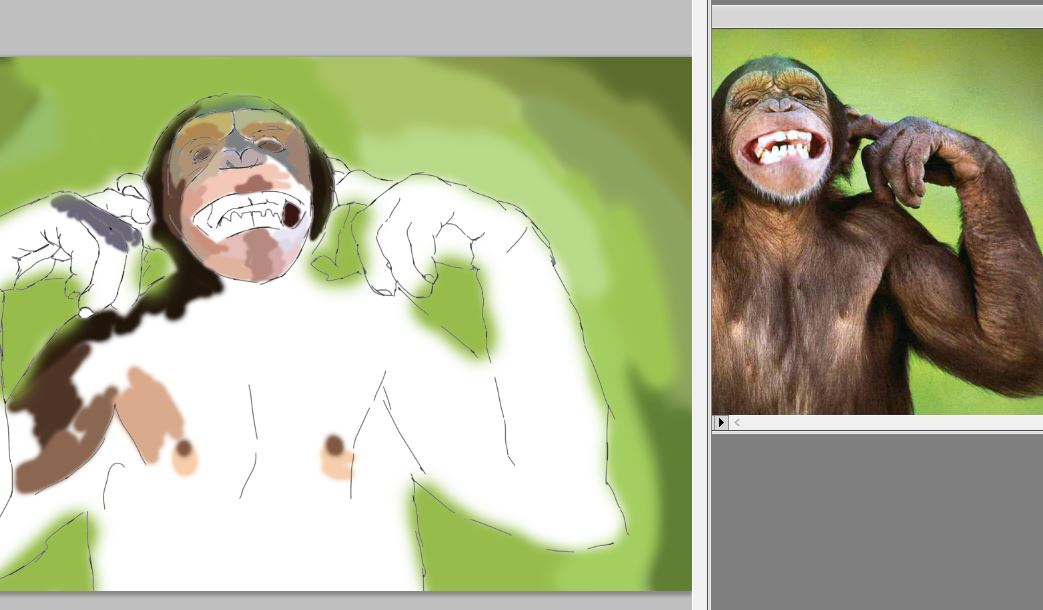
First, open the source file (enhanced original without sketch), place both files side-by-side and use the source file as a guide for your colour choices. Work on the layer below the sketch layer. |
|
|
An easy way to block colours is by stealing them from your source with the eyedropper tool.
With both images open, select the paintbrush tool. Hover over the source image and hold option (on Mac) or Alt (on PC). Click once. This steals the colour from underneath. Hover back to your painting and use the colour. With practice, you can do this process rather quickly. |
|
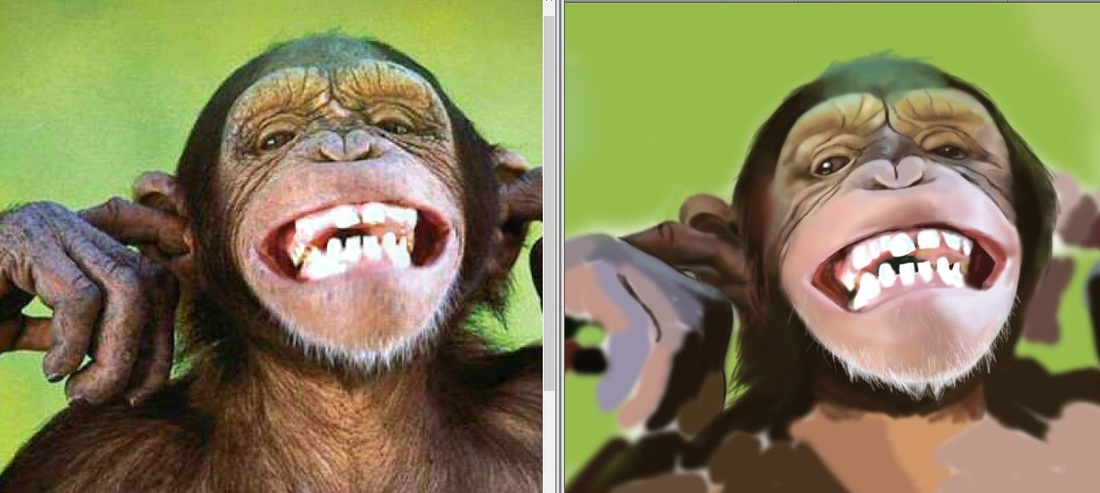
This is my result so far.
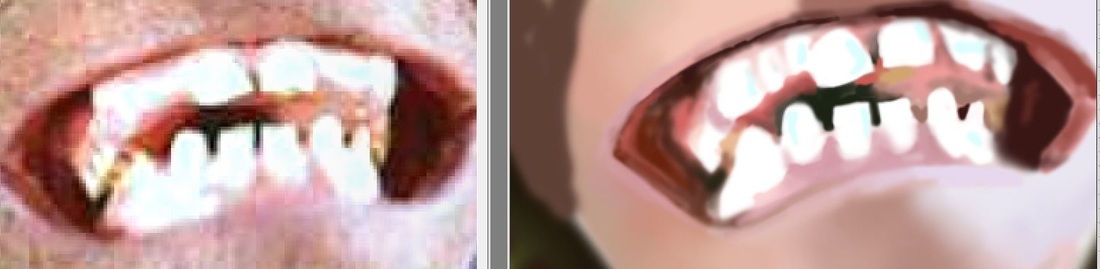
Next, I ZOOM IN a LOT. I start blending my colours using the paintbrush with opacity and flow both at 50%, and a hardness of 0%. To blend, select the colour adjacent to the colour you are using and draw from that colour to the colour next to it, and then do the same the other way around. Switch back and forth between a regular paintbrush and this blending mode for better outcome. Since you have already blocked the colour, there is no need to steal much from the original; on the progress picture below, you can see that I have made modifications to clarify the picture. This is your job as an artist. |

|
The photo was overexposed and some teeth are missing. I gave them more definition because it bothered me.
After I did this, I blended again with the paintbrush with opacity and flow at 50% again.
After I did this, I blended again with the paintbrush with opacity and flow at 50% again.
I kept working and doing my best to copy the colours and lines. To make soft lines, just use the brush like we did before, set for blending.
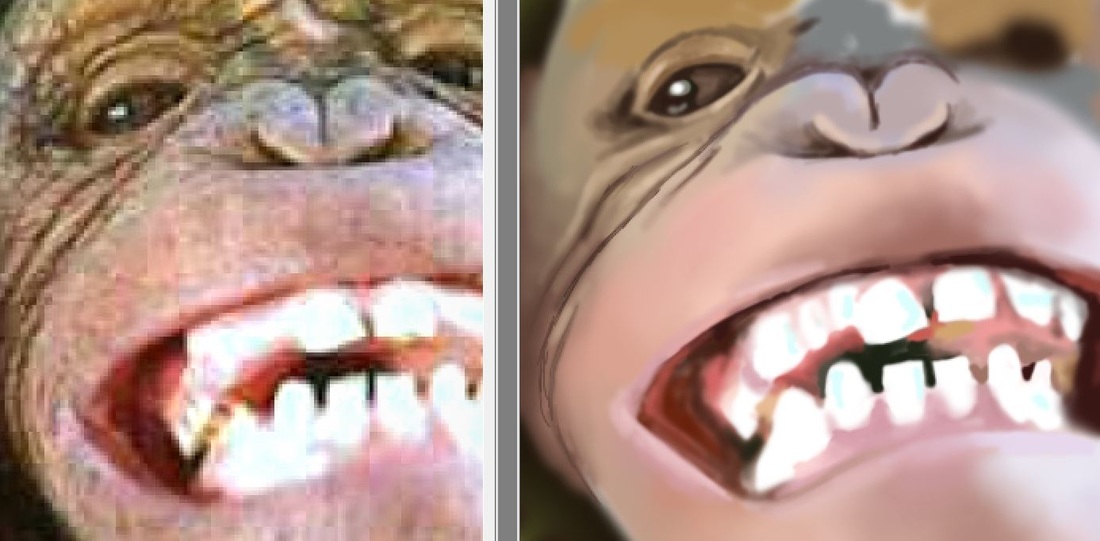
I zoomed in to add the little hairs. The brush was set to an opacity of 30% and a flow of 50%, hardness 0%.
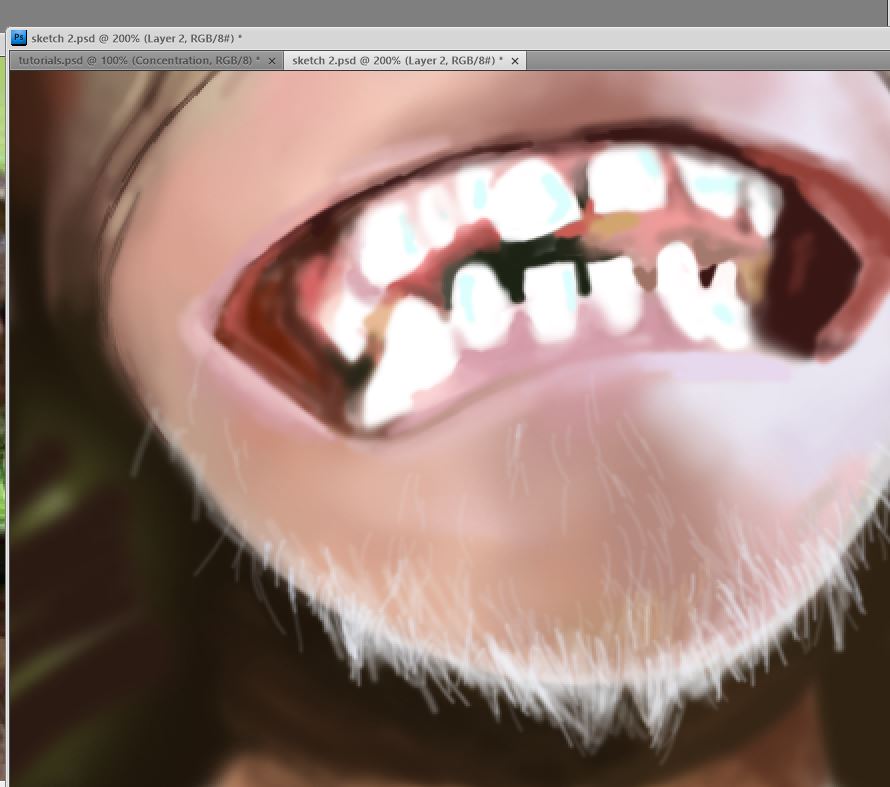
This is what the face looks like so far. Still lots to do!